 Samuel Allen
CS2 Utility Secrets: 7 Must-Know Nades For Nuke
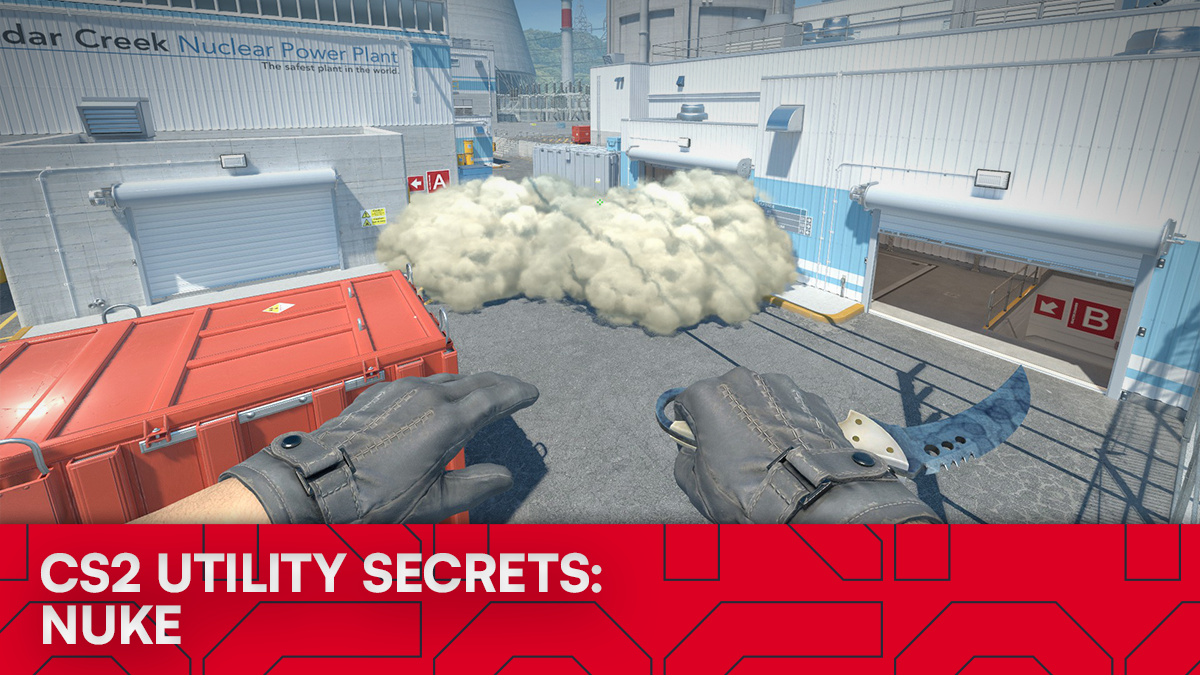
Nuke. One of the most dynamic, exciting, and unique maps in the pool, and a favorite of many seasoned Counter-Strike players. With its vertical layout, fast rotations, and tight chokepoints, any game within the confines of Cedar Creek Nuclear Power Plant is always a high-tempo, intense affair. A good understanding of some of the key pieces of utility can really turn a game of Nuke in your favor, whether you’re looking for map control, forcing rotations, or executing a bombsite. This time, in another of our Utility Secrets series, we take a look at some of the most important utility on Nuke, to get your game on this storied map up to scratch.
Outside Incendiary
Starting off with a crucial piece of map control utility for the CT side, we’re going to learn how to throw an incendiary grenade which is designed to stop the initial pace of T-side outside control. This lineup can be a little tricky to throw smoothly, so you’ll need to jump into a NADR server and practice it a few times before you have it down perfectly.
Firstly, you’re going to follow this yellow line whilst running.
Next, whilst running along the yellow line, look at the edge of the main building until the large pole becomes visible, as shown below.
As soon as the pole becomes visible, run towards it for a few steps before simply left-click throwing, whilst running. This is one of those lineups that gets easier once you have the muscle memory down. When thrown perfectly, it should land here: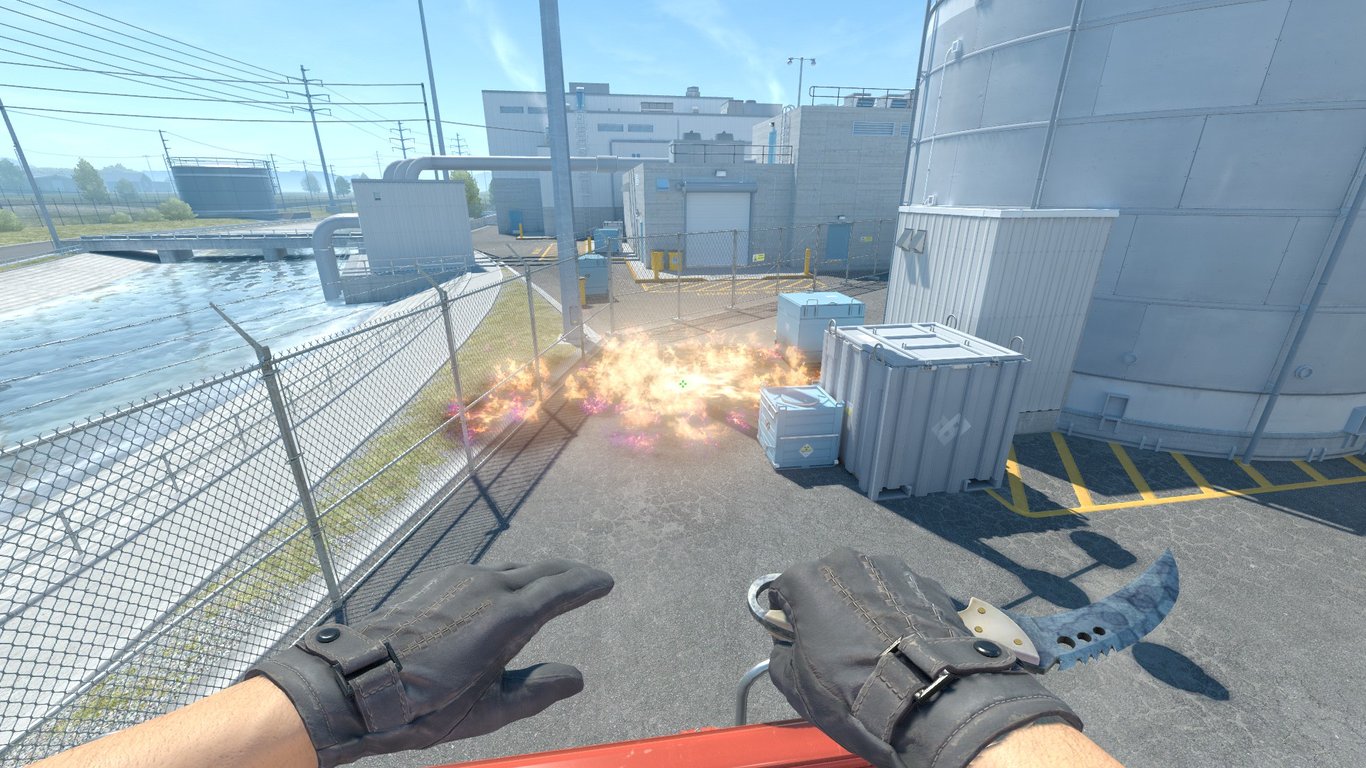
Now you have the perfect incendiary to stop the Ts from taking outside control too quickly, allowing the Outside player, Main player, and Rotator to set up however they want to.
Outside Smoke Wall
Continuing on the theme of Outside utility, but this time from the perspective of the T-side, we’re going to take a look at arguably the most important couple of smokes on the entire map. Whilst there are plenty of variations of the Outside smoke wall, we’re going to show you a simple two-smoke setup that one person can throw with ease.
Firstly, get yourself tucked into the corner, as shown below. It can be a bit tricky to get properly stuck in, if you’re not used to it, so get some practice in before you try it in games!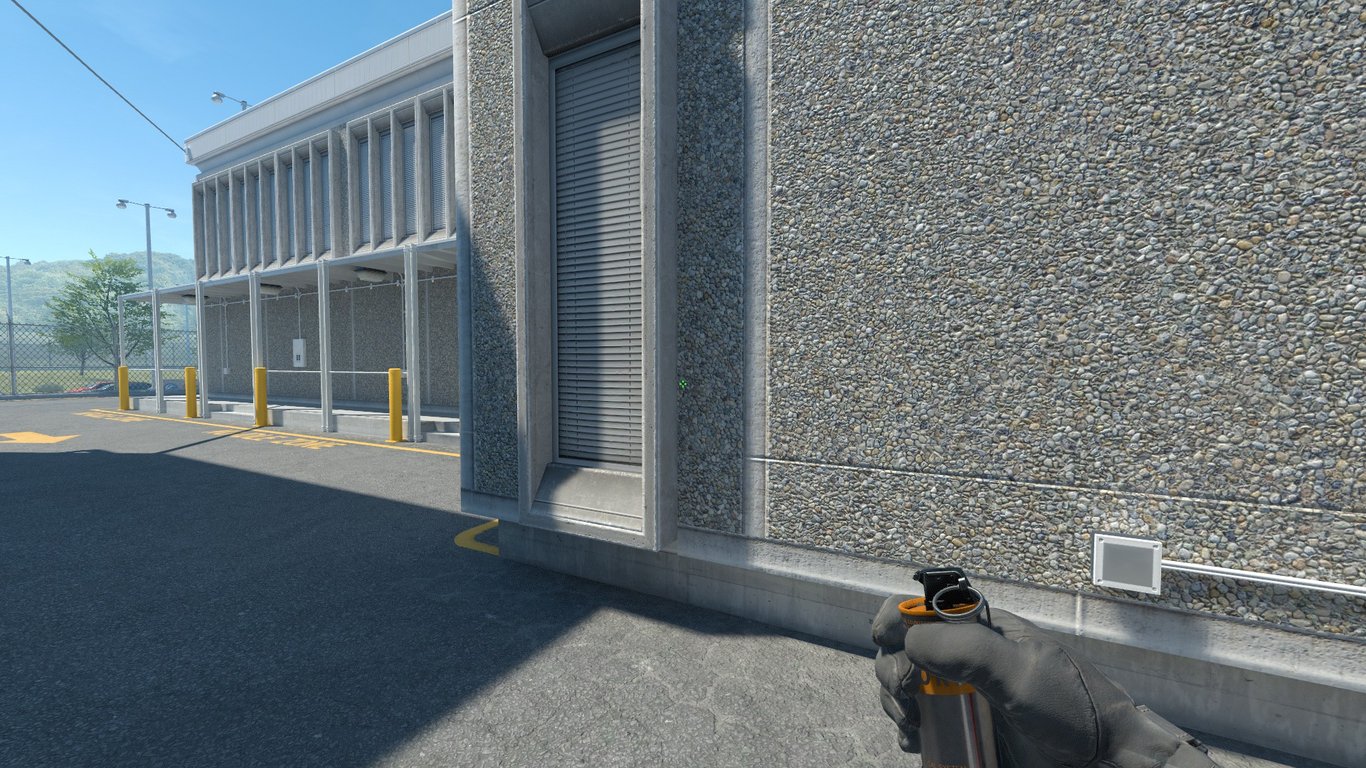
Once you’re tucked into the corner, you will need to position your crosshair as shown below, then jump-throw.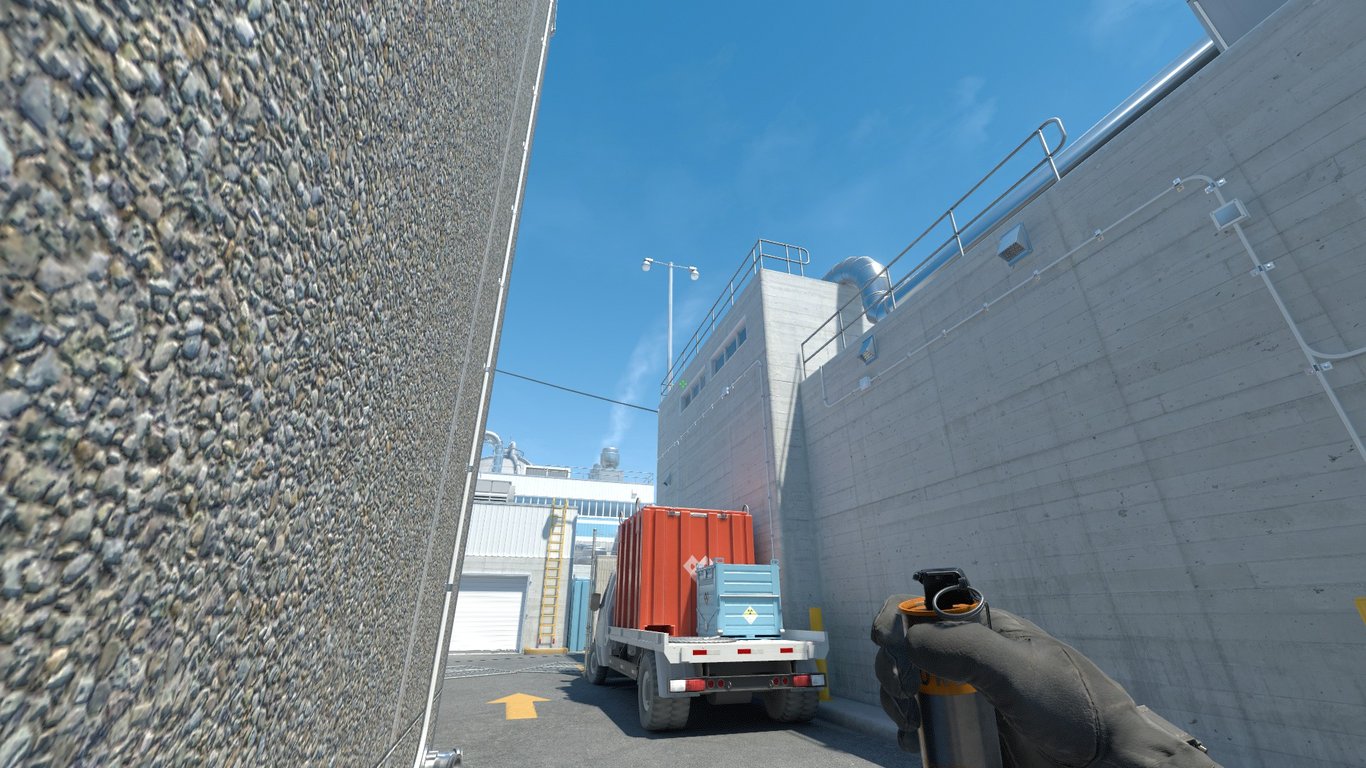
As soon as you’ve finished your jump-throw, position your crosshair as shown below, and W+jump-throw. 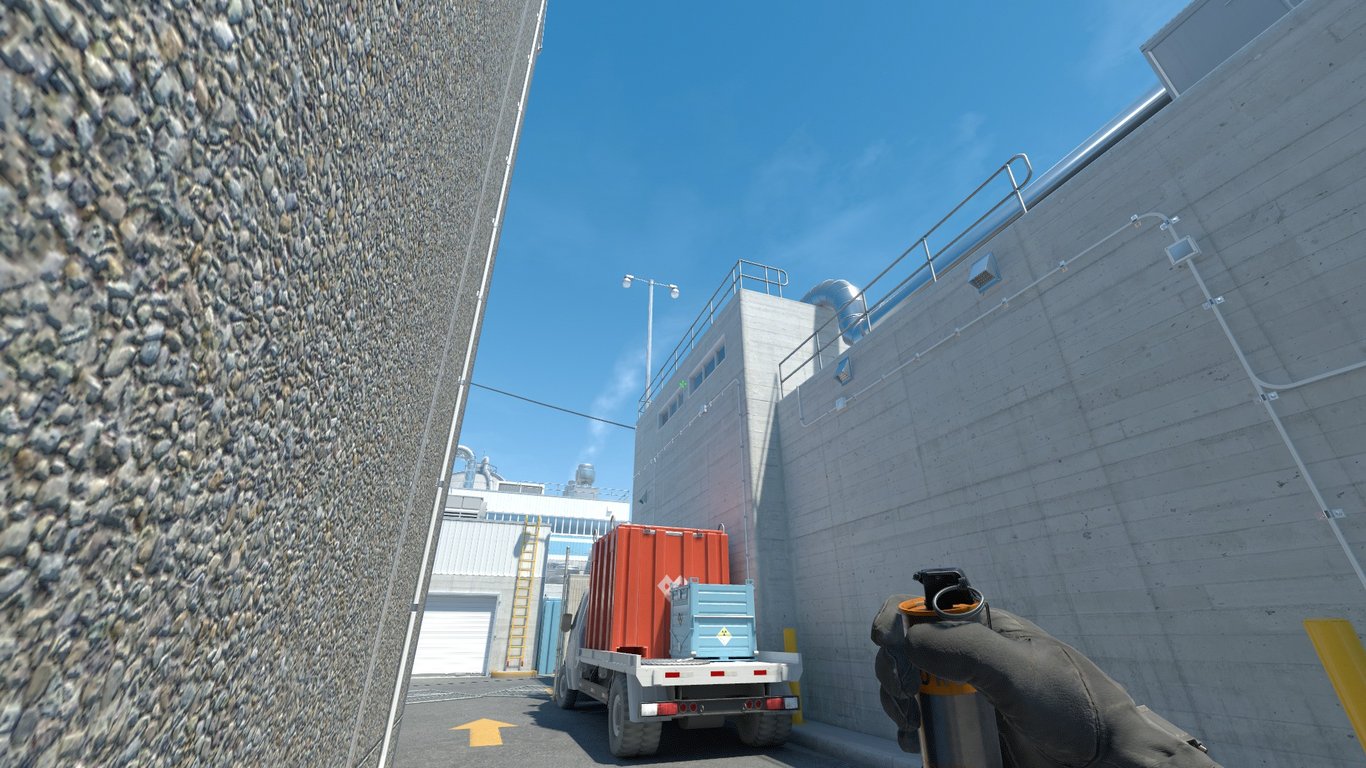
Boom – you have an easy, quick smoke wall to take control of Outside however you see fit.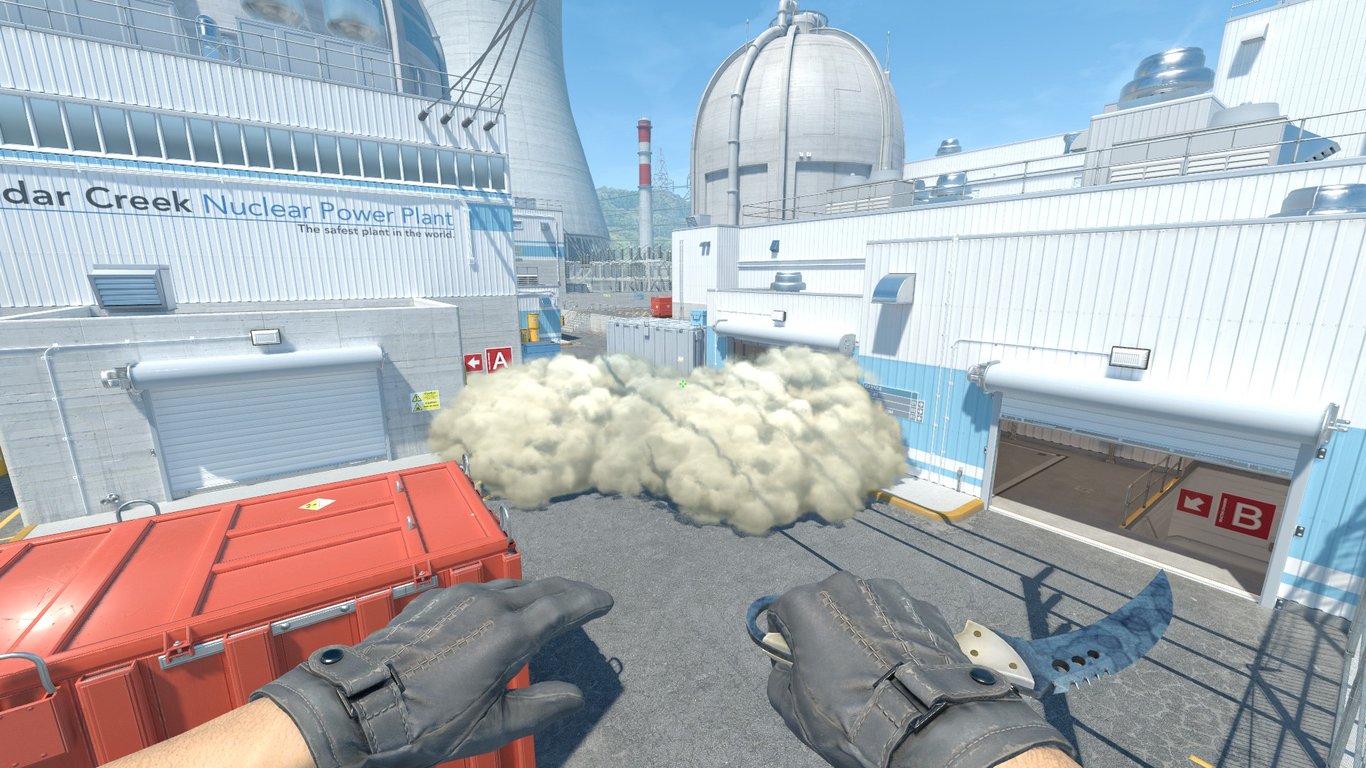
Vent Lurk Smoke
Next, we’re going to take a look at an important lurk smoke. One of the most useful aspects of consistently throwing the same lurk smoke in multiple rounds is the fact that you can use this to condition the A-Site defenders. Let’s say you throw this smoke three rounds in a row, and don’t play around it, you can surprise the CTs by getting into Vents the next round, or vice-versa. This smoke is a very useful lurk smoke, but remember – the windows above T Roof must be broken in advance!
To throw this lurk smoke, you’re going to get yourself tucked into this corner:
Next, you’re going to position your crosshair as shown, and simply jump-throw.
Now you have the perfect lurk smoke with which to take some control, abuse some timings, and slip down Vents without being spotted.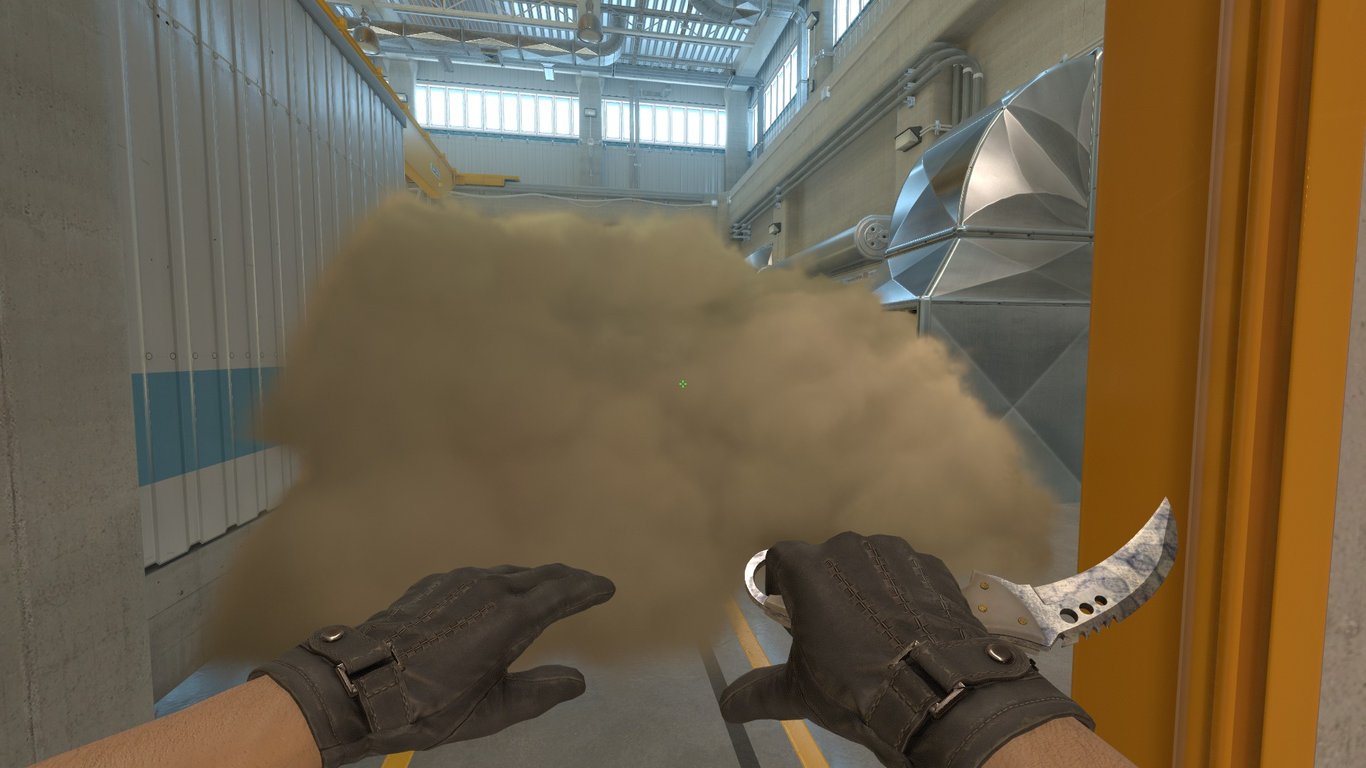
A Pop Flash & Back-Site Molly
This lineup is a two-for-the-price-of-one deal. With one simple lineup, you’re going to have a perfect pop flash for your teammate to get out of Hut onto A Site, and a perfect molotov for Back Site to flush out an annoying top-site anchor. Here’s how to throw them.
Firstly, get yourself lined up on the left-of-center of this metal structure, as shown below.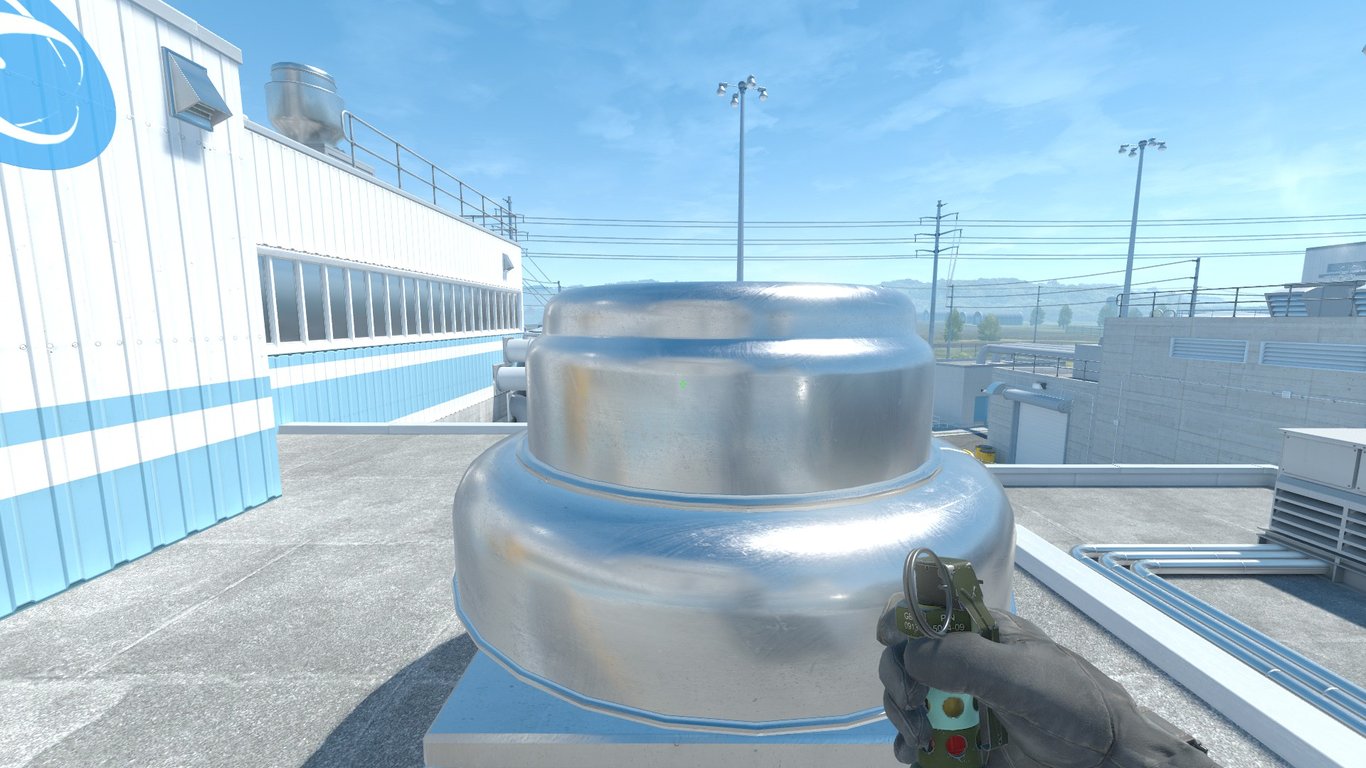
Next, position your crosshair as shown, and jump-throw.
It’s that simple! Now you can flash over A Site and burn out a Back-Site defender with one simple jumpthrow.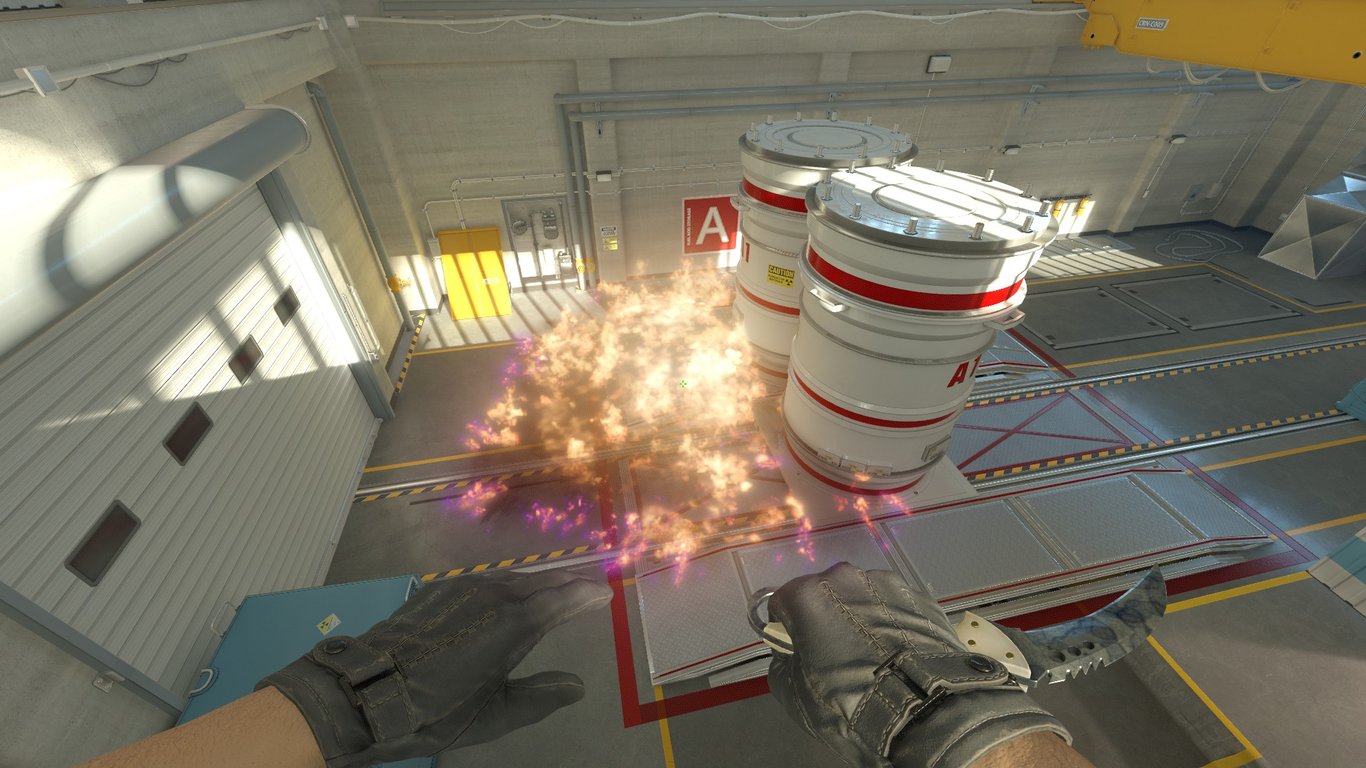
Top Hut Molly
Finally, we’re going to take a look at one of the most useful Molotovs in the entire game. Think about it – how many times have you been destroyed by a CT hiding on top of Hut when you’re trying to take A Site? Now you can guarantee that will never happen again, with the simplest Top Hut Molotov lineup. Here’s how to throw it.
Firstly, get onto the metal structure and line up exactly as shown. You’ll need to practice this a few times to get the lineup exactly right, as this is one of the more unforgiving lineups in the game.
Once you’re lined up on the correct spot, position your crosshair precisely as shown below: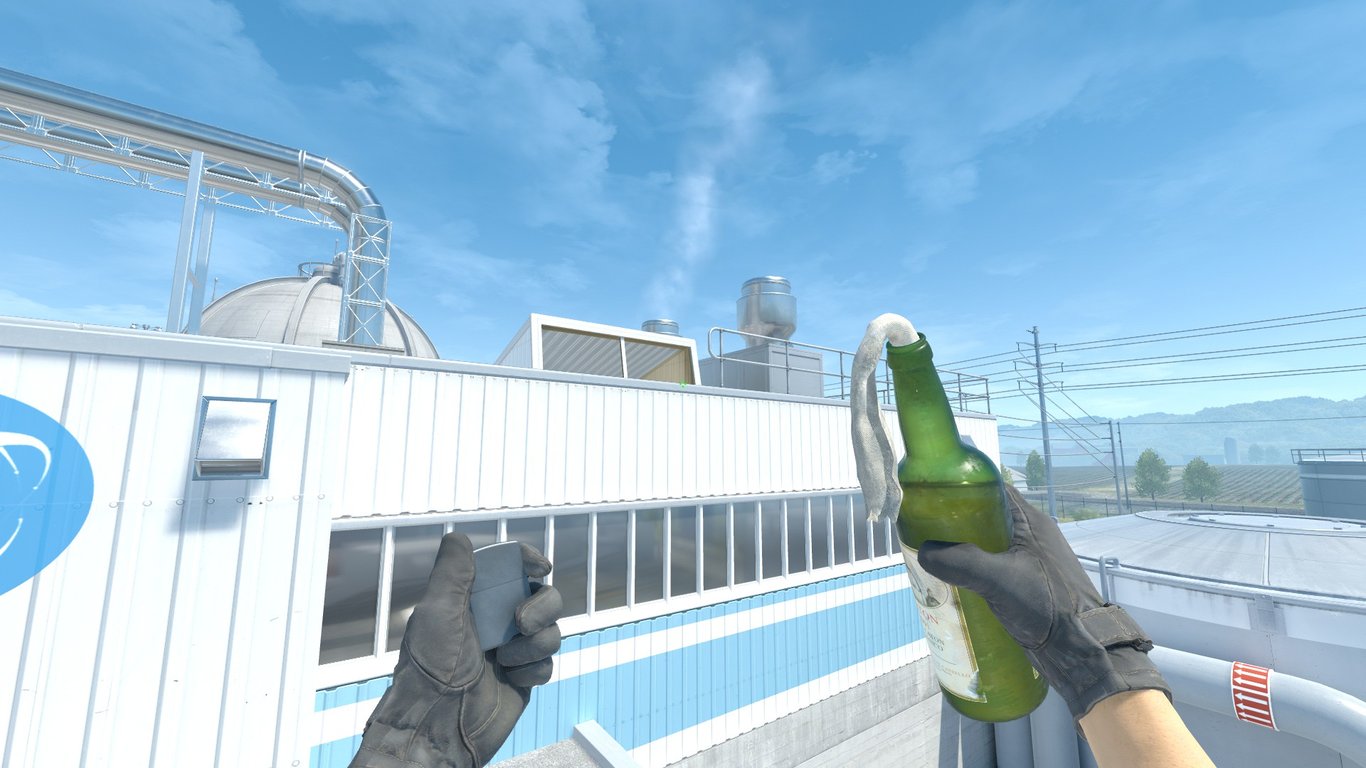
Once you’re ready to throw your molly, you’ll need to run for a couple of steps and left-click throw whilst still moving. This will take a bit of time to perfect, but it’s well worth the grind. Once you’ve learned to throw this nade perfectly, you’ll never have to worry about Top Hut again!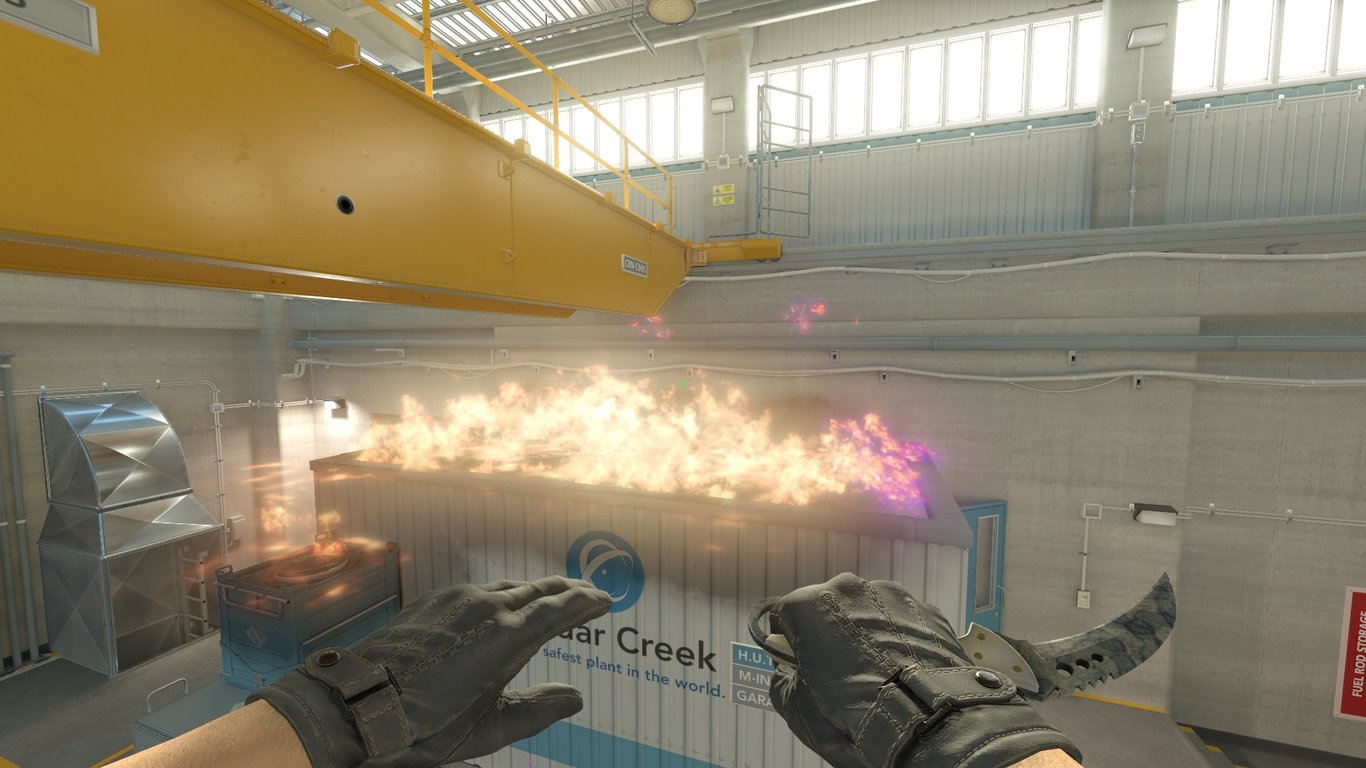
So, there you go. Seven useful pieces of utility to improve your game on Nuke significantly. As always, make sure to practice these lineups in advance, and by using code utilitysecrets15 you can save 15% off of your initial Refrag Subscription. Enjoy the grind!
Recommended Posts
 Samuel Allen
What’s The Best Resolution For CS2?
 Samuel Allen


