Samuel Allen
CS2 101: How To Anchor B On Mirage
As we mentioned in our article on using Refrag as an Anchor, playing as the sole defender of a bombsite is often a difficult and thankless task. Many times, you will be left alone on an island with nothing but some utility, your wits, and the fading hope that your team will rotate to you in time to win the round.
Today, we’re going to look at a practical example of anchoring, for those of you who could use a refresher. If you’ve ever wondered how to approach anchoring B on Mirage, this is the article for you! We’re going to take a look at a few of the approaches, spots, and decisions you can utilize in your quest to defend the smaller site. Let’s jump in!
B Site Mirage – An Introduction
The B site of Mirage is one of those infamous positions in which you often feel like you’ve spent an entire half jumpspotting and saving, only to have thirty-seven flashbangs pop in your face on the final round and lose the site in mere seconds. Cue screaming teammates, a crushed ego, and a headache.
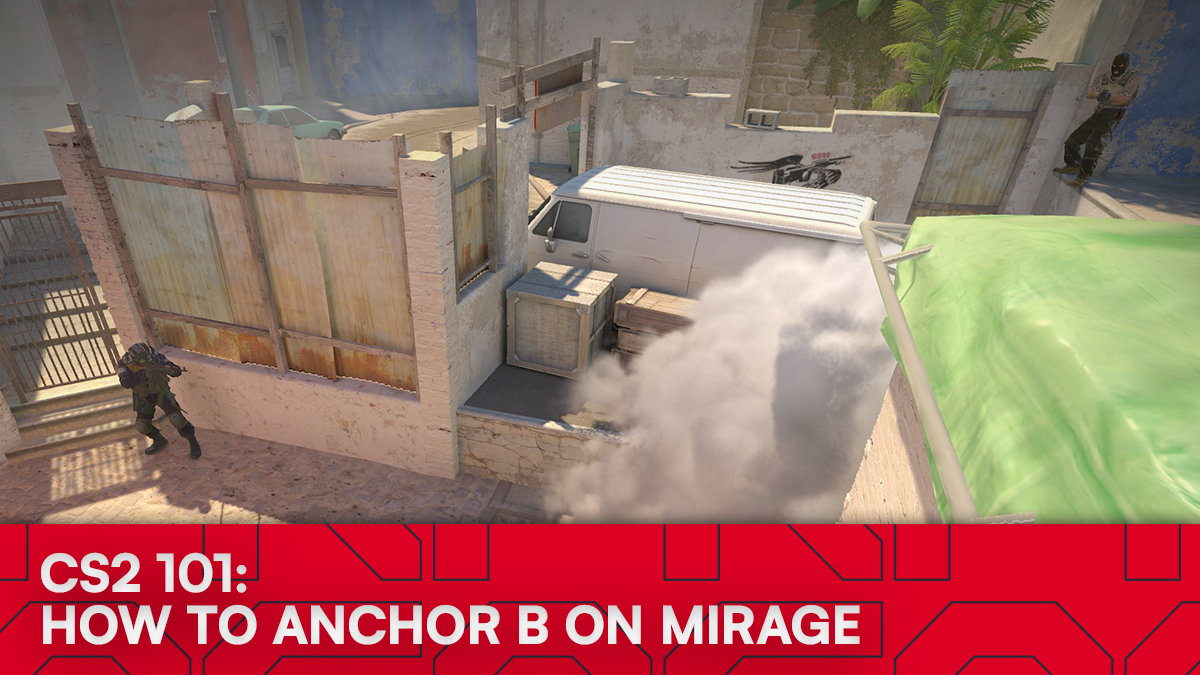
Let’s take a quick look at the real basic makeup of the bomb site. The B site of Mirage has two main potential entry points for the T Side. B Apps – a dedicated entry pathway into the bombsite, and Short, which connects to Mid. Of course, if the round gets really weird, the Ts can also get into the site via Market but, if that’s the case, you’ve got other things to worry about…
The bombsite itself is fairly simple. You have a few tricky corners, such as ‘GeT_RiGhT’ and ‘Jail’, the plant area itself, a Bench to hide behind, and a Van to play around. Of course, there is more nuance to the site, but this is a basic introduction, after all. Now that you know the fundamental make-up of the bombsite, let’s look at your basic goals as an Anchor.
The Basic Goal Of The B Anchor
As the B Anchor, you essentially have one true goal – stay alive, and be a nuisance for your opponents should they turn up at your bombsite. Many people make the rookie mistake of doggedly hunting for a multikill every time their site gets attacked, often leading to a kill or two, but a lost round.
A good Anchor understands that time is worth more than kills, in a lot of situations. If you can get one kill (or even none) but throw good defensive utility and stay alive in time for rotates to come in, you can make the process of retaking the site much easier for your team.
If you can get early information – whether by jump-spotting or listening for audio info – that’s great. But sometimes, there’s a lot to be said for getting into an easily-defendable position, throwing some decent util, and playing your life for a few seconds.
Basic B Anchor Utility
Luckily for you, the basic utility you need to know as a B Anchor is actually just that – basic. An early incendiary grenade into the deeper part of Apps will help stop a rush. You can time an HE grenade in the hopes of finding some chip damage, or can wait for visual info on a T in Apps and attempt to dunk a nade right onto them.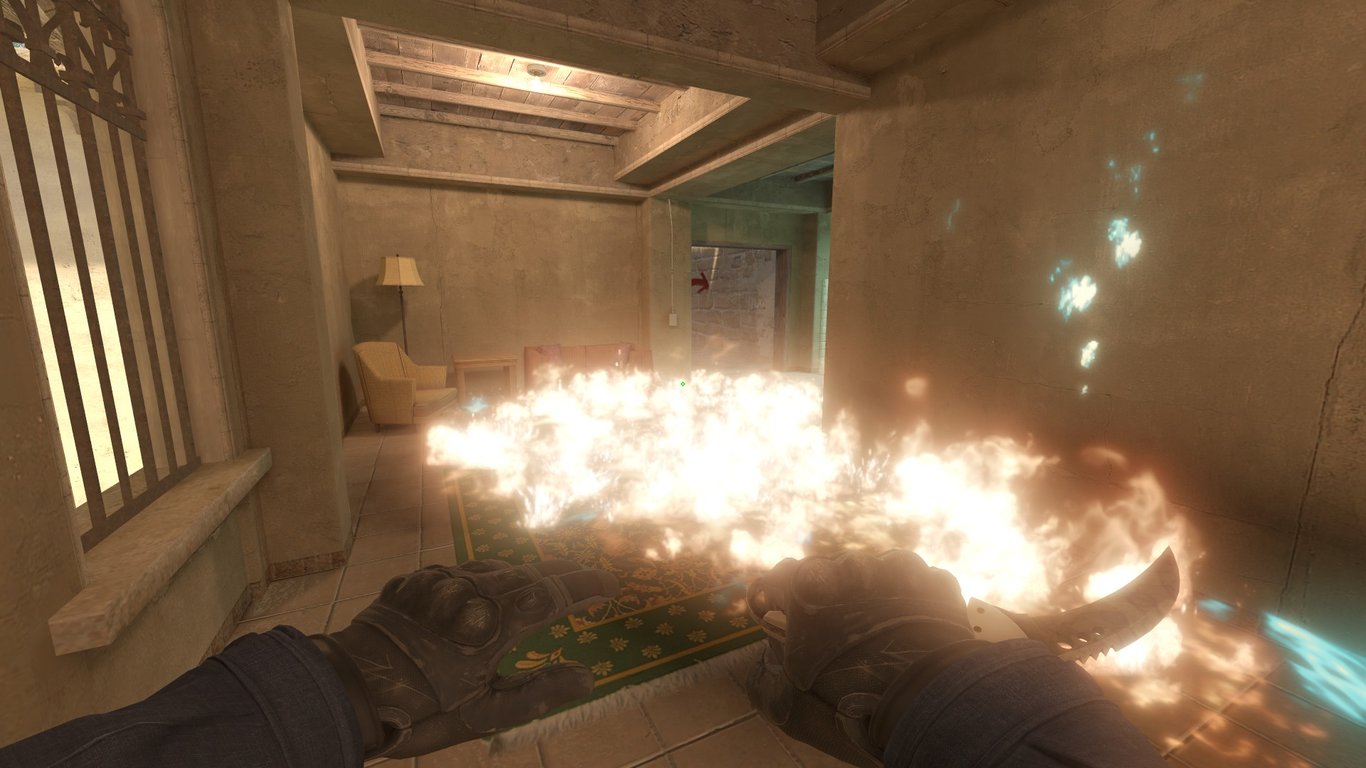
The most important piece of utility in your belt as an Anchor is your smoke grenade. A lot of people in the lower ranks make the mistake of throwing their smoke into the Apps fairly early. This is bad. The best use of your smoke as an Anchor is to right-click it on the ground defensively, once you take some kind of contact.
Using your smoke like this allows you to cut off a portion of the site, and gives you multiple ways to play around the smoke as the pushing enemies attempt to hunt you out and gain control of the site. Again, this is all about buying your teammates those crucial few seconds to rotate over and retake efficiently.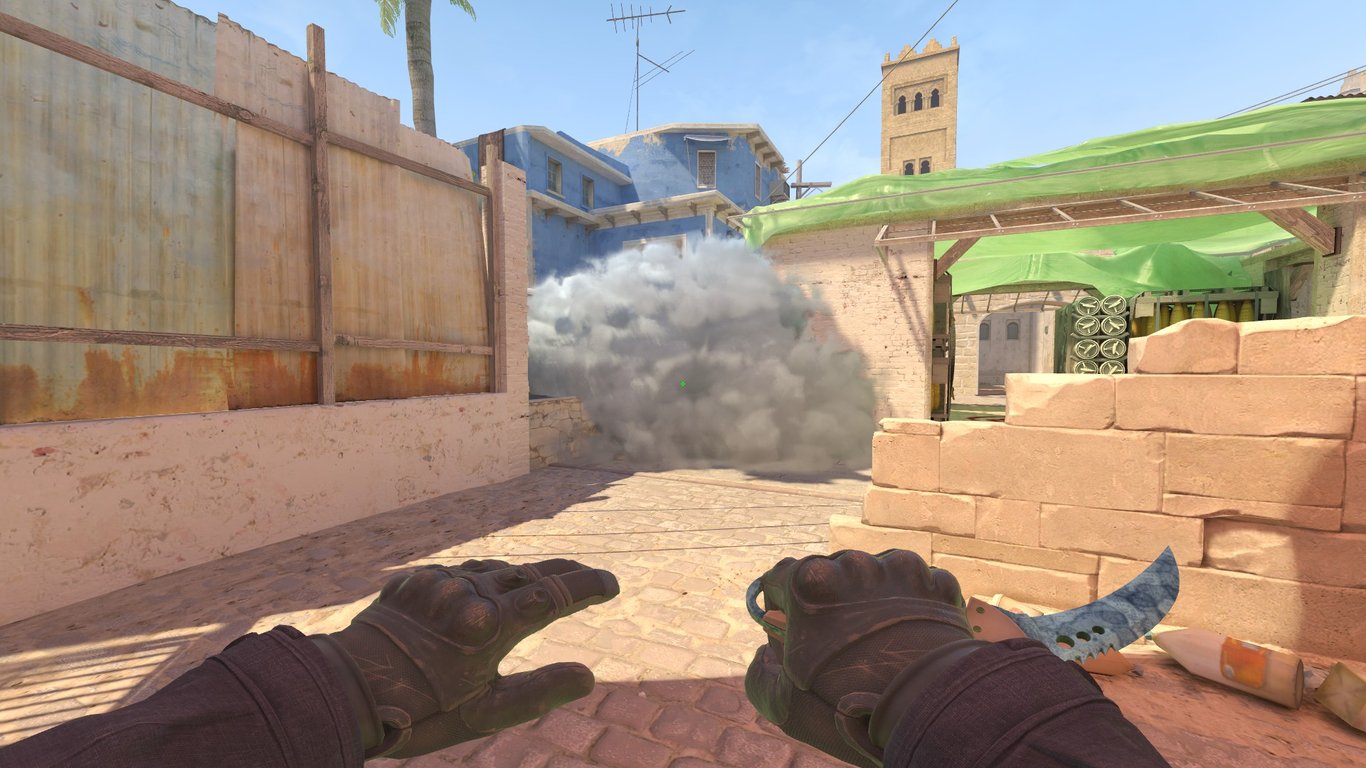
Also, it’s worth noting that if you haven’t seen anything on your site and there’s only 30-40 seconds left on the round, you can either throw an Apps smoke to bleed time off the clock and force the Ts to push through it, or you can save your smoke for a potential retake on the A site. This is situational and depends on the round, the info you have, and your individual read on the game.
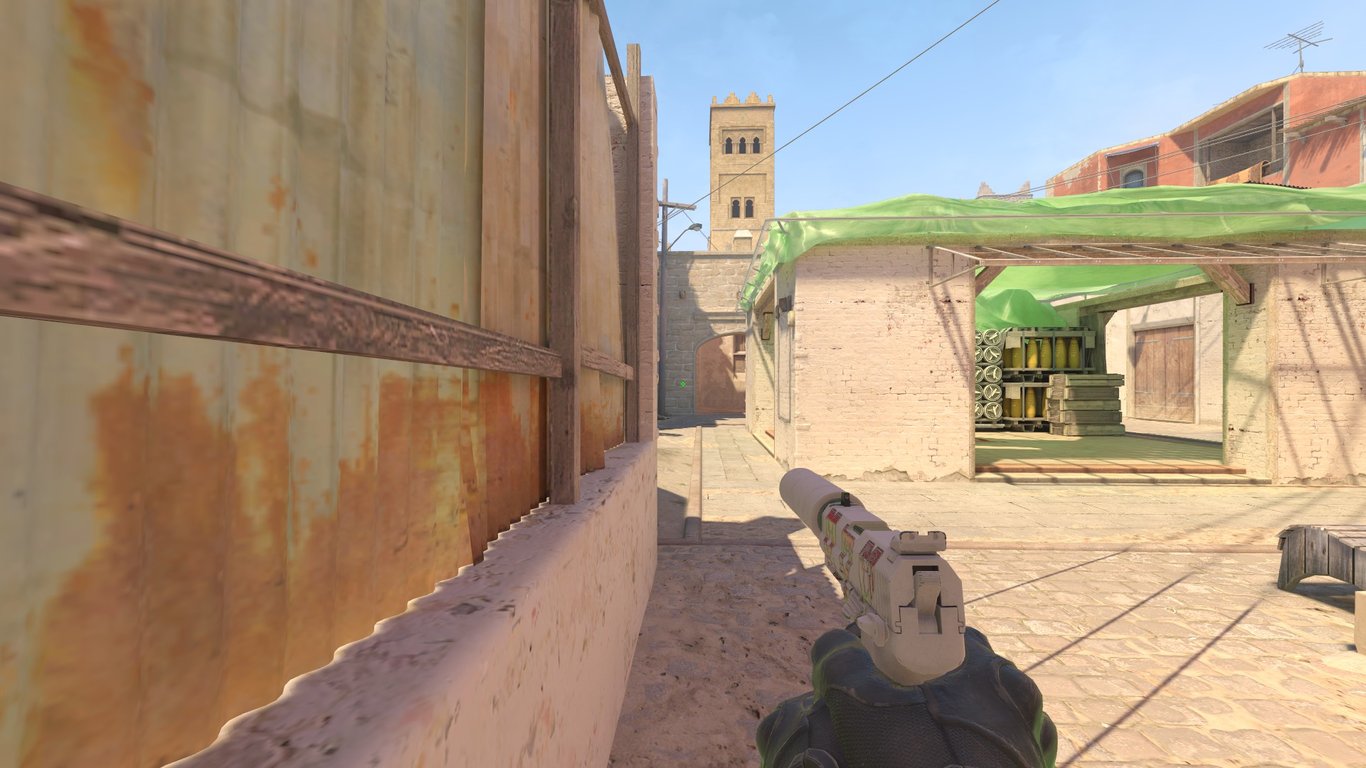
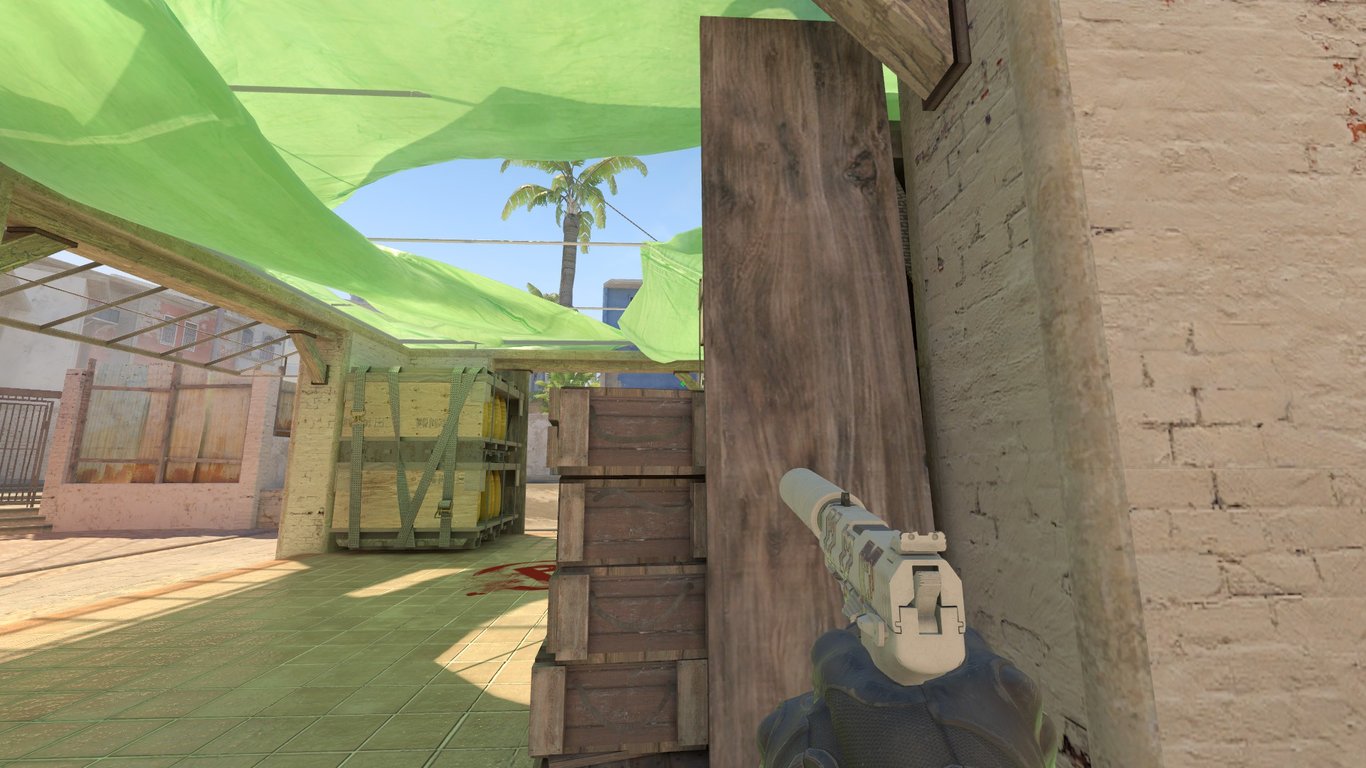
Some Interesting Angles
Here are a few interesting angles you can play whilst defending the B site on Mirage, in case you want to throw a bit of a gimmick play into your defensive halves.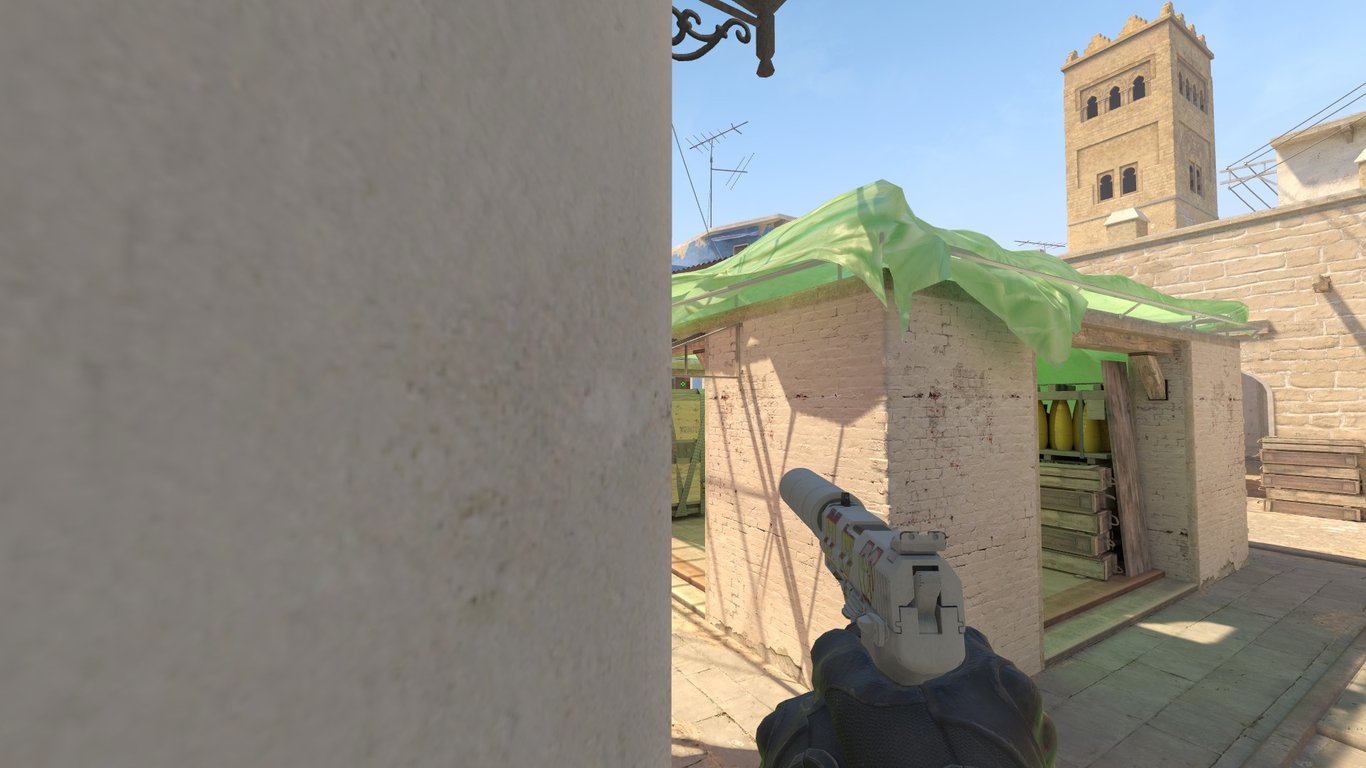
Other Points
The typical pattern of a B Anchor’s round (on a round in which the Ts finish B) looks something like this:
- Early incendiary into Apps
- Jump-spotting until you see a T
- Throw defensive smoke
- Play around the smoke, valuing your life
- Take part in the retake with your teammates
- Win the round
- Get signed to a pro team
- Thank Refrag in your Major-winning interview
However, sometimes you need to throw some variance into your approach. A few ways of doing this are as follows:
- Double up with your Short player and help take either passive or aggressive control of Mid
- Get boosted into Apps and hold a passive angle
- Get boosted into Apps and shift deep, taking space and relaying info to your team
- Play for a retake from Market, getting info on enemies if they push Apps and cross the window
Naturally, these decisions are up to both you and your teammates, depending on how the rounds are playing out in any given game. The main thing to remember as an Anchor is that your life, and the time that you staying alive buys for your team, is often more valuable than a kill. That’s not to say that you can’t frag out as an Anchor – just look at William “mezii” Merriman amongst others – but a strong sense of priority and percentages is crucial for a good Anchor.
Turn theory into muscle memory — hop into Refrag, run through these B site Mirage anchor setups, and refine your utility, positioning, and timing. Train now and make holding B second nature.