 simba
simbaRise Above the Rest: The Definitive Guide to Mirage Boosts in CS2
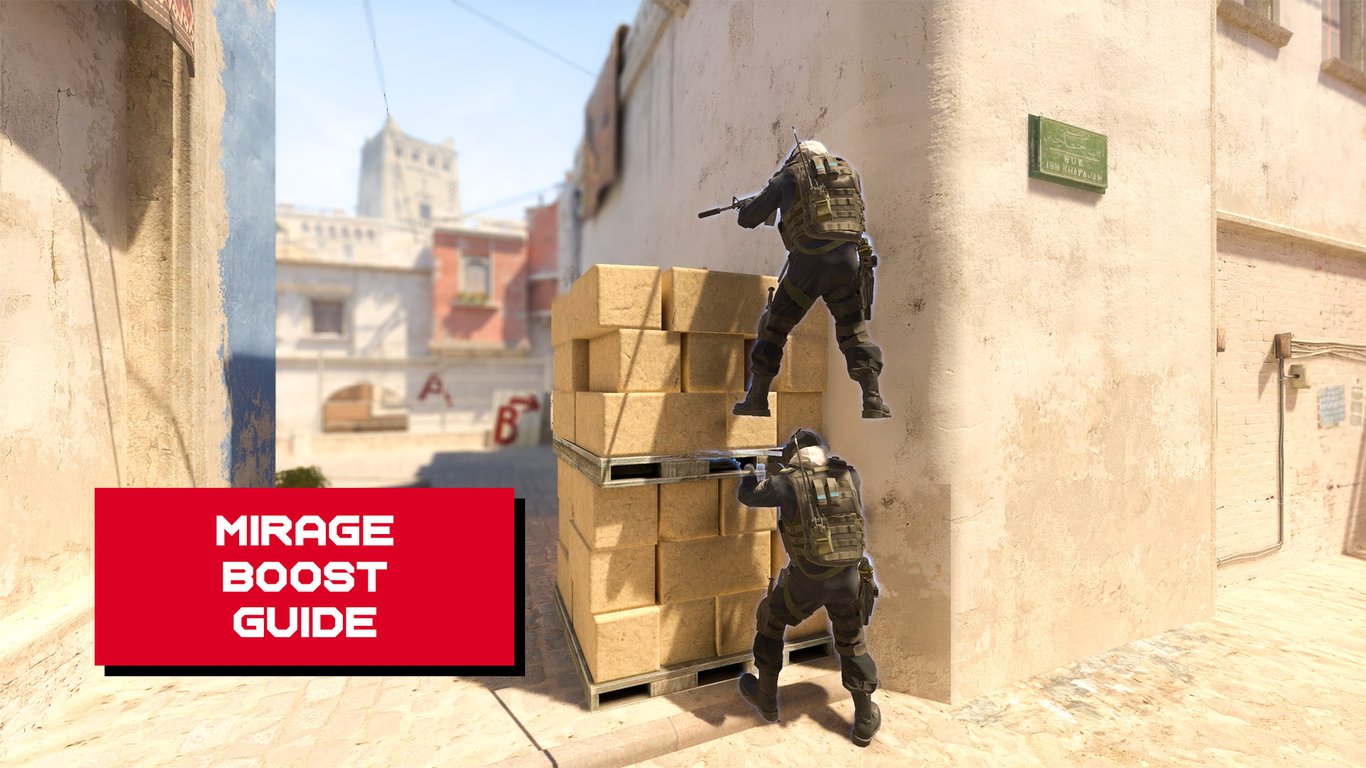
Boosting is a core mechanic in Counter-Strike 2. Something you will hear almost any CS2 player call out in games to get an elevated position, or see over map geometry you otherwise wouldn’t be able to. It’s an amazing way to add another tool to your toolkit in the game, and at specific points, could also give your attacks on the T side an advantage as well.
In a previous blog post, we covered boosts one of the most boost friendly maps in the history of Counter-Strike, de_overpass. This blog post is going to cover boosts for de_mirage.
Mirage is one of the less boost-friendly maps in the pool currently, but there are still a few cheeky ones you can incorporate into your game.
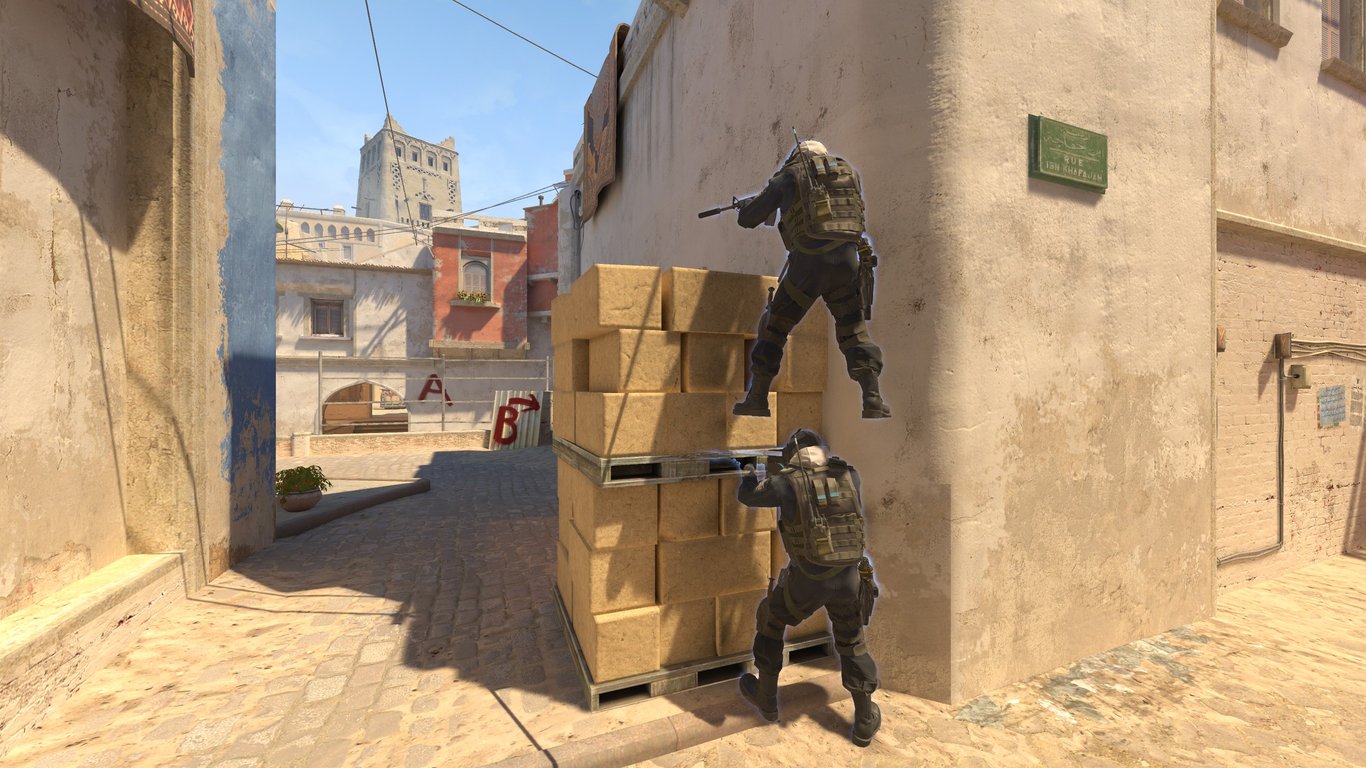
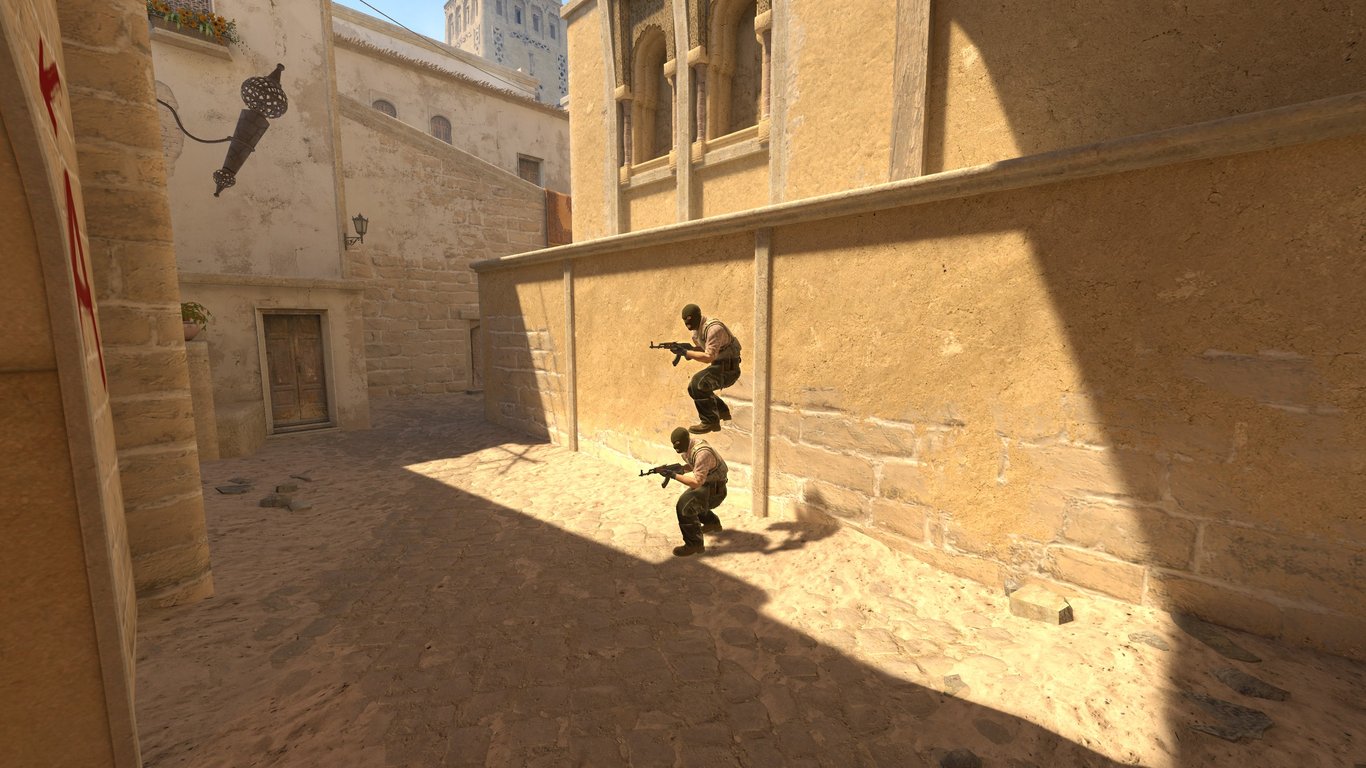
B Apartments Fast Boost

This is a tricky one to pull off, but it’s very effective. From spawn, you’ll need your teammate to run and place themselves between the shadow and the raised bit of brick as seen below. This is worth practicing with a teammate to get the position just right.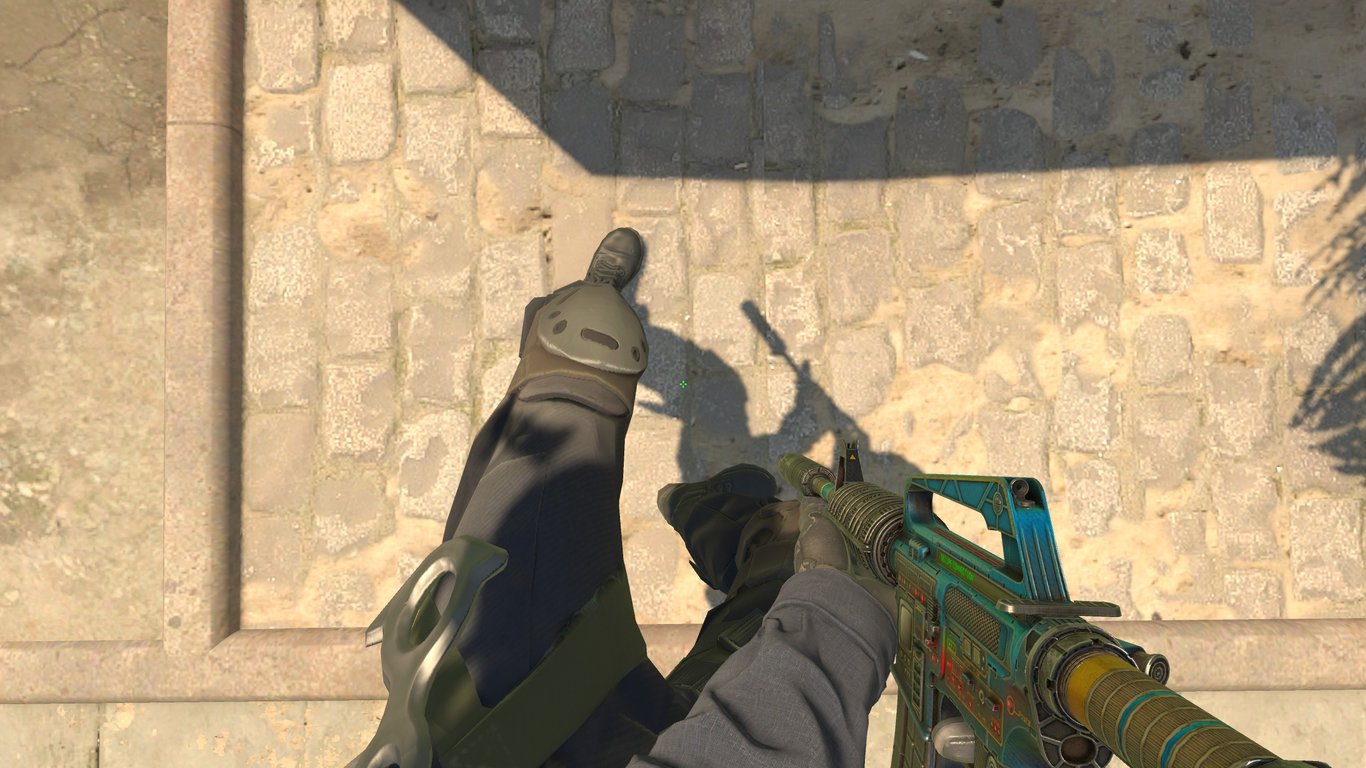
Inside of B Site (Ninja)

This boost is most useful when thrown in on an eco, to catch off any hasty Ts attempting to plant the bomb before clearing the bombsite. Otherwise, it’s almost always a “one and done” spot because of how hard it is to reposition after a frag.
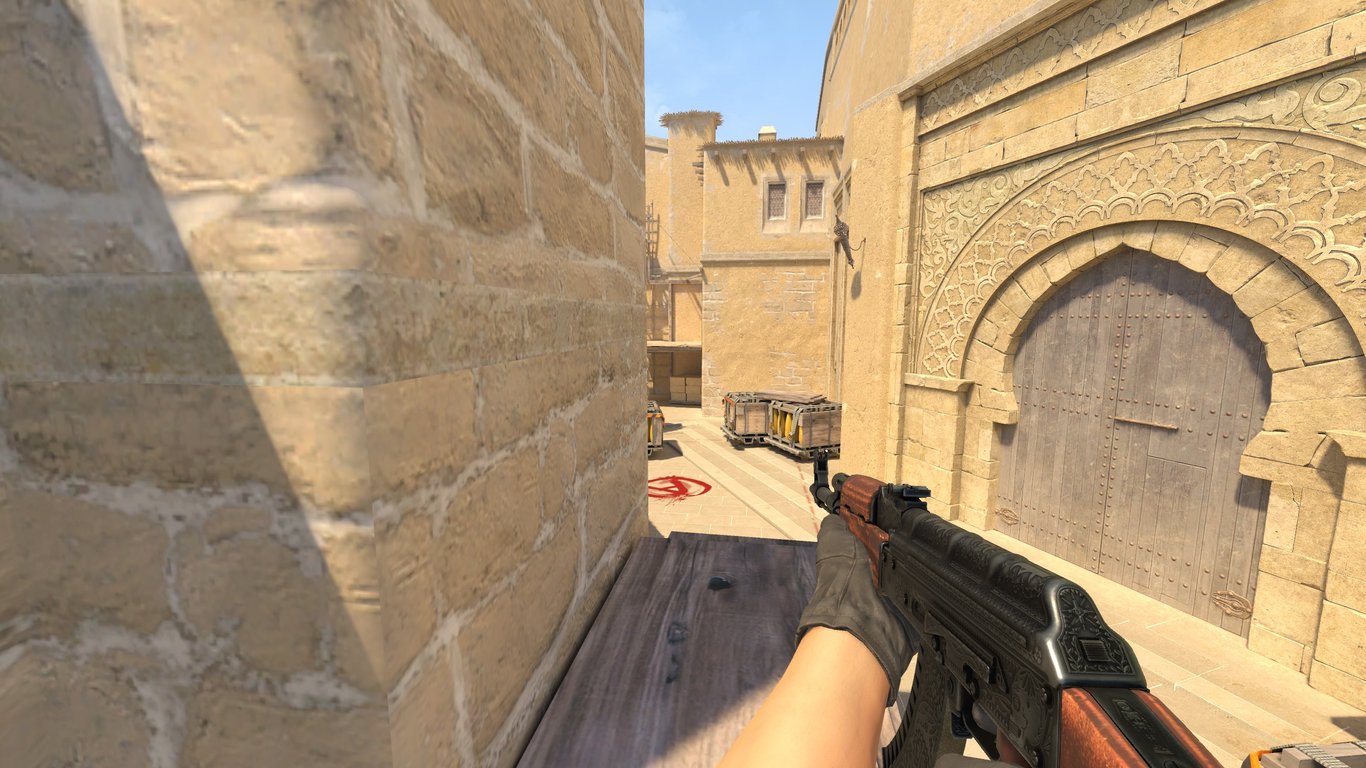
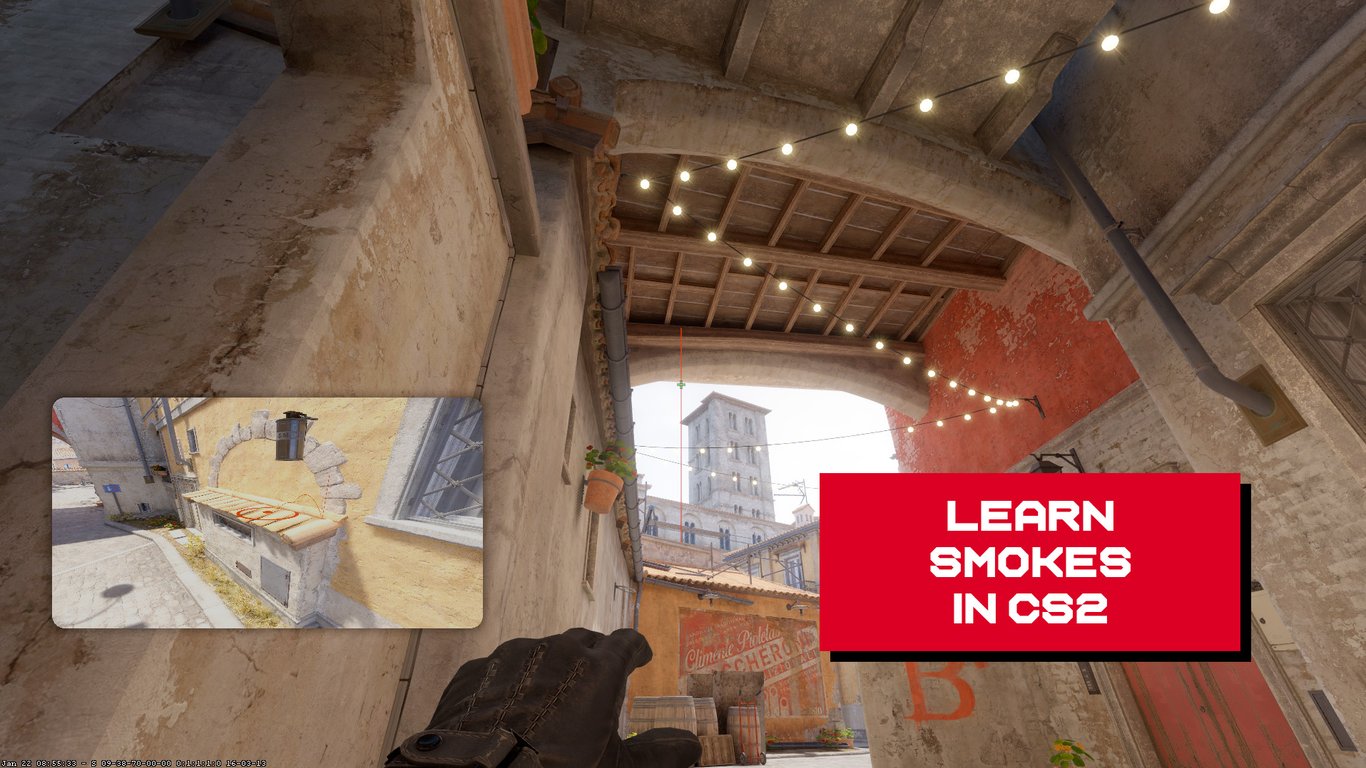
Bricks on B Short
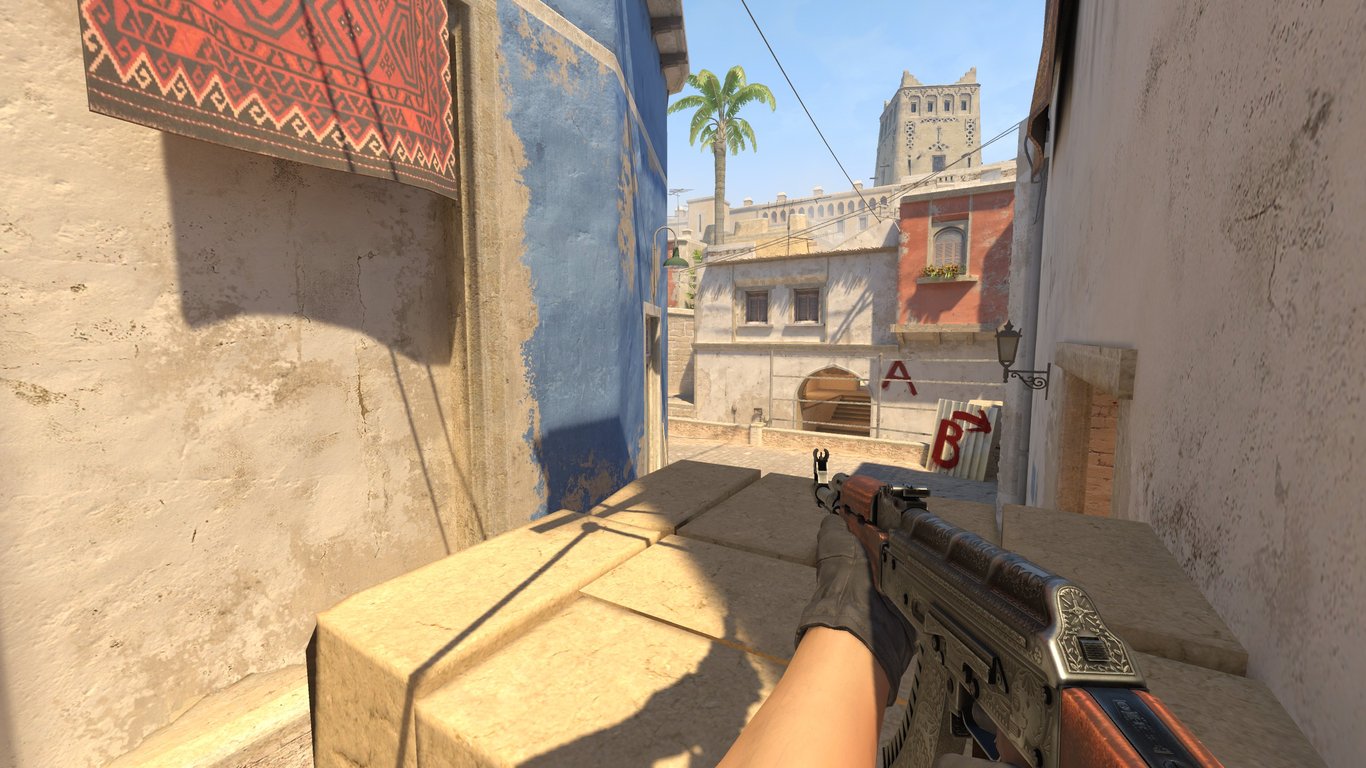
This boost is useful for seeing over any smokes on the Catwalk, and has the potential to catch off unsuspecting players who are wandering around at the bottom of Connector. It can also be deployed at the beginning of the round to catch off a T player running to Chair. Standing atop of the bricks is also an option, but it exposes more of your body.
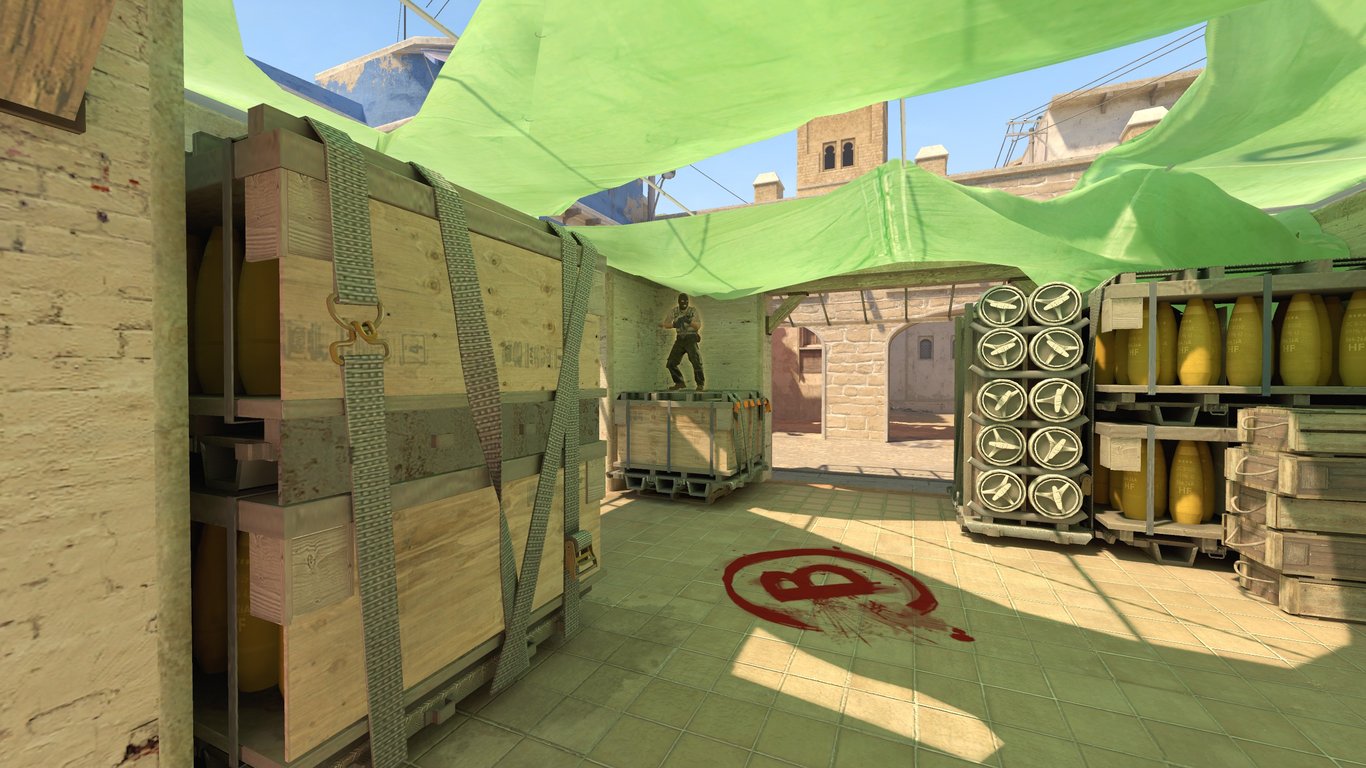
Behind Missiles
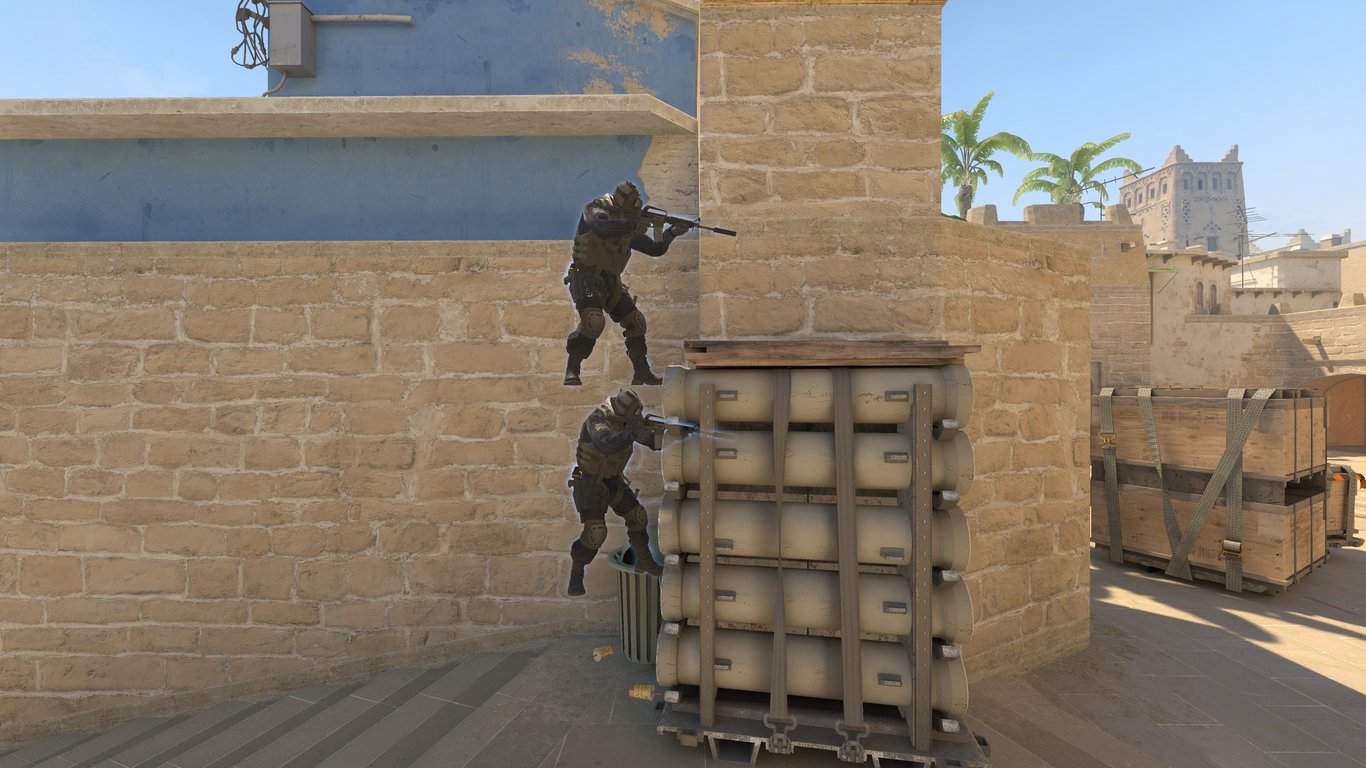
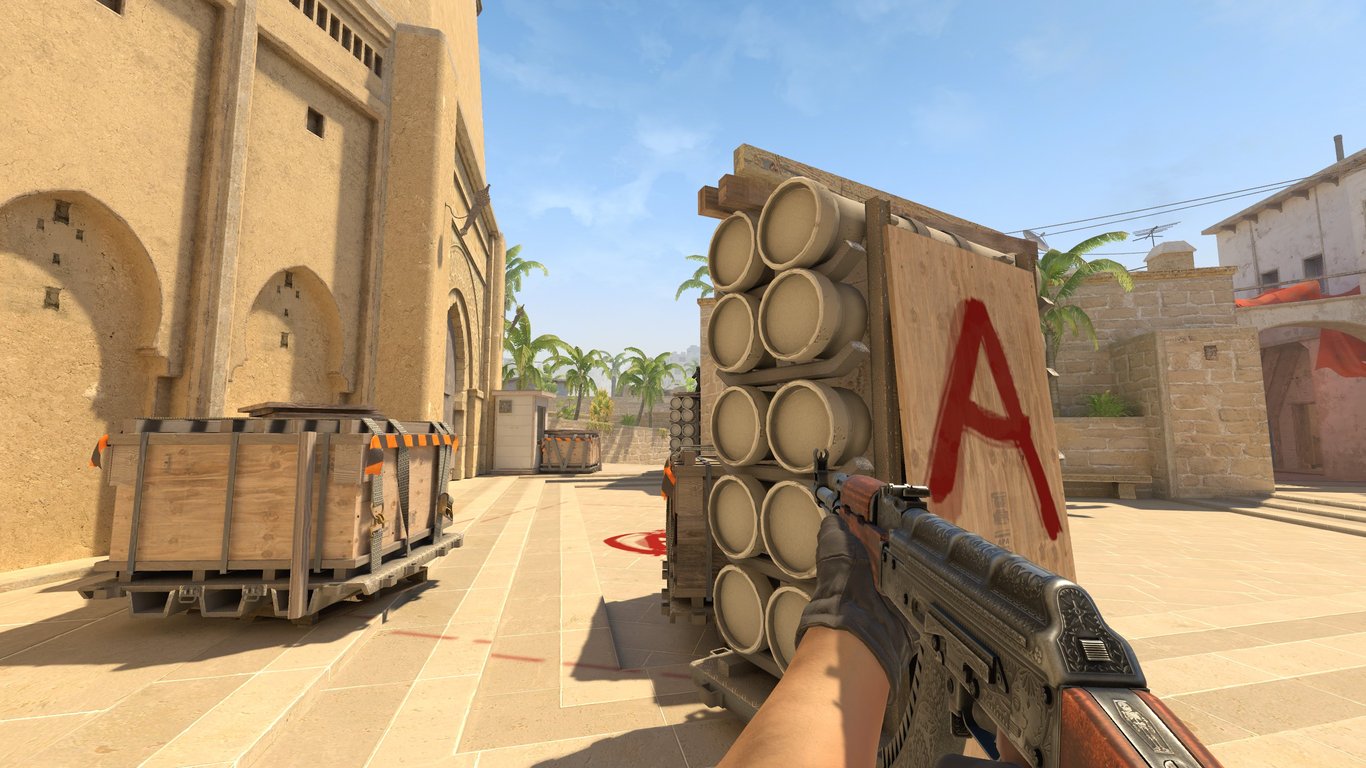
Stacking on top of the trash can behind Missiles can be a bit tricky to pull off because of the limited space, but when done, it can be extremely effective. You can see all of behind Default, a bit of under balcony and a smidge of behind Firebox. Deploy this boost on a retake when the Ticket Booth area has been smoked off.
A Ramp AWP Pick
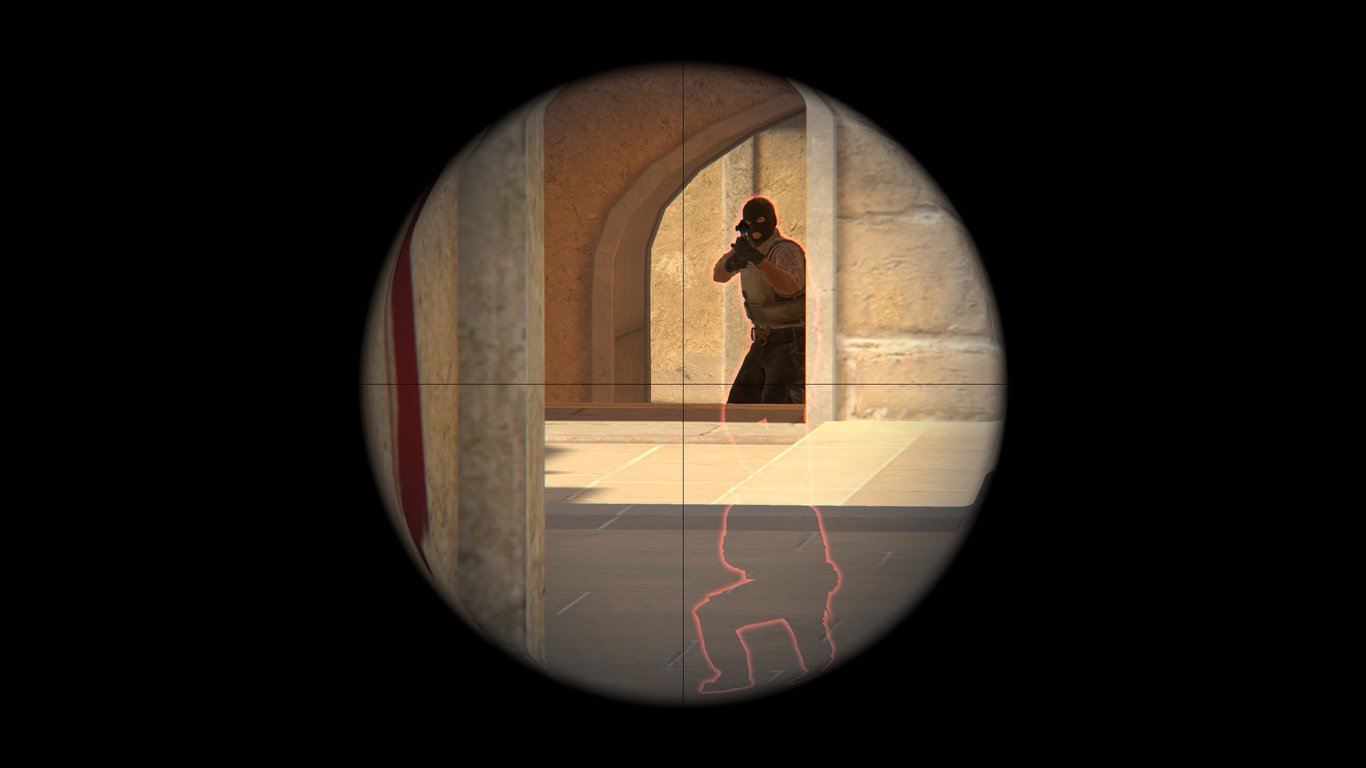
This boost is a specialty one of sorts, but I thought it was useful enough to include on this list. To do this boost, have your teammate run and crouch where you would normally take an AWP pick from at A ramp, then jump on their head, making sure that they stay crouched. This is meant to be used at the beginning of the round.
Usually, a CT player wielding the AWP peeking the A ramp angle at the beginning of the round will be aiming low and to the left. This is where a T player picking ramp would normally be. This boost is meant to throw of their crosshair placement, and hopefully, net you an easy frag.
Craft your own boosts!
It’s incredibly easy to craft your own clever head-stacks with Refrag. In an empty server running the NADR mod, you can use the .botboost command to spawn a bot directly below you.
To see what it would look like from the enemy POV, from the top of the boost, aim at the spot you would peek from as the enemy and type .bot. Then, type .bring to teleport that bot to your current position. You’re now free to noclip out from the boost and see what it looks like from the enemy POV.
Recommended Posts
 simba
simbaCounter-Strafing: The key to precision aim in Counter-Strike 2
 clegur


