Samuel Allen
CS2 Utility Secrets: 7 Must-Know Nades For Anubis
Anubis is one of those maps that people seem to either love or hate. From the depths of Silver solo queue all the way up to the top level of professional play, it divides opinions fairly consistently. No matter whether you love it or hate it, one surefire way to dominate your games on this Egypt-inspired map is to learn some of the most crucial utility on each part of the map. In this short article, we’re going to take a look at a few of the most useful pieces of utility – just like we did for Train – and show you how to throw them easily.
Mid Smoke
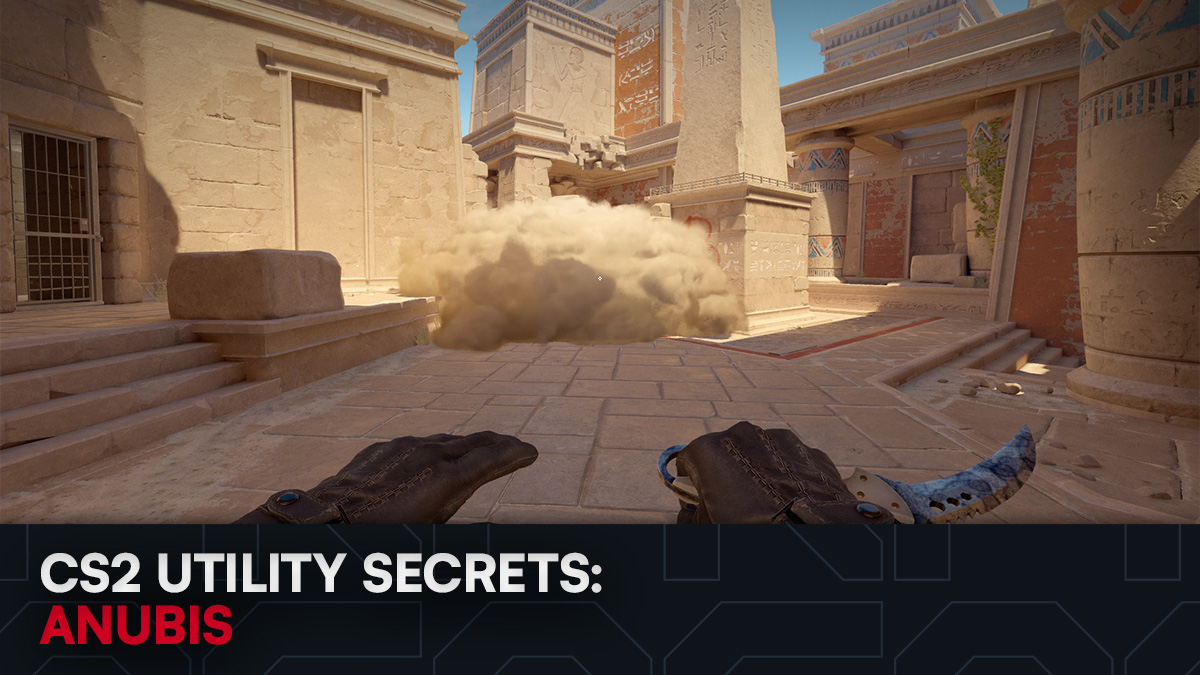
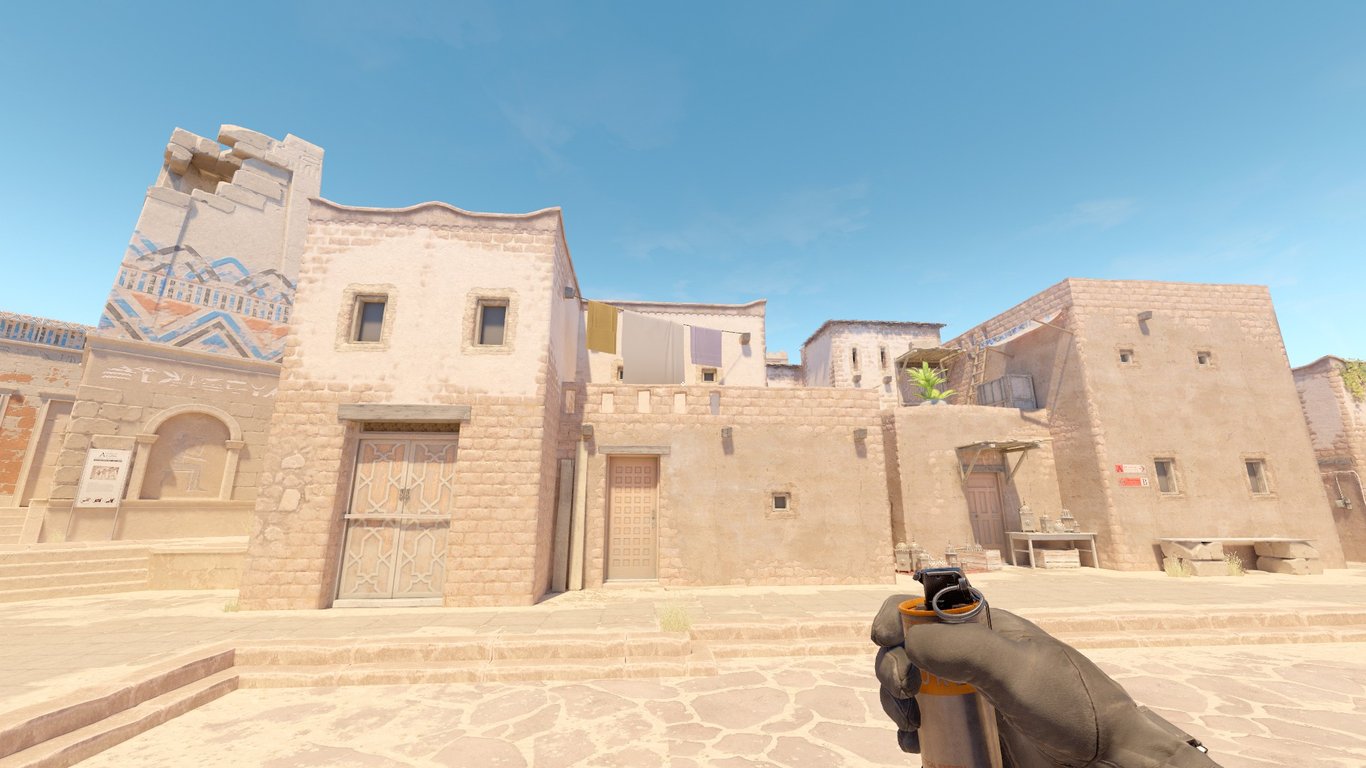
One of the most important smokes to throw in order to gain some early control over mid, and deny a common AWP line, is the T-Spawn mid smoke. There are a handful of lineups for most of the smokes in this article, so we’ve tried to pick some of the simplest lineups. This one is easy, quick, and can be thrown at the start of every round without losing too much tempo.
The end result will look like this: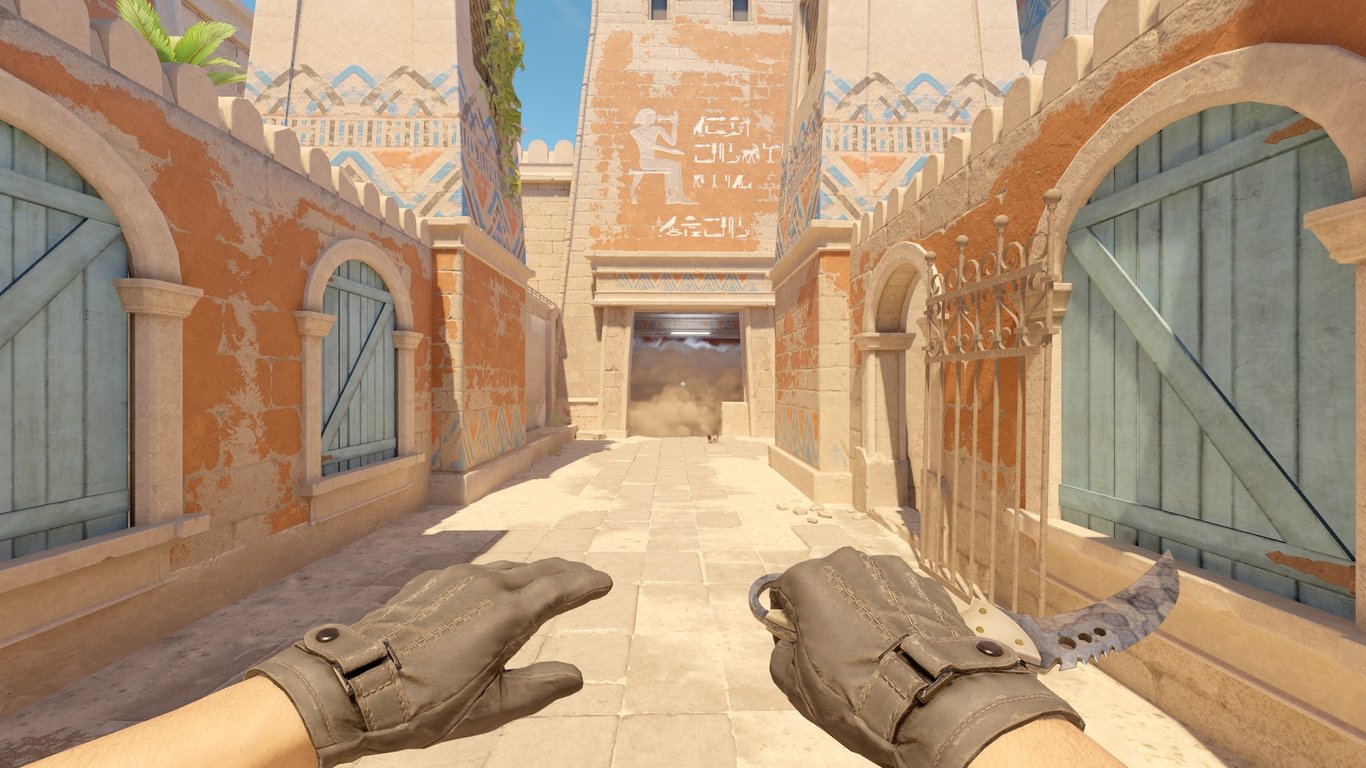
For this smoke, we’re going to be lining up in the center of the middle pillar supporting the fencing in T Spawn. Look at the bottom-right corner of the largest towel and jumpthrow. 
Ebox Smoke
Our next smoke is equally as important as the first in terms of gaining early-round map control, and can be thrown from the exact same spot. The only difference is that it’s a W+Jumpthrow. This smoke will entirely cover Ebox, including the two walk-out spots, ensuring that T-Side Water players can avoid another very common AWP pick in the early stages of the round.
For this smoke, lineup exactly as shown in the first smoke, but aim here: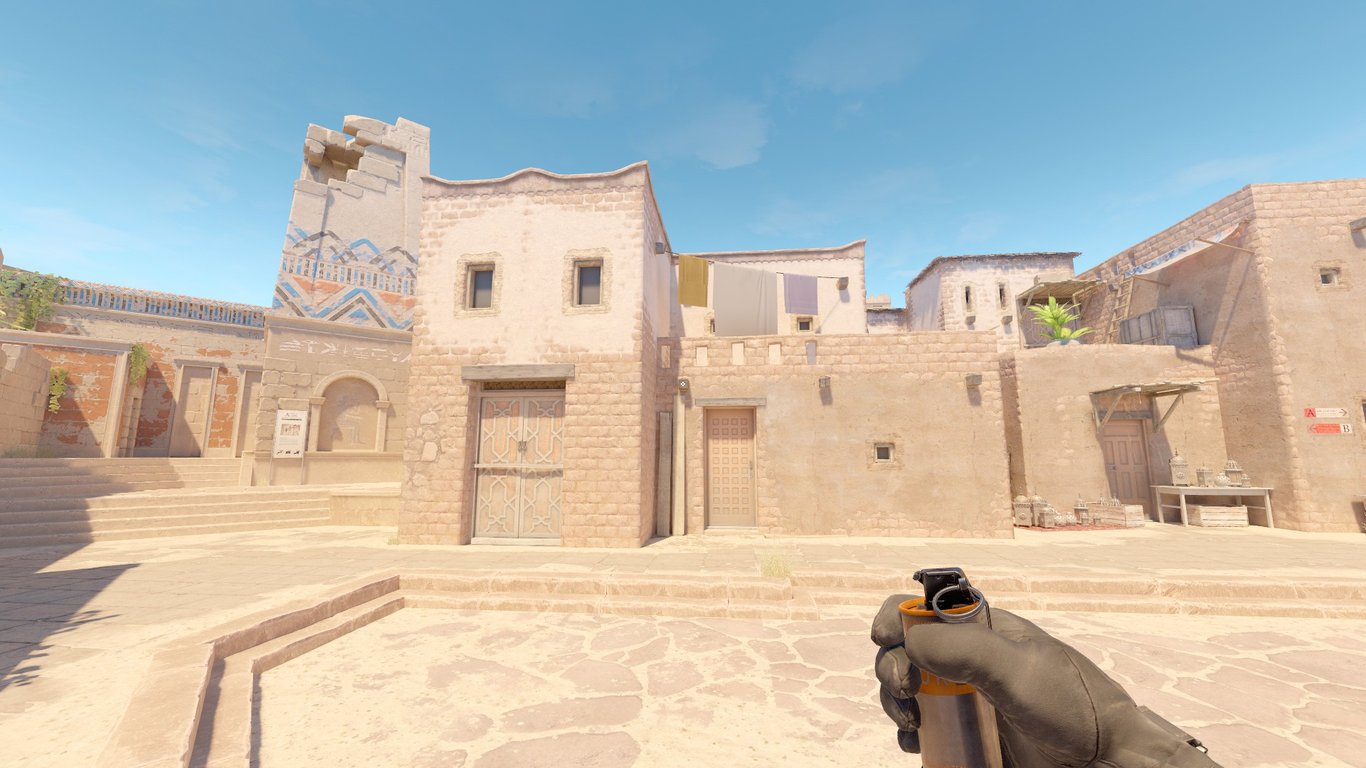
And W+Jumpthrow.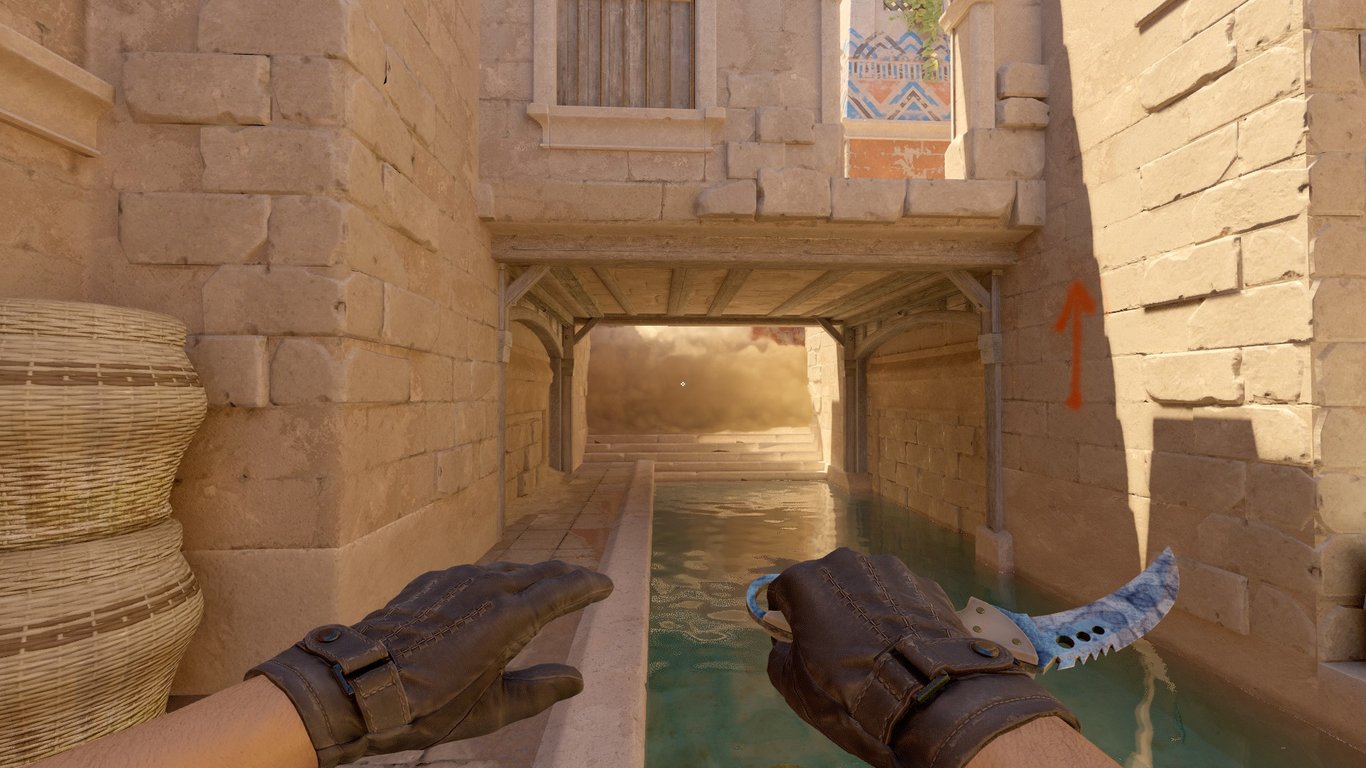
Mid Molly
Now we have Mid and Ebox smoked, we’re going to take a look at probably the most common Molotov thrown on Anubis. This is essential for really putting the pressure on the CTs in Mid, and gradually increasing your control over the middle portion of the map.
For this molly, you’re going to lineup in between these two marks on the wall, as shown below.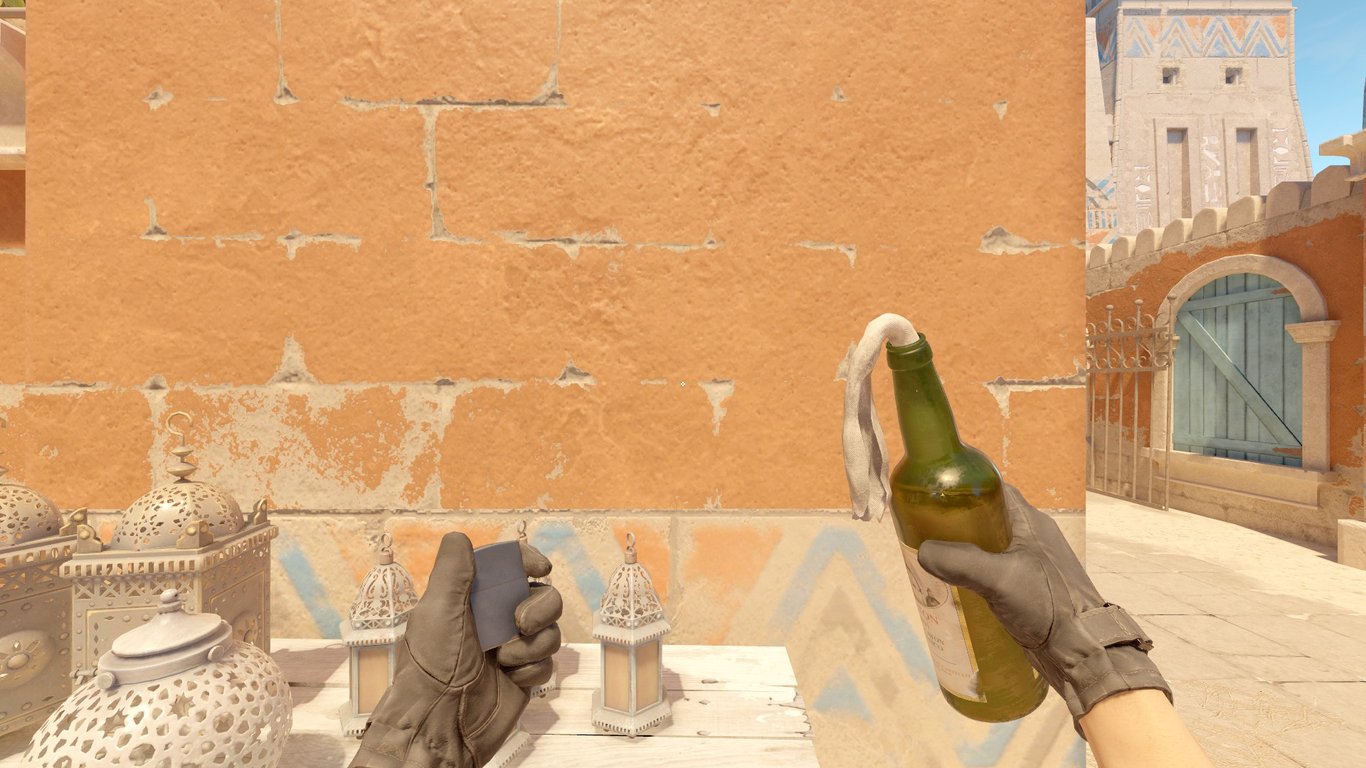
You will then look for this corner of the detailing: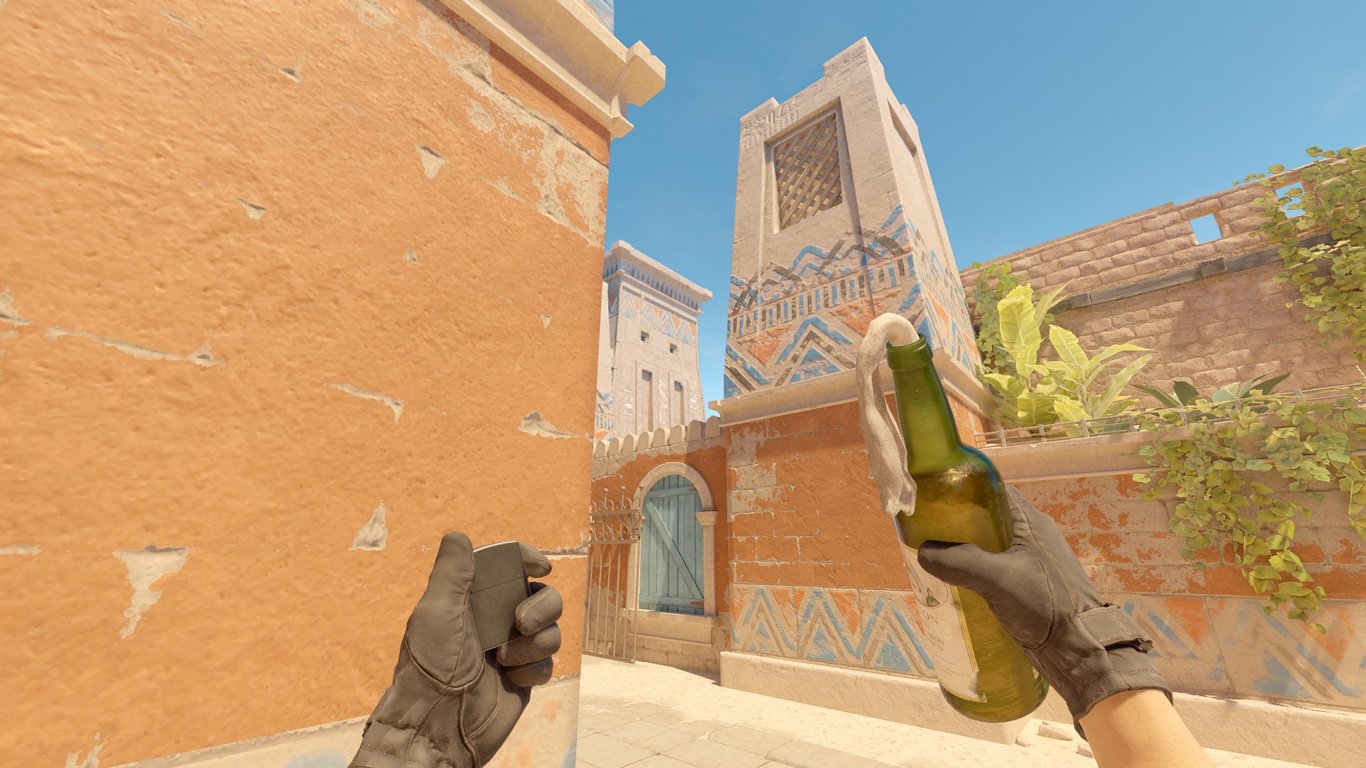
Then it’s just a simple left click. Make sure you wait a second before fighting, and catch the CT on Doors if he swings.
Cross Smoke (and bonus flash) For B Site
You’re getting two for the price of one here, so make sure you remember these! If you’re looking to throw a good cross smoke to get out onto B Site, you can get yourself stuck into this corner: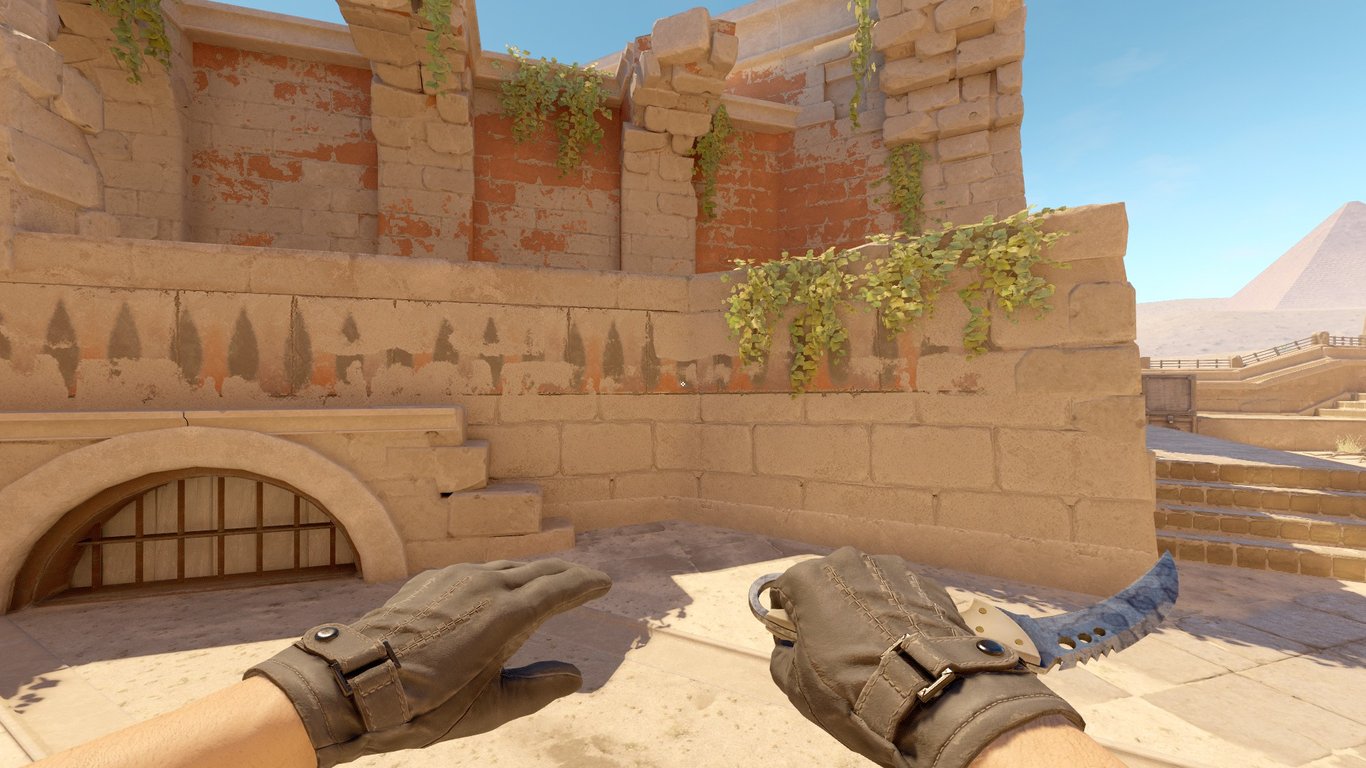
For the Cross smoke, look here and Jumpthrow: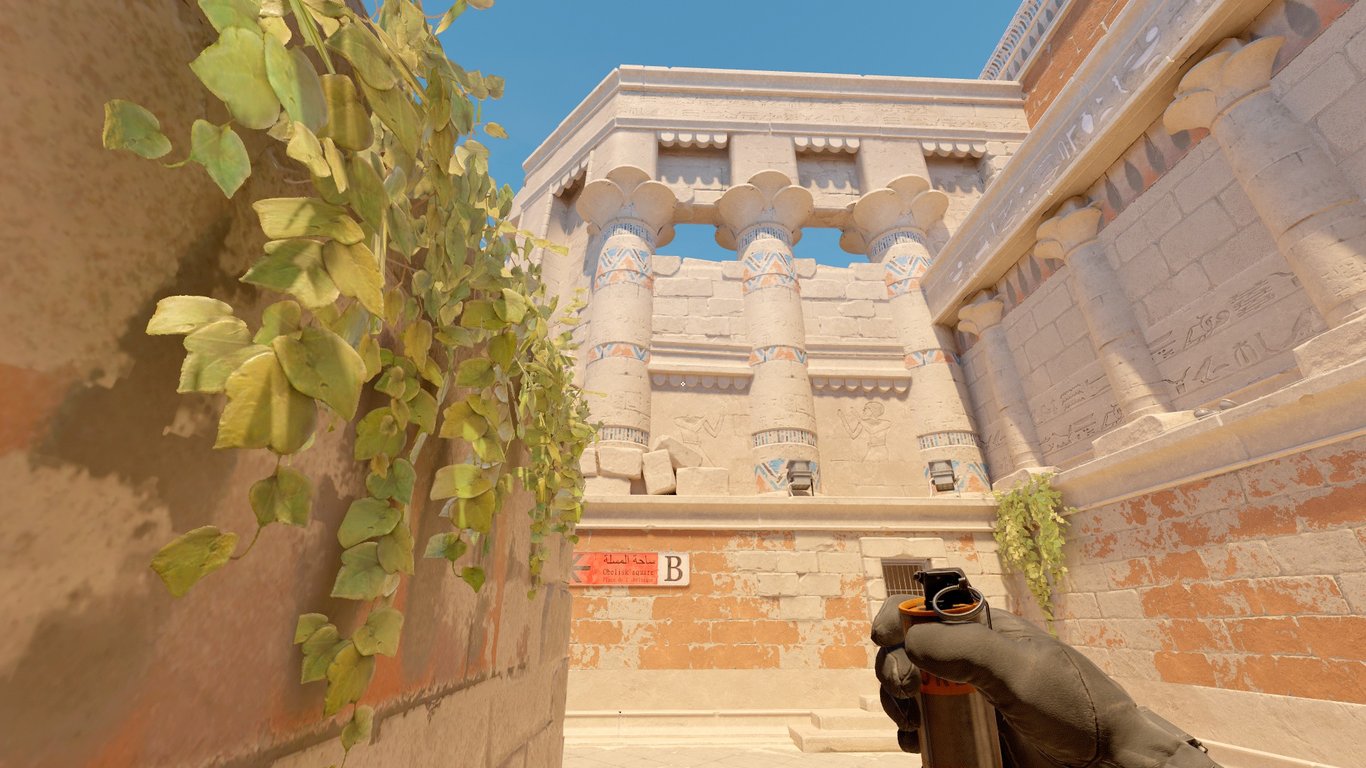
From the exact same spot, you can follow the smoke up with a nice Main pop flash by positioning your crosshair on the tip of this leaf: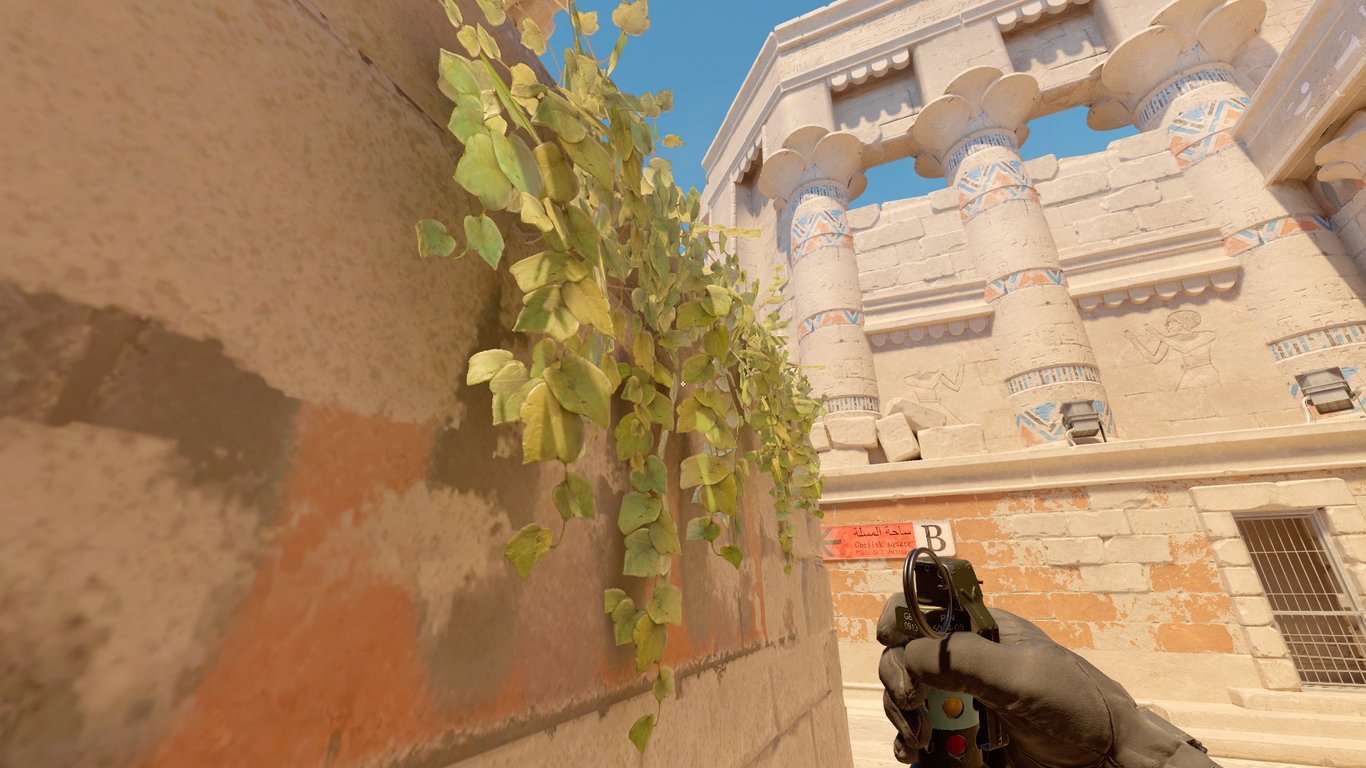
And jumpthrow. Congratulations – you’re into B site!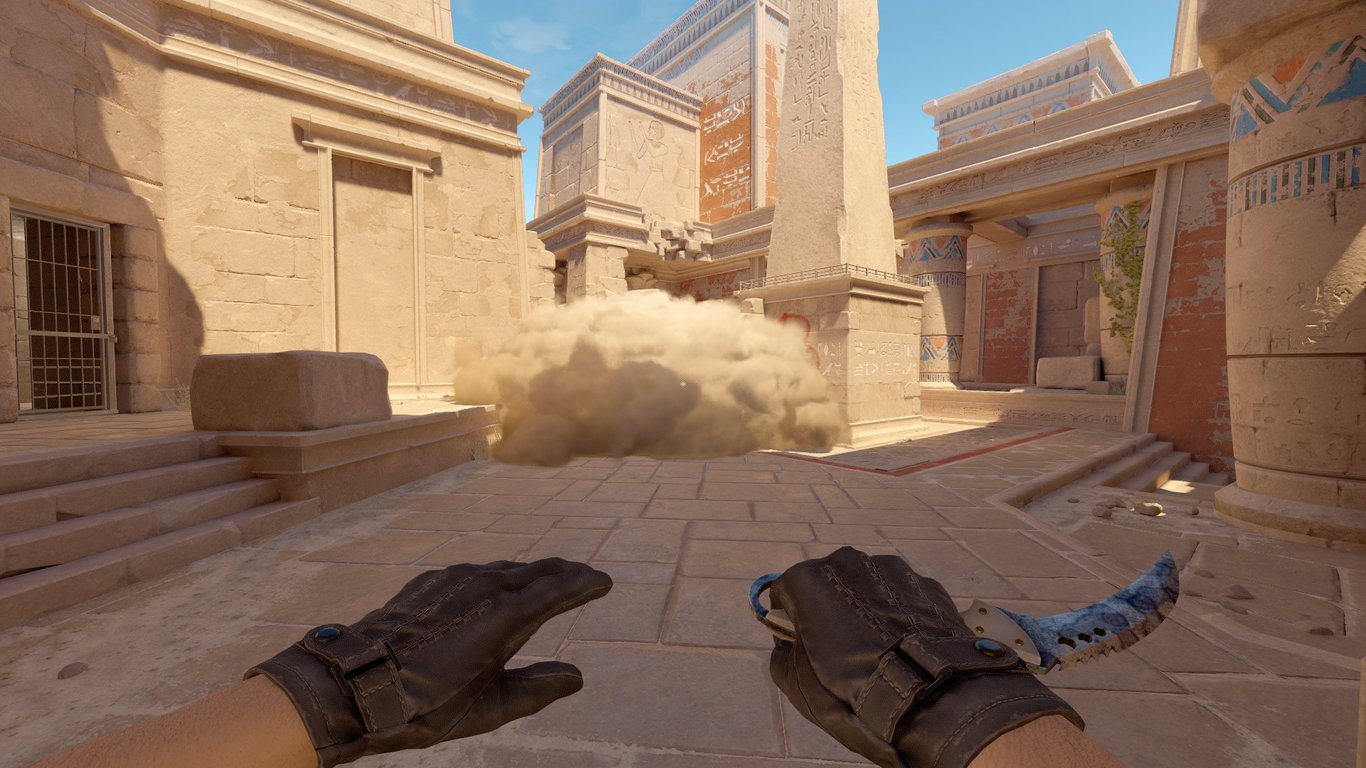
A Heaven Smoke
Now onto the other side of the map. Let’s take a look at a couple of the most useful smokes on the A Site. For our first piece of utility, we’re going to line up a Heaven smoke. Get yourself positioned in this corner: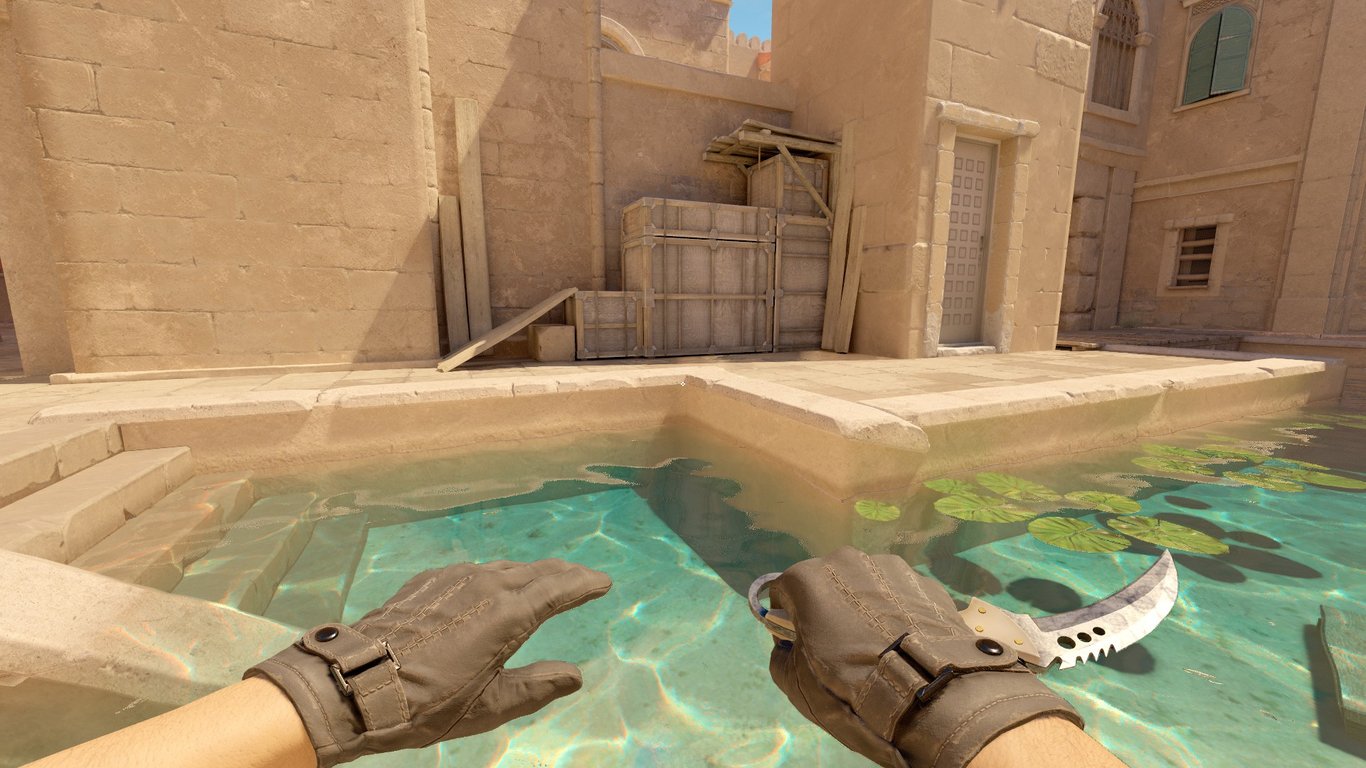
And position your crosshair here on the wooden box: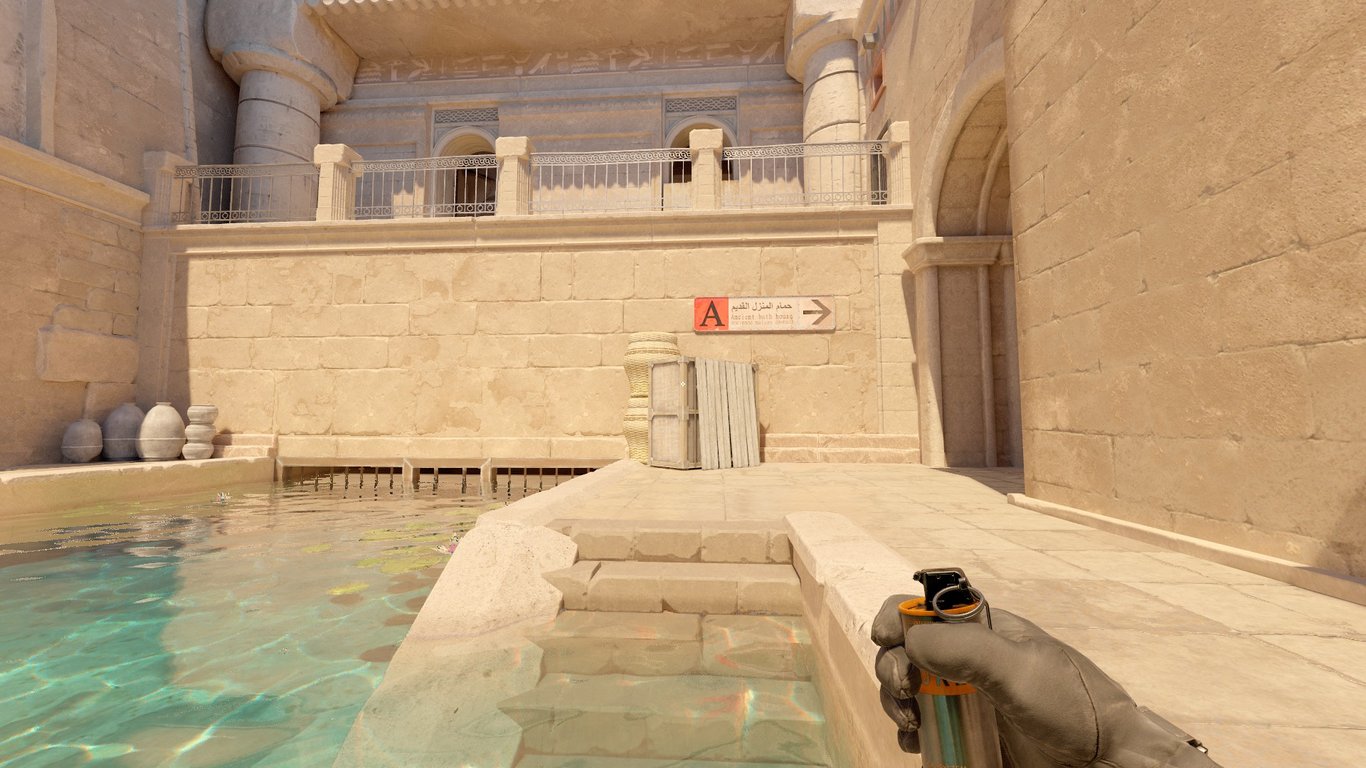
Now simply jumpthrow, and you’ll be safe from a Heaven peek as you scale onto the A site.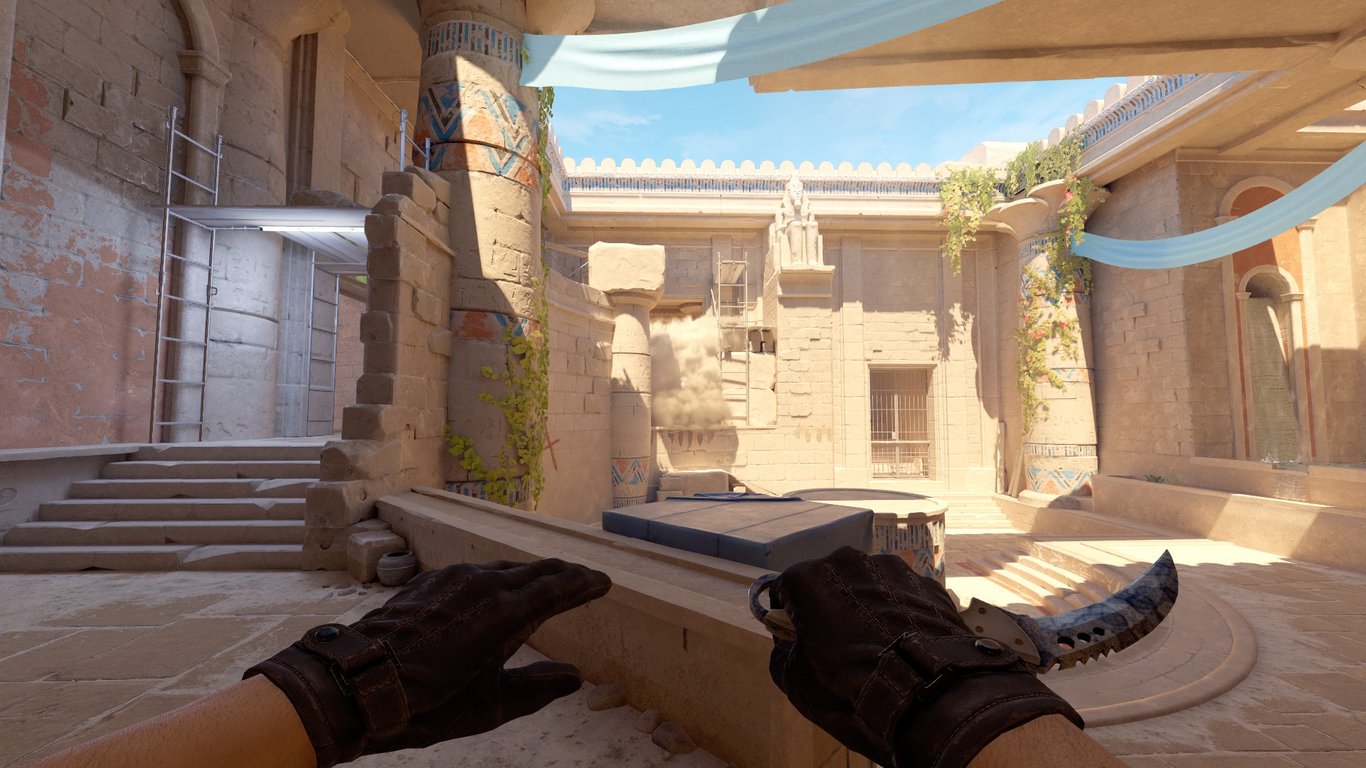
A Camera Smoke
Finally, we’re going to take a look at a useful Camera smoke, thrown from a similar area. For this smoke, you’re going to hop up onto these steps and get stuck in the corner as shown below.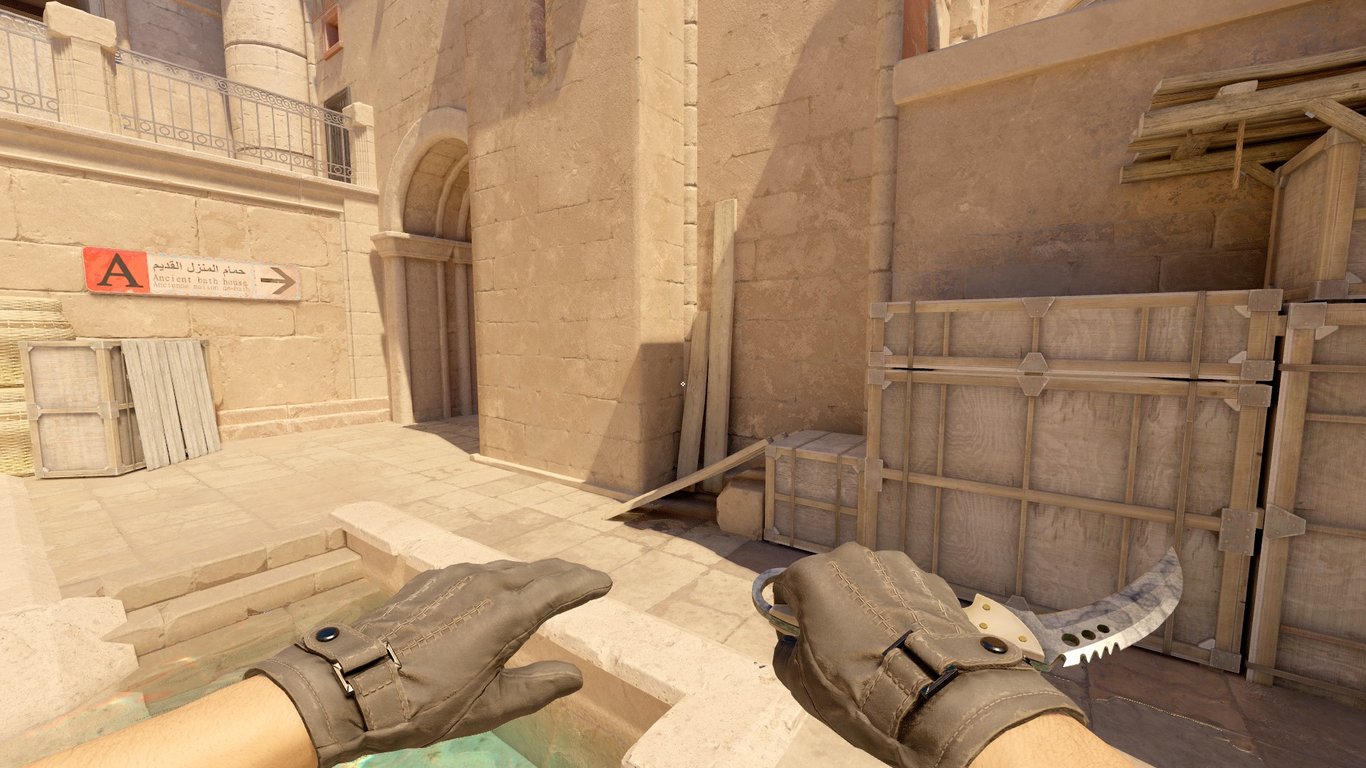
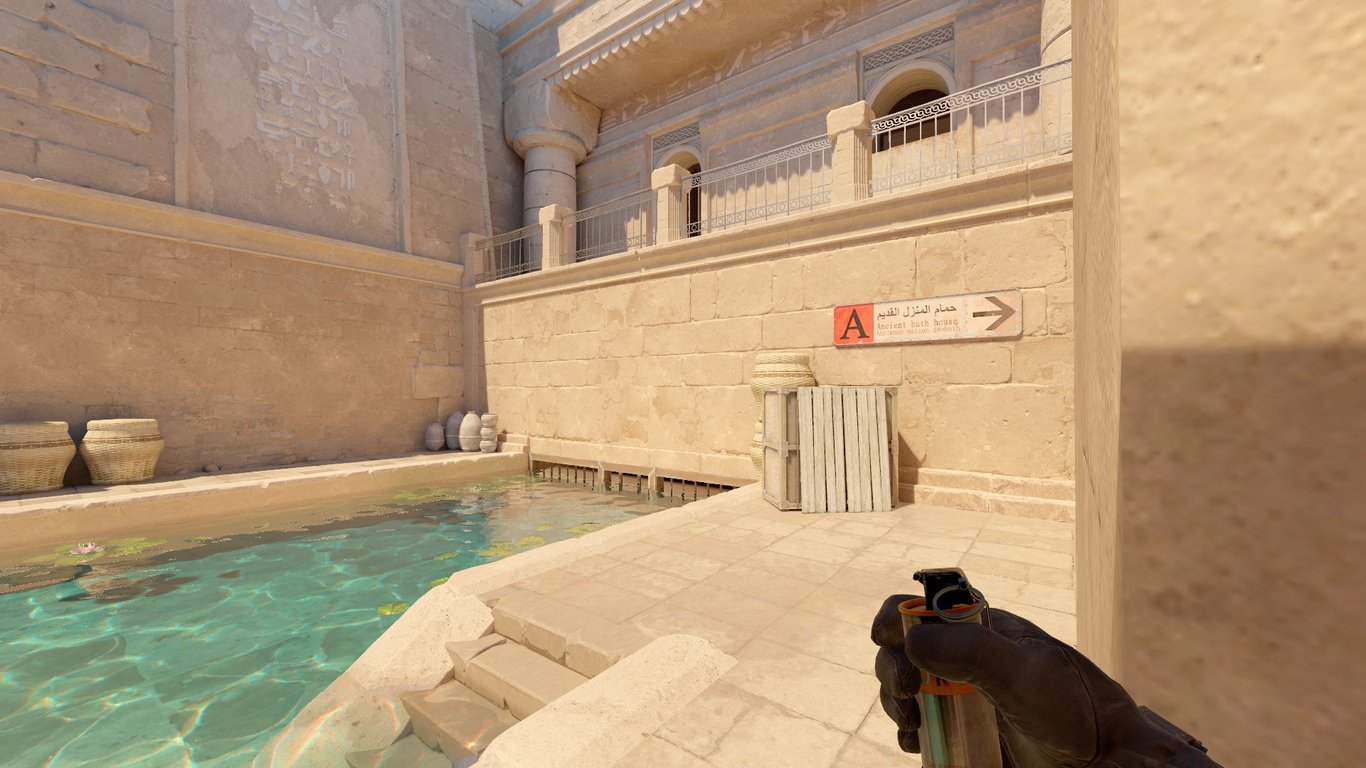
This smoke is the most complicated to throw, but don’t worry – after a few practice runs in NADR, you’ll have it nailed. For this smoke, you will need to crouch, hold left and right click, and Jumpthrow. If you perfect this, you will be throwing a perfect Camera smoke in no time.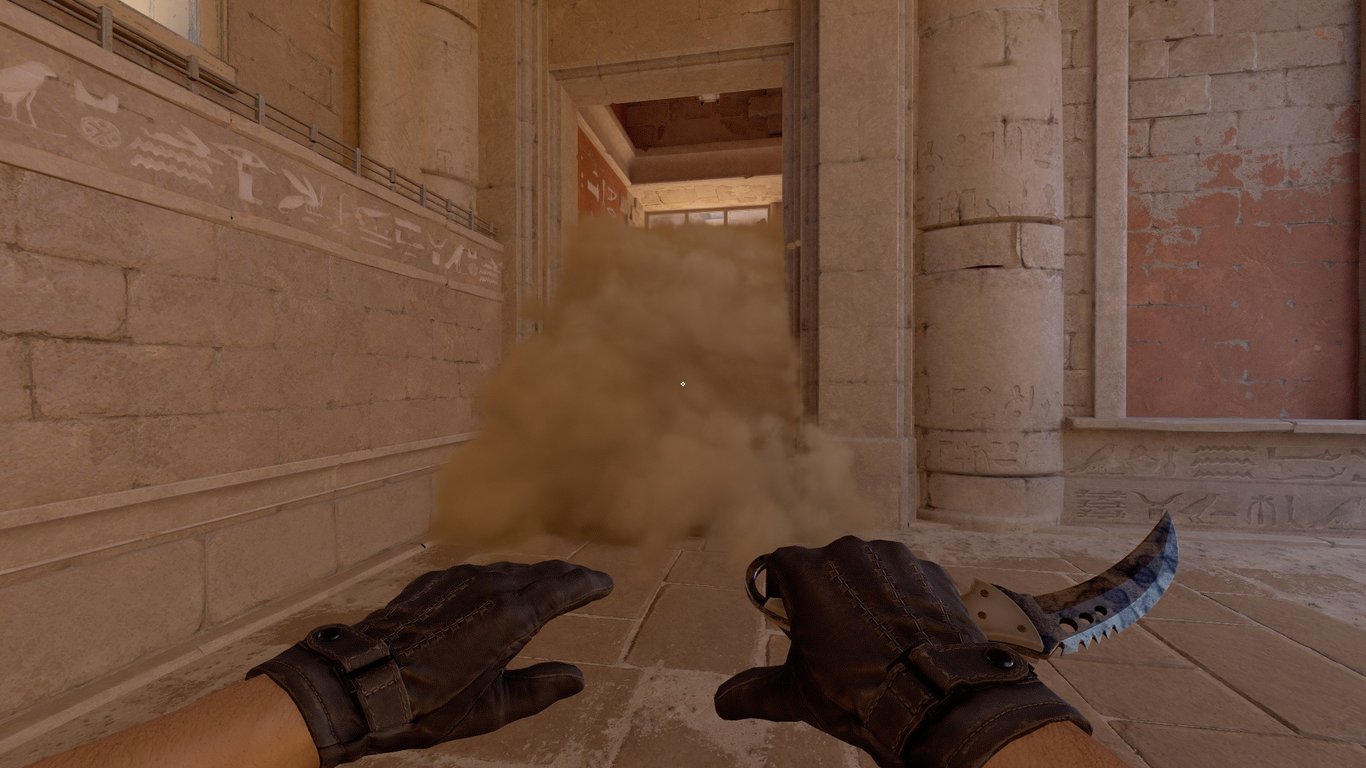
So there you have it – some of the most useful pieces of utility on Anubis. Next time you load up and impress your teammates with your newfound util, don’t forget to mention where and how you learned it!