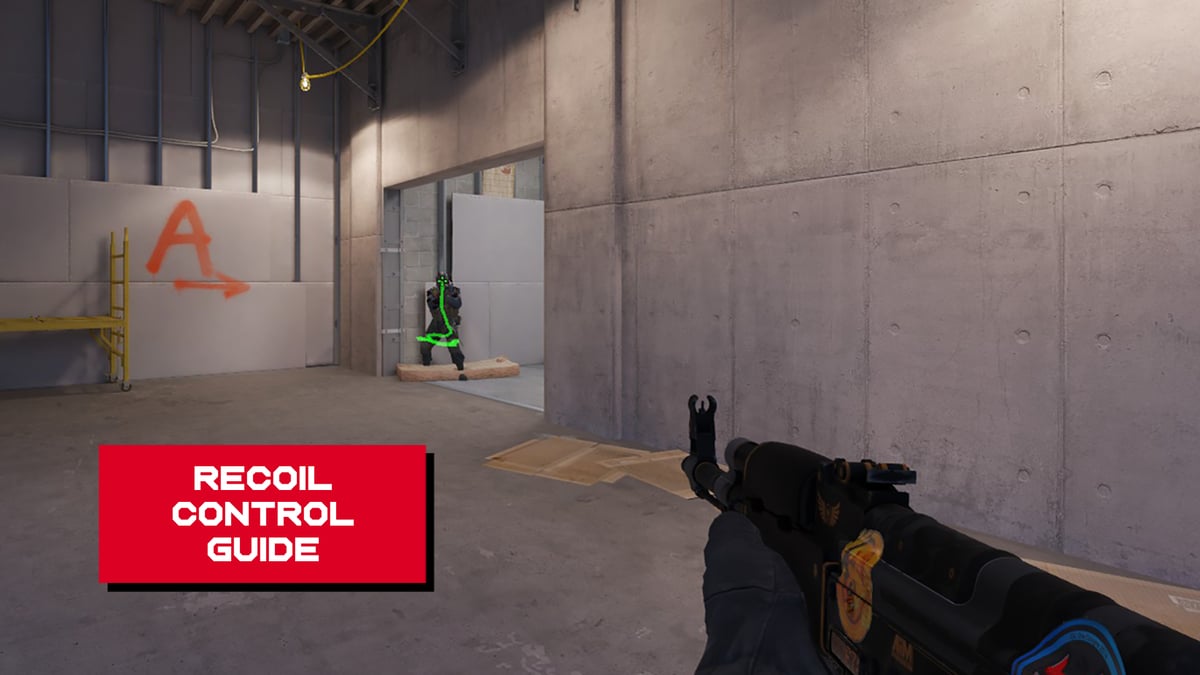
The one-shot rifle. The Big Green. The Magnum Sniper.
The AWP goes by many monikers and needs no introduction. It’s inclusion during Counter-Strike’s development was controversial, to say the least. A gun that kills in one shot to the torso could send a tactical game with ample choice of small arms into non-sensical, chaotic duels that resemble an arena shooter more than a tactical one. More than two decades after its inclusion as the AWM, the Accuracy International Arctic Warfare has cemented itself as a mainstay in popular culture, and it’s entirely because of Counter-Strike.
Many years later, Counter-Strike 2 still features this iconic gun in the form of the AWP. It has kept its ability to neutralize opponents with a single trigger pull, and its power is still revered to this very day.
However, with great power comes great responsibility. Using the AWP effectively in competitive play can be challenging; the high price, the relatively slow operation of the bolt action mechanism, the low magazine size, and the need for precision shots make its skill ceiling higher than almost any gun in the game.
When used properly, it’s incredibly powerful and can take over entire matches. In this guide, we’ll explore 8 tips to elevate your play with the AWP.
1. Learn to use fallback angles

The bolt-action nature of the AWP means you need to use cover to safely rack the bolt before continuing to fight. This means you have to have a plan for what to do after you’ve engaged your opponent. You need to know where you’re going to fall back to safely after taking a shot, regardless of whether you land the shot or not. Standing your ground isn’t an option in most scenarios.
This is where fallback angles come in. These are positions you go to hold from after you take a shot. This keeps a safe distance between you and the enemy, giving you enough time to once again rack the bolt before peeking again for another shot.
Some of these angles are well thought out or intuitive already, such as Arch on Inferno. If you’re holding brackets from the corner of Arch, it’s natural to fall back into Arch, and then even further back on your second shot. Other positions don’t have obvious fallback angles or don’t have any at all.
Certain positions are dead-ends and will require dancing around a single piece of cover while you load another round into the chamber. This isn’t exactly an ideal position for the AWP to be in, so knowing the positions that have clear fallback angles will help you die a lot less after taking one shot.
2. Move your crosshair less
The best AWPers in the world make their frags look easy, and this is why.
With a rifle, you can afford to move your crosshair a bit more than normal in the moments before and during an engagement. The full auto nature of those guns means you can course correct with a spray if you over-adjust your aim when an opponent peeks you.
With the big green, forget about that. You either hit the shot or you don’t; it’s as simple as that. A mistake a lot of players make is that they move their crosshair far too much when AWPing. With the average player’s sensitivity, this comes down to too much wrist movement. It often results in missed kills because the player flicked off of the opponent, whereas if they had just kept their aim steady, they would have hit their shot. It has happened to all of us. We’re holding an angle, an enemy peeks, and we overreact and flick off of them.
It sounds obvious and redundant, but it is one of the main factors that separates AWP aim from rifle aim. Relying more on your initial crosshair placement when an opponent peeks instead of trying to adjust for it when they do will lead to many more easy shots. A good rule of thumb to take from this rule is: the further away from an angle you are, the less you’ll have to move your crosshair to adjust, if at all.
3. Keep your aim lower
We’re always told to “aim high” both in life and in Counter-Strike, but this isn’t great advice for the budding AWPer. Headshots don’t give you bonus points with the big green, so aiming for one doesn’t make much sense.
Another meditation in crosshair placement, this tip to keep your aim lower than headshot level means you have a much wider target to hit. It depends on the angle you’re holding of course, but it’s important to train yourself to aim a bit lower when looking down the scope. Training yourself out of this can be tough if you don’t pick up the AWP often, but it’s worth making an effort to do.
4. Learn utility from the positions you play
Less of an AWP tip and more of a tip intended for AWPers, learning utility from the positions you’re often in is important. As an AWP, you’ll find the strongest angles you can hold are also the ones that are most often smoked, mollied, or flashed. This takes you out of the play entirely if you don’t know any utility.
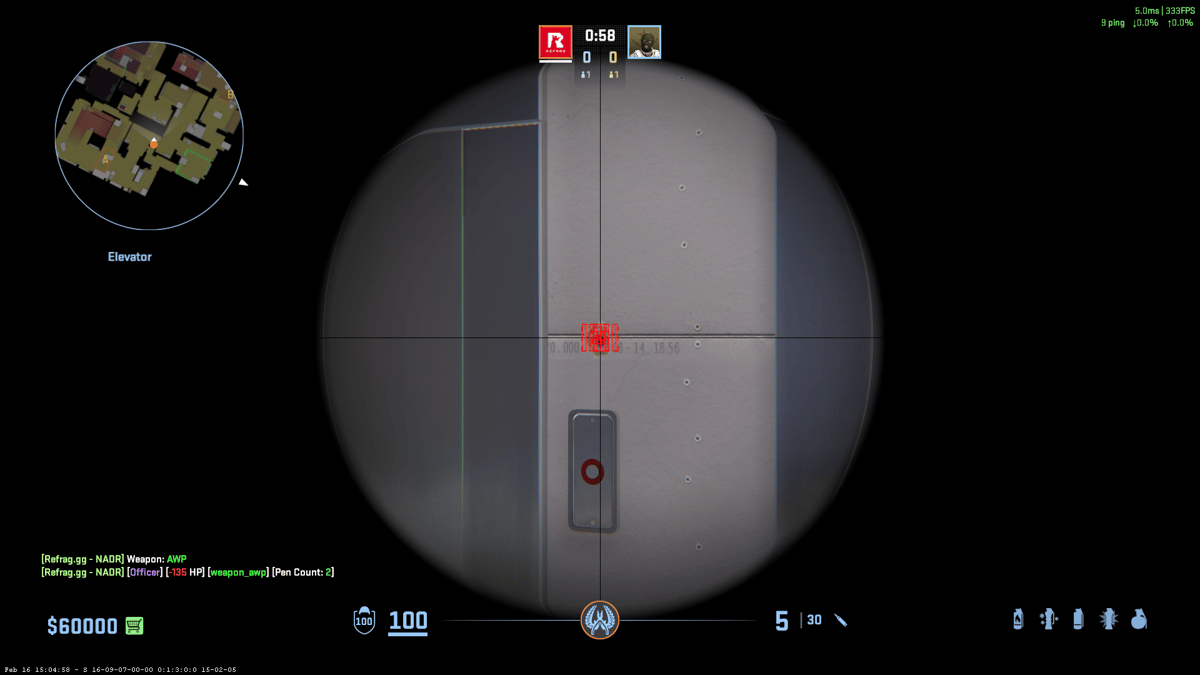
Learning effective support flashes, and molotov lineups to slow the push of the enemy team, or HEs that will neuter a rush attempt. Whenever you’re smoked off, using these utility tools will help your team more than staring into a grey blob. The best way to efficiently learn this new utility is to use Refrag’s NADR training mod. It’ll help you add a variety of lineups to your arsenal using the hundreds of preloaded lineups, or use the integrated utility testing features to create your own.
Obviously, priority number one should be to find a way for your AWP to be effective again, whether that’s a new angle or otherwise, but finding ways to be effective when your primary weapon can’t be is how you become a more complete AWPer.
5. Abuse spawns and know the timings

Part of being an AWPer is opening up rounds for your team. Opening kills are absolutely massive in controlling the momentum of a round and, when strung together, can control the entire game.
Knowing exactly when and where the enemy can be in the first 10–15 seconds of a round is crucial, and this goes for both the CT and T sides. It keeps you from going for ill-advised fights in the early round, further increasing your survivability.
If you have a good spawn with the AWP, you should almost always go for the peek. It depends on the map, but in most scenarios, it’s better than not going for the early fight. The AWP is generally most effective in the early and late round because of its ability to lock down choke points and force enemies to respect its one-shot potential.
A byproduct of going for aggressive peeks when you have the spawn will result in you taking fights all over the map, leaving your opponent unable to anticipate your next move. Don’t exclusively go for a Banana peek on Inferno, especially if you keep getting the spawn. It’s important that you mix it up because if your opponent can plan for your position, they can use utility to render your gun useless.
Refrag comes with the ability to see all possible spawn points, and with the .dryrun command, you can test every from-spawn timing in the game with ease. Practice going for aggressive peeks on every map or use it to better time your early-round utility. For more information, see the Refrag Wiki.
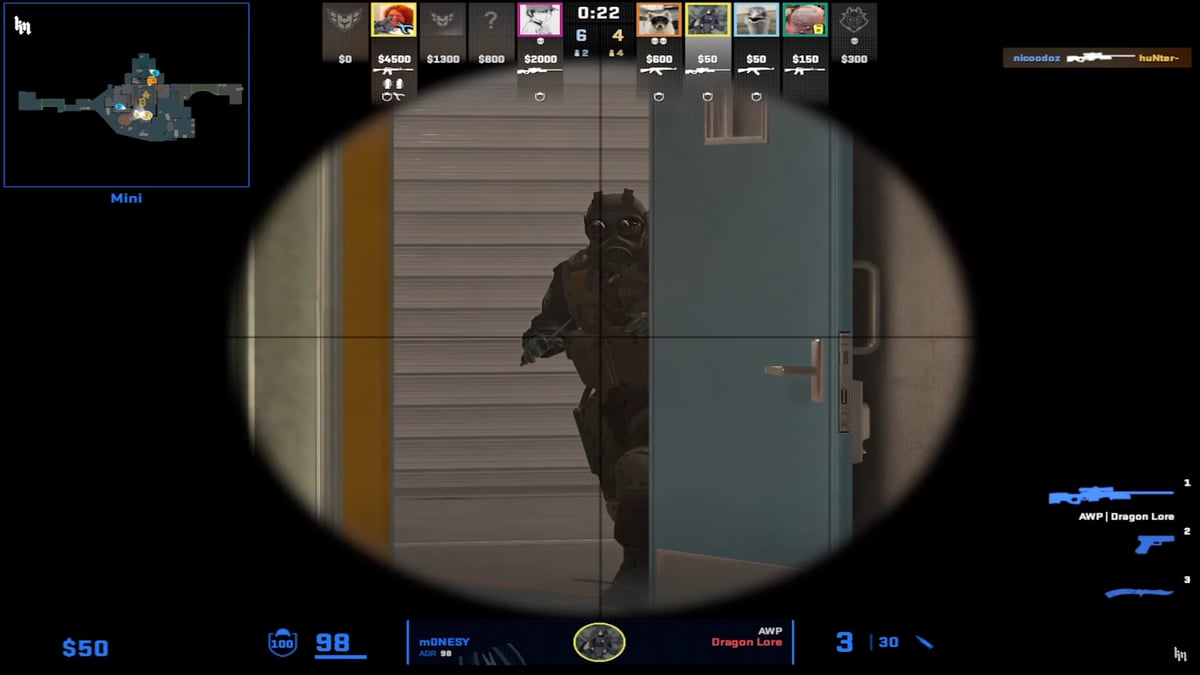
6. Avoid re-peeking
The cardinal sin of AWPing: re-peeking.
Generally a bad idea with other weapons, it’s especially poor with the AWP. The sniper rifles do not lend themselves well to rapid kills because of their bolt-action nature, but because of your relatively slow movement speed and limited accuracy until completely stopped, this gives an incredible advantage to those who are zeroed in on an AWP who just took a shot.
The time needed to load another round gives your enemy ample time to adjust their crosshair placement, come to a stop and hold for your re-peek. This is why re-peeking is known as a “cardinal sin”. It’s the knee-jerk reaction of many players and it gets them fragged often.
A safer alternative is to peek the same angle from a different position. This will most times make your opponent have to adjust their crosshair placement to frag you, but doesn’t help much if there are multiple players locked in on your position.
The safest, most effective way to re-peek an angle is to do it with a flash. The best case scenario is a teammate flashes for you from a different position. This equalizes the situation and takes the advantage back from a player who’s holding for you, especially if the flash pops within the angle you want to re-peek. Throwing a flash yourself can be effective but isn’t preferable, but desperate times call for desperate measures sometimes.
7. Don’t be afraid to save
There’s no shame in a little Jame time.
A saved AWP is better than a dead AWPer when we’re talking about effectiveness during an entire game. Paying attention to when the round may be beyond winning is especially important when wielding the big green.
A saved AWP can single-handedly win you rounds you otherwise shouldn’t. Its mere presence is enough to make the enemy team play differently around where they spot or hear the thunderous clap of your gun. On CT, send yourself to hold a bomb site alone while your team stacks the other, or on T side try to open up the round for your pistol wielding comrades to take space.
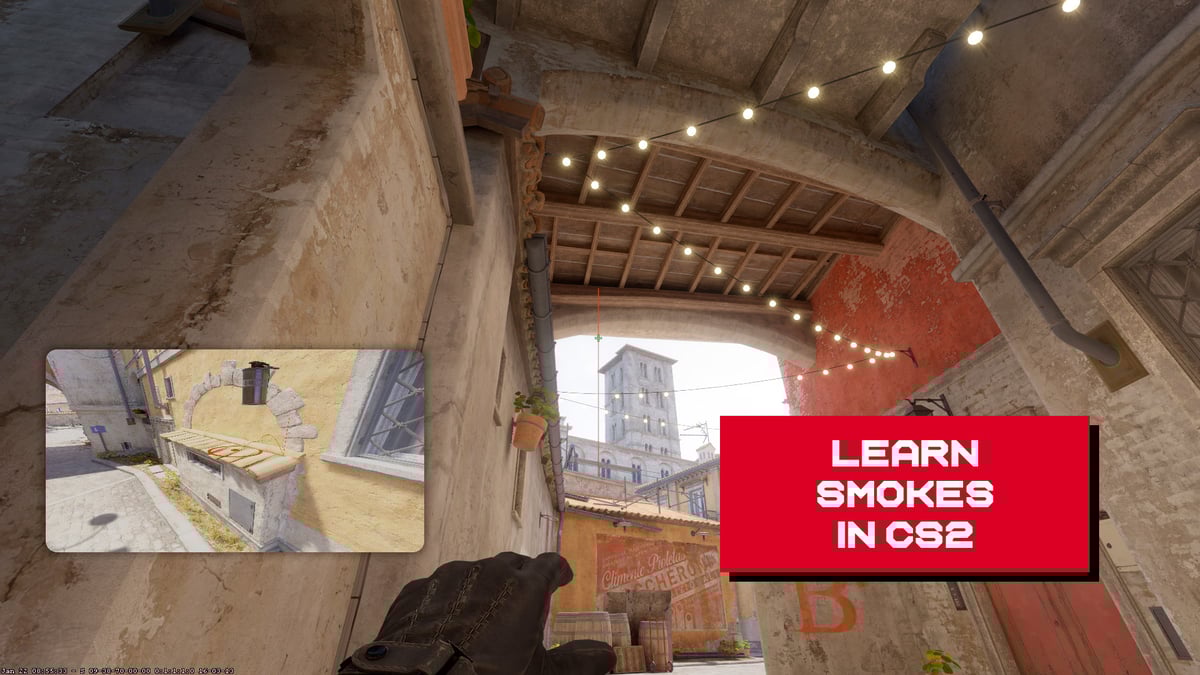
8. Abuse the new smoke mechanics in CS2
As we touched on previously, great AWP angles are often smoked off, rendering your position useless. With the new Smoke/HE grenade interaction added with the launch of Counter-Strike 2, you can catch players off that otherwise believe they’re safe from the scope of your rifle.
Similar to re-peeking with a flash, blowing up the smoke with your own grenade can be a bit telegraphed to the veteran opponent, who can react quickly to the sound of your grenade throw. This is much more effective when done by a teammate who’s in another position where the throw can’t be heard by the enemy. A quick pull of the pin and you can hit your shot, disappearing behind the smoke shortly after. A great way to practice the timing and coordination required for this would be with a teammate in a Refrag practice server running NADR.
9. Use the AWP Hold training set on Refrag’s Community Hub
The best way to hone your skill with the AWP is with Refrag.
Available on every Active Duty map, Creator Hub legend czaaje created realistic practice scenarios to simulate how holding with the AWP feels against real opponents. No more mindless deathmatch with the AWP.
To launch the AWP Hold training sets, navigate to the Community Hub on your Refrag Dashboard and click on the corresponding category to list all available training sets. After you’ve started a server, simply click play to launch the training set. For more information on how to use the Refrag Community Hub, see our blog post on Using the Recoil Trainer and Community Hub.