simba
simbaGetting started with NADR & Utility Hub
Becoming a good Counter-Strike 2 player means learning the requisite utility on all the Active Duty maps. It required a practice config and hours of trial and error. NADR and our Utility Hub helps you by streamlining this process. This guide will cover all you need to know in order to jump into Refrag and start practicing your utility right now.
What is NADR?
NADR is Refrag’s own training mod for practicing all types of grenades in CS2. Access to NADR comes with any tier of Refrag subscription and can be used solo or with friends. To use NADR, launch a Refrag server from your Dashboard by pressing the “Play Now” button. Once your server is launched, you can load the mod by selecting NADR and your map of choice on the dashboard. Alternatively, you can type .nadr map-name-here in the in-game chat to load NADR on a map of your choice.
Once loaded into NADR, I recommend creating a couple of binds. The first is going to be a noclip bind to allow you to fly through the map, and the second is a bind to re-throw grenades with a keystroke. To do this, open the developer console with “~” and type the following, replacing ‘KEY’ with whichever keys you like:bind "KEY" "noclip";bind "KEY" "say .rethrow";
These binds are not required, but highly recommended. There are some chat commands that are useful that don’t necessarily require a bind, like .clear which clears all active utility like smokes and incendiaries. A full list of commands can be found on the Refrag Wiki.
Pre-loaded Grenades
NADR comes preloaded with grenade lineups for common spots on every Active Duty map. These are indicated by the floating enlarged grenade models placed on the map. To learn one of these nades, simply hit E on one of them and it will highlight the position of the lineup with a green line. Additionally, it will print the index number of that saved grenade into the chat. Typing .nade index-number-here will place you into the position and lineup for that grenade. Alternatively, you can hit E on the player model at the end of green line to get into the throwing position. If you want a replay of the grenade being thrown, you can double tap SHIFT. Finally, to hide the enlarged grenade models, type .mapgrenades to toggle them on and off.
Grenade Prediction
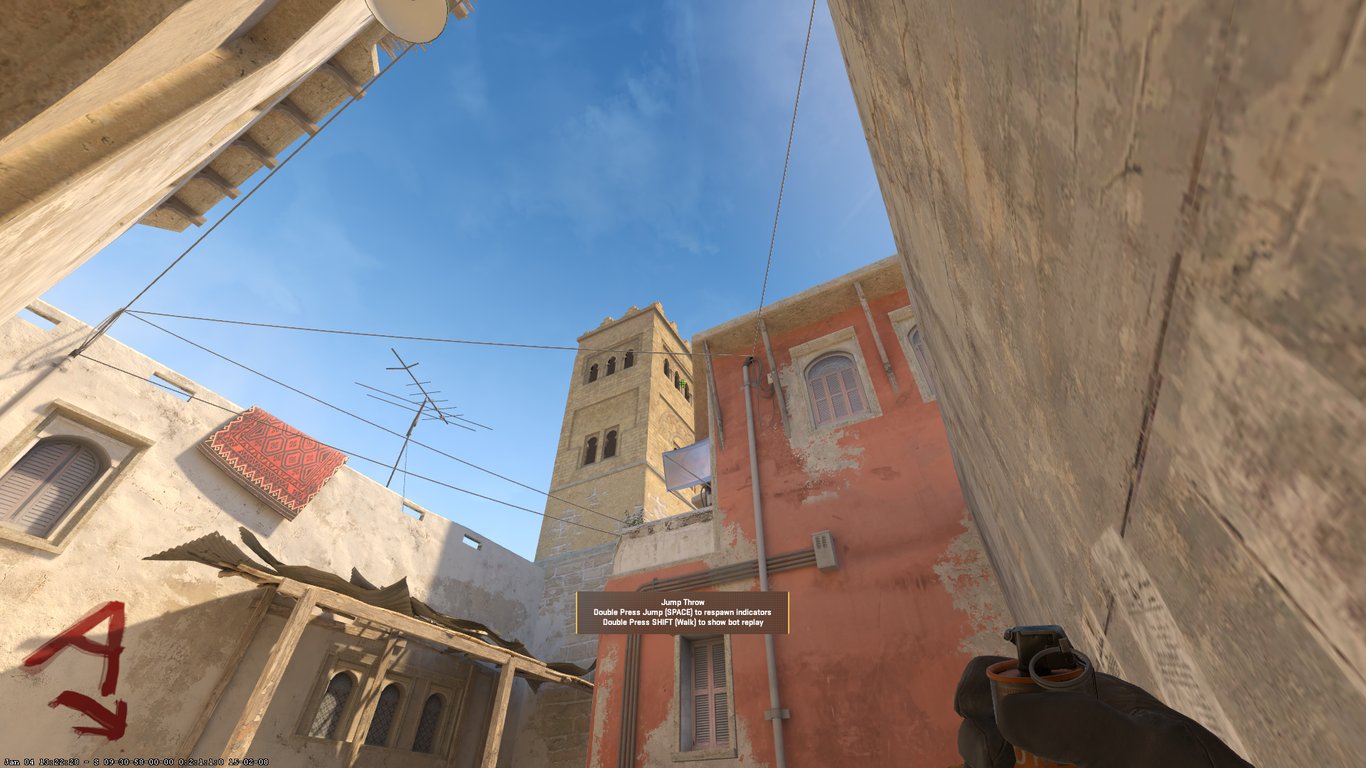
Grenade Prediction in NADR works similarly to how it does in native CS2 practice server, but with a few more key features. You can hit the E key to project the trajectory your nade will take, but double tapping E will swap modes between normal throws and jump-throws.
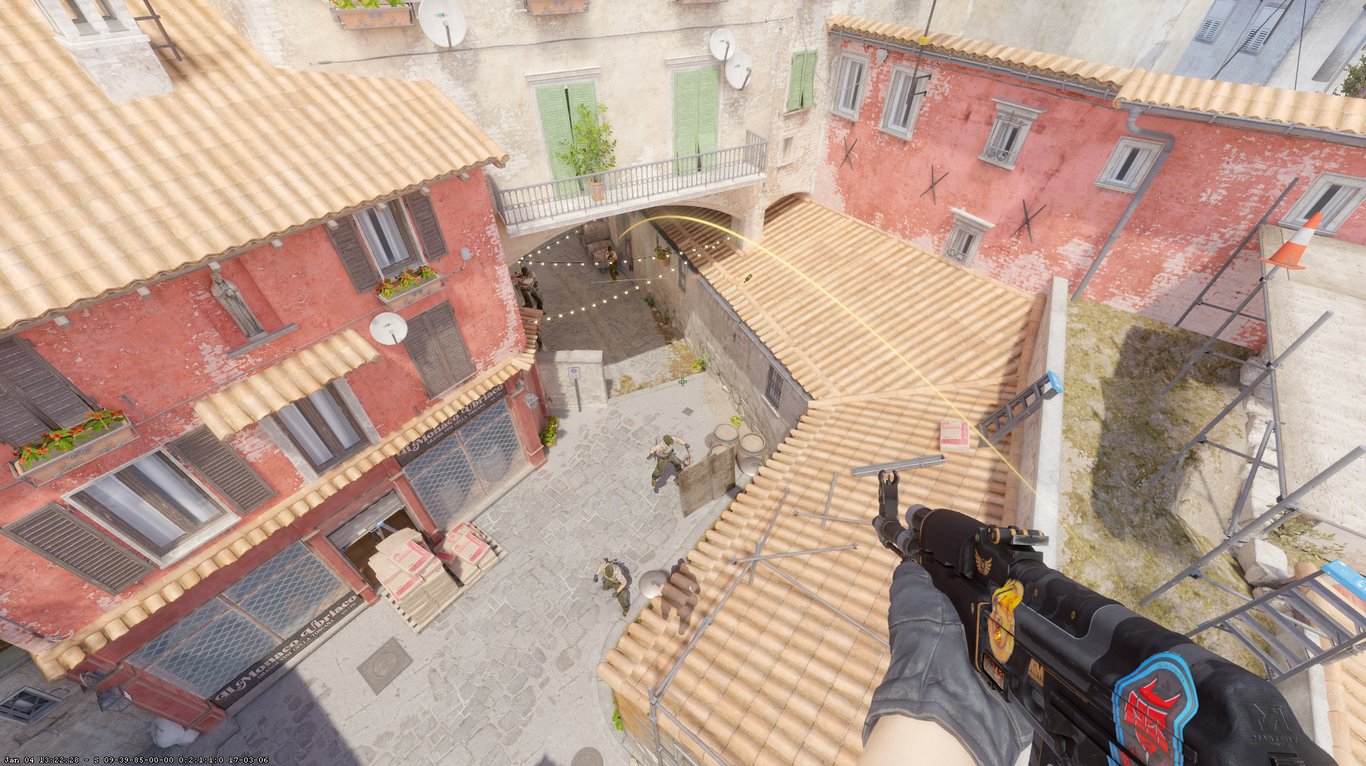
You can take this a step further by using the “R” key to spectate exactly where your nade will land. Holding E + R will allow you to make micro-adjustments on where your grenade will land. This is especially useful for creating your own smoke grenade lineups. Holding R after letting go of a grenade will give you a follow camera of that grenade’s trajectory.
Saving your Grenade Lineups
Saving your own grenade lineups and organizing them is trivial with NADR.
To save a grenade, simply lineup and throw the nade as you normally would. After you’ve thrown the grenade, type .save grenade-name-here. This will save your last thrown grenade with the name you provide, and it will assign it an index number. To access saved grenades, type .nades to print a list of saved nades with their corresponding index numbers. Once you find the grenade you’re looking for, you can load the lineup by typing .nade index-number-here just as we did with the preloaded grenades.
Organizing your grenade lineups into groups based on position, strategy, or any other categorization you like is possible with NADR. To create a grenade group, type .creategroup <name>. You can now assign whichever grenades you like to this group using .addtogroup <nadeid> <groupid>. Once you’ve added the grenades you like, you can load the group by typing .loadgroup <id>. For example, if you wanted to save all grenades for retaking top Banana on Inferno, you could type .creategroup BananaRetake, then add the required grenades using .addtogroup <nadeid> BananaRetake. Accidentally add an incorrect grenade? Remove it by using .removefromgroup <nadeid> <groupid>.
Using Bots in NADR
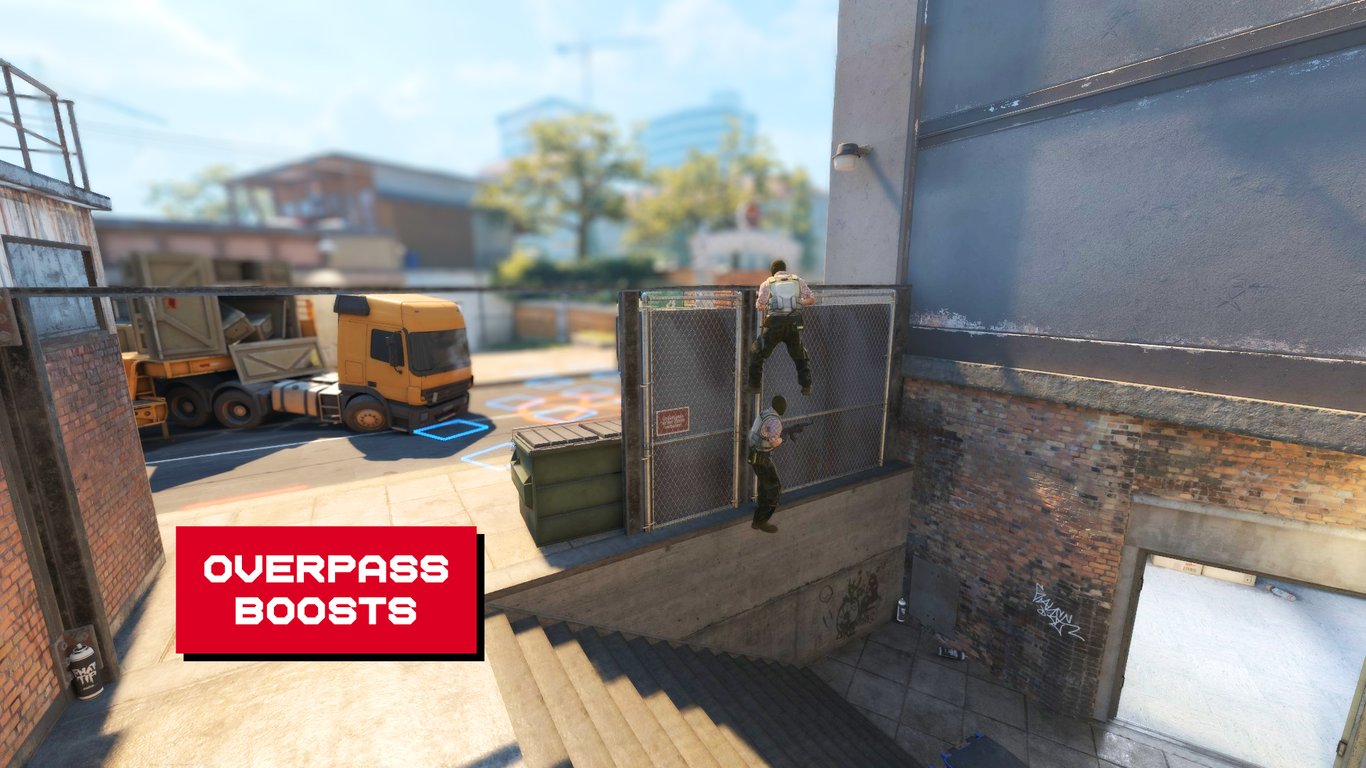
Using bots is a great way to test the efficacy of your utility or test movement options like boosts or runboosts.
To spawn in a bot, point your crosshair where you’d like the bot to stand and type .bot. To remove the bot, type .dismiss or .dismissall to remove all bots you’ve spawned. When bots take damage, they print it in the in-game chat. This allows you to see precisely how much damage your HEs and incendiary grenades do. In addition to this, bots also print flashbang stats to the in-game chat. Stats like flash time and accuracy will allow you to see just exactly how blind a player would be in the position you placed the bot in. The most useful way to use this is to place multiple bots while testing one flash, so you can see how efficacious your flash is in multiple positions at once.
Utility Hub
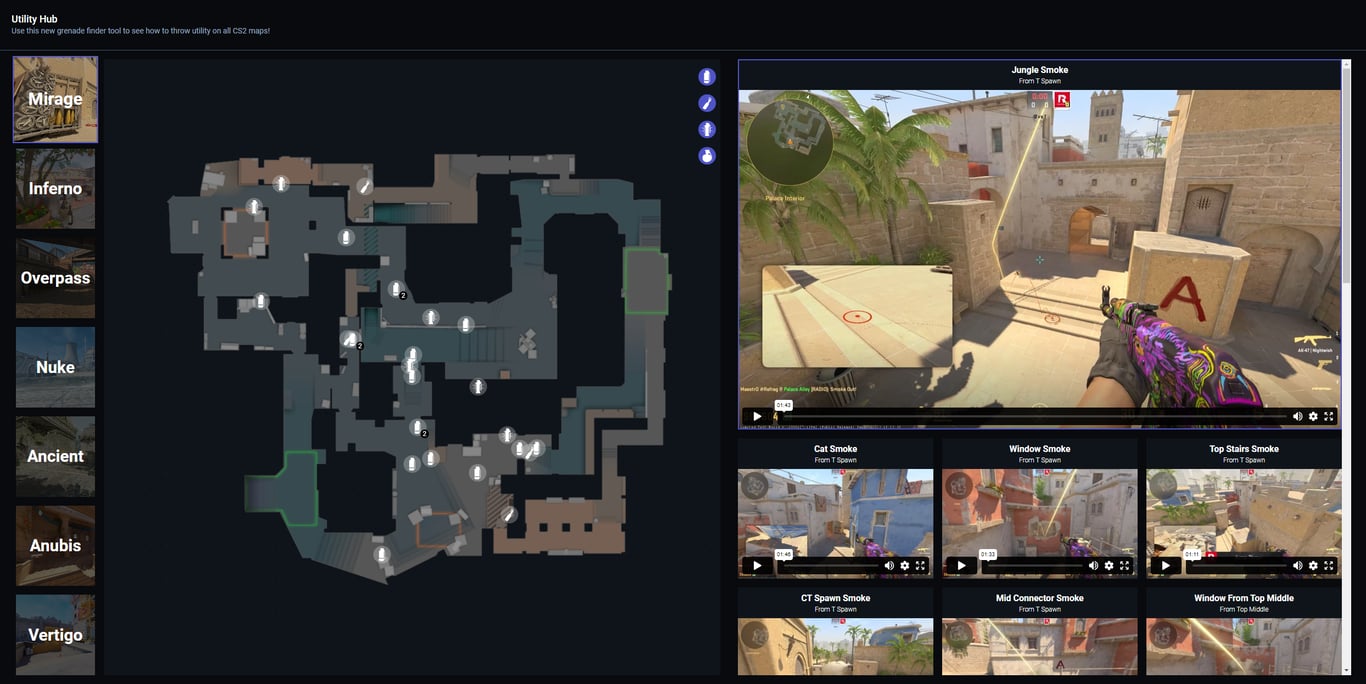
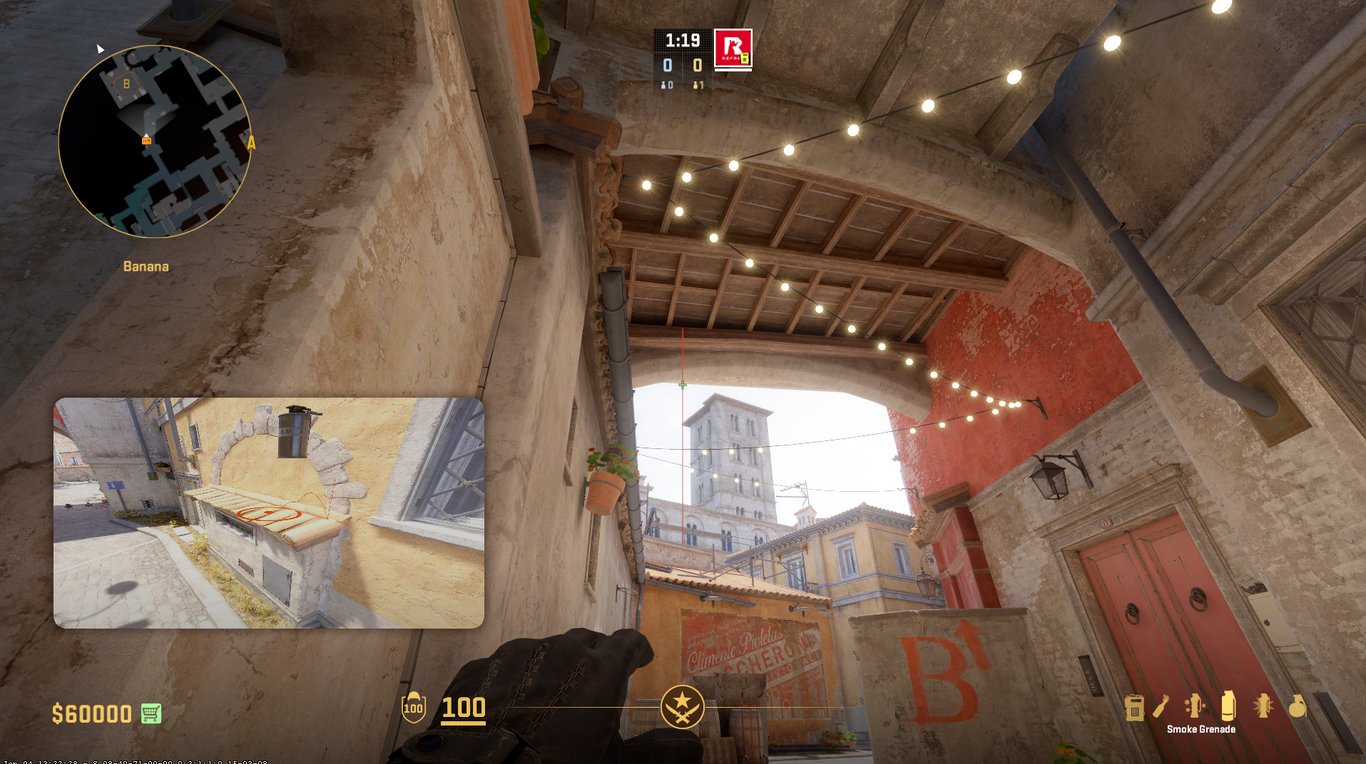
Only available for the subscribers to the Competitor tier, Refrag’s Utility Hub is a library of set grenade lineups that are easy to browse.
Finding the grenade lineup you want takes seconds. Select the map you’d like and then click on whichever lineup you’re trying to learn in the map overlay. A video will play showing you exactly how to throw the grenade. Utility Hub is available for all maps in the Active Duty map pool.
As always, any questions you may have are most likely answered on the Refrag Wiki, where you can find a complete list of commands for every practice mod.
glhf!
Have you mastered your utility knowledge? Apply it in your executes using the strategies we provide in the Refrag Academy. The learning hub for CS2 strategies straight from professional players.