When it comes to getting your grind on and hitting that next rank, sometimes you just need a little extra spice in your gameplay. Refrag can be used to improve all kinds of in-game fundamentals and take you to the next level, whether it’s aim training, utility, recoil control, or more. But one thing some of your teammates might not have realised is you can also use Refrag to find, practice, and perfect boosting.
Sometimes, a cheeky boost in a key round is all you need to swing the match in your favour. In this, our second of two articles covering some awesome boost spots, we’re going to give you some potentially game-changing spots to use in your games.
Inferno
Newbox
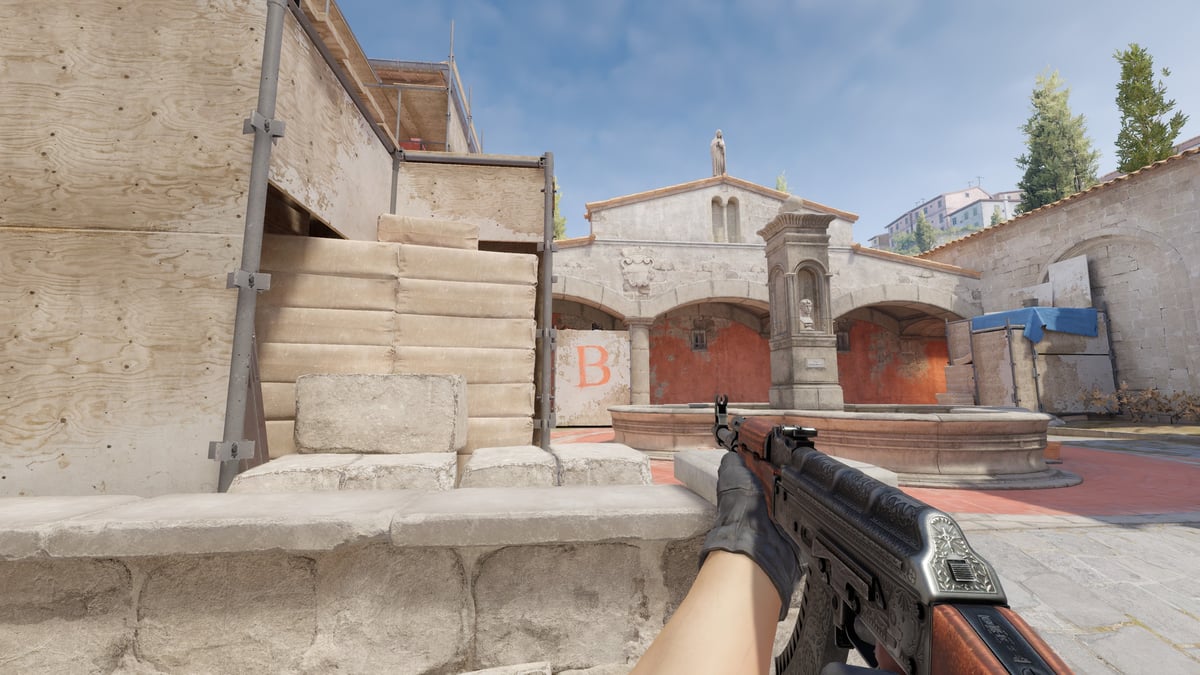
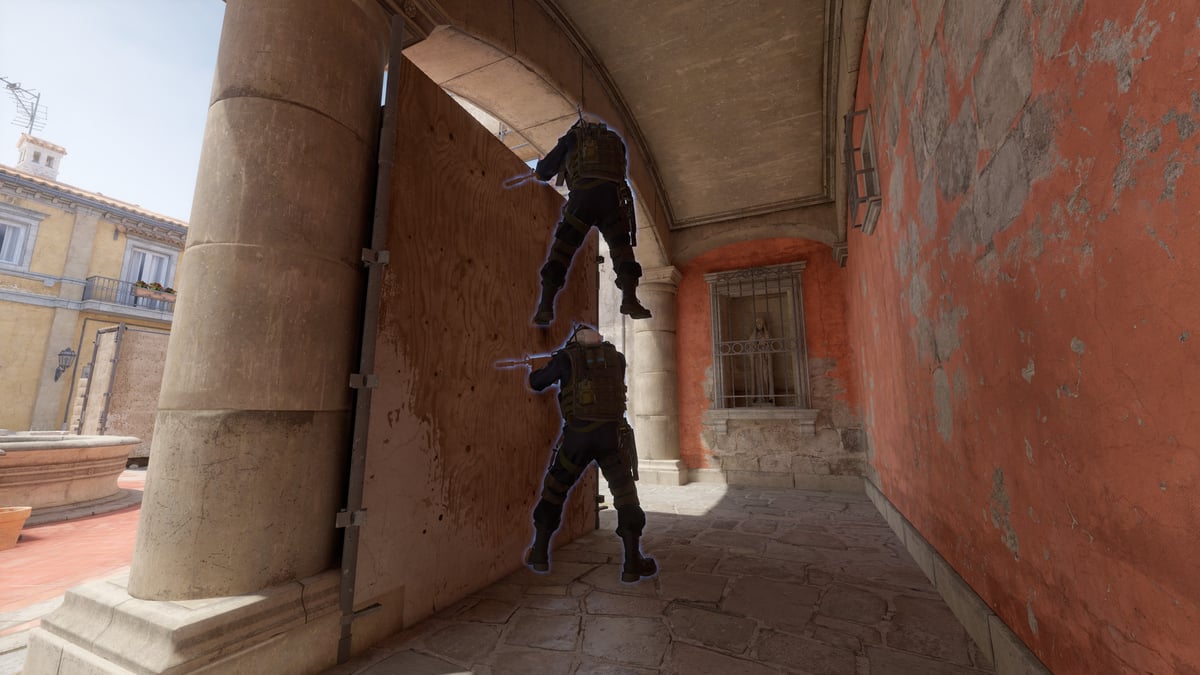
Once upon a time, this boost was even more powerful than it currently is. Back in CS:GO you could actually boost a teammate up onto the top of Newbox, whereupon they could farm some easy kills and you were free to move to another spot. Although it’s no longer possible to leave your boosted teammate up there whilst you frolic in the Italian sunshine, the Newbox boost is still extremely strong.
Typically, this boost will now be seen as part of a three-man setup on the B Site, as it requires the full commitment of two players, and things can get a bit messy if the T-side have used NADR and learned their Newbox molly correctly…
CT
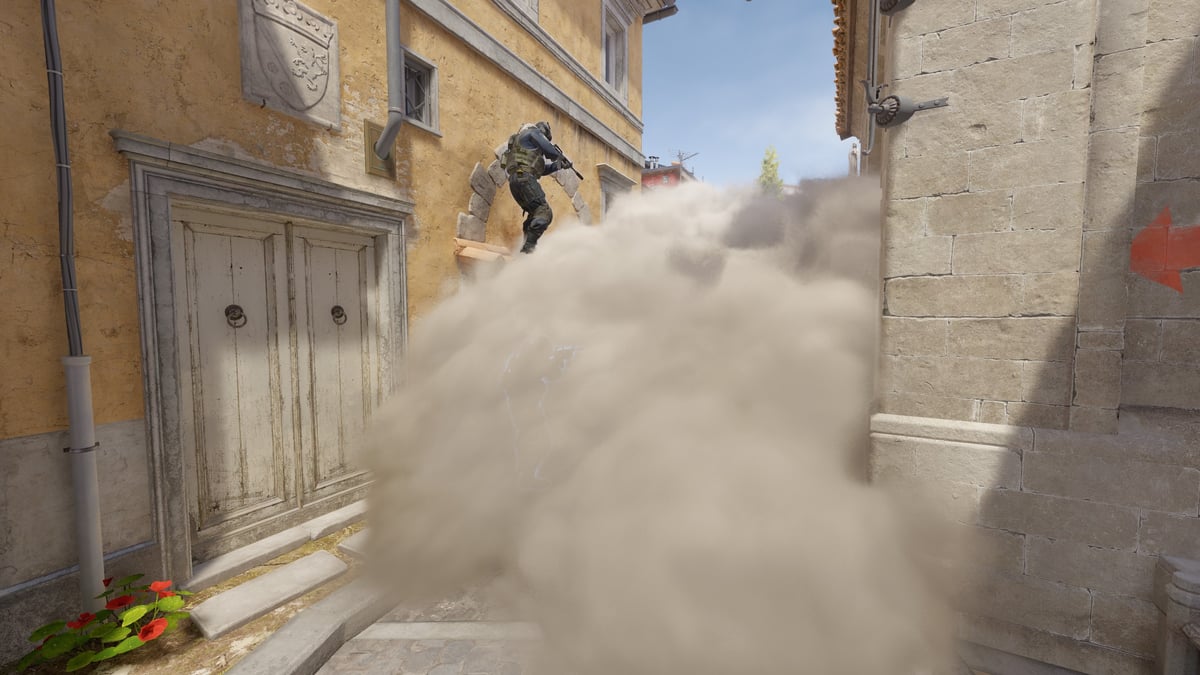
Perhaps the most commonly-used boost on Inferno, this boost is strong for CTs when it comes to both defending the B Site or retaking it. The main purpose of this boost is to look over the typical CT smoke in order to catch Ts as they’re running onto site. It can also be used in a retake scenario if CT has been smoked off, allowing you the opportunity to catch a kill – or at least some info – unexpectedly.
Again, we must warn you – if your opponent has done their homework on NADR, there is either a Molotov or a meta smoke which will sufficiently nullify this position. But it’s always worth a try!
Porch
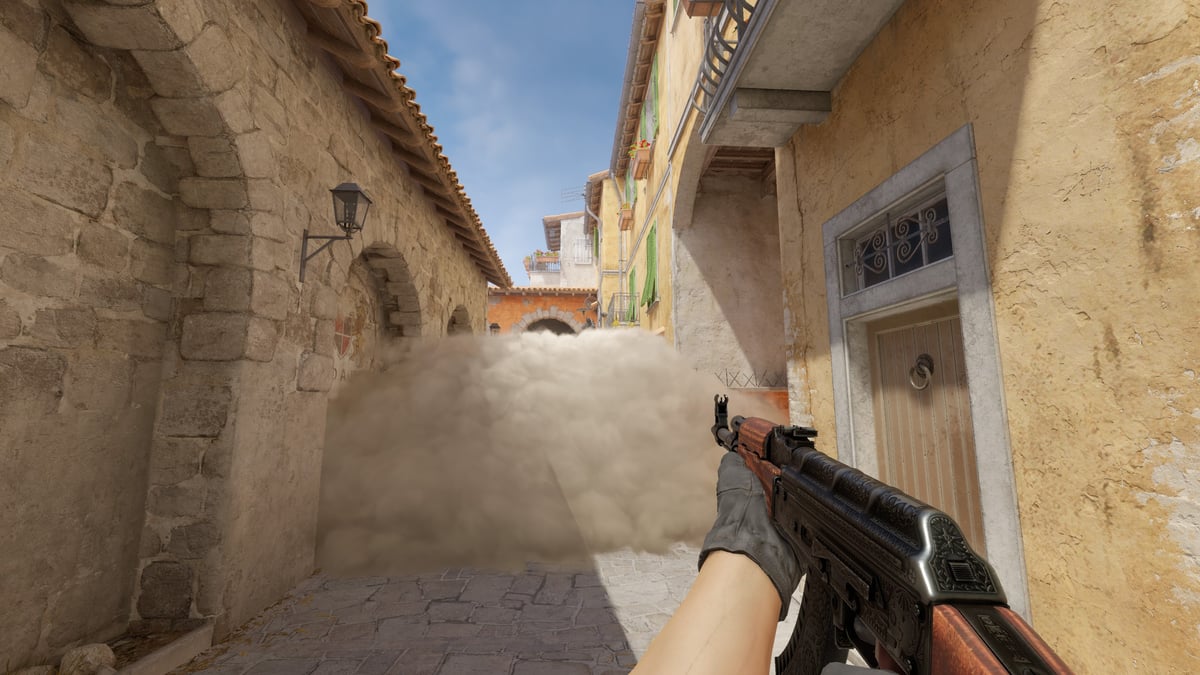
One of the most annoying boosts to deal with whilst on the offensive and attempting to take map control, the Porch boost should be a fundamental part of a CT’s defensive arsenal. When it comes to defending Brackets, having the ability to switch up the CT side’s layered defense with a Porch boost is a must-have play. It keeps the Ts guessing constantly, and creates a frankly horrible task for whichever poor player has to attempt to clear everything on a Brackets walk.
Of course, Refrag has a variety of modes – such as Prefire and Xfire – which can train you to be ready for the Porch boost. But, notwithstanding, it is still a tough one for the T-Side to deal with.
Nuke
Fake Vent
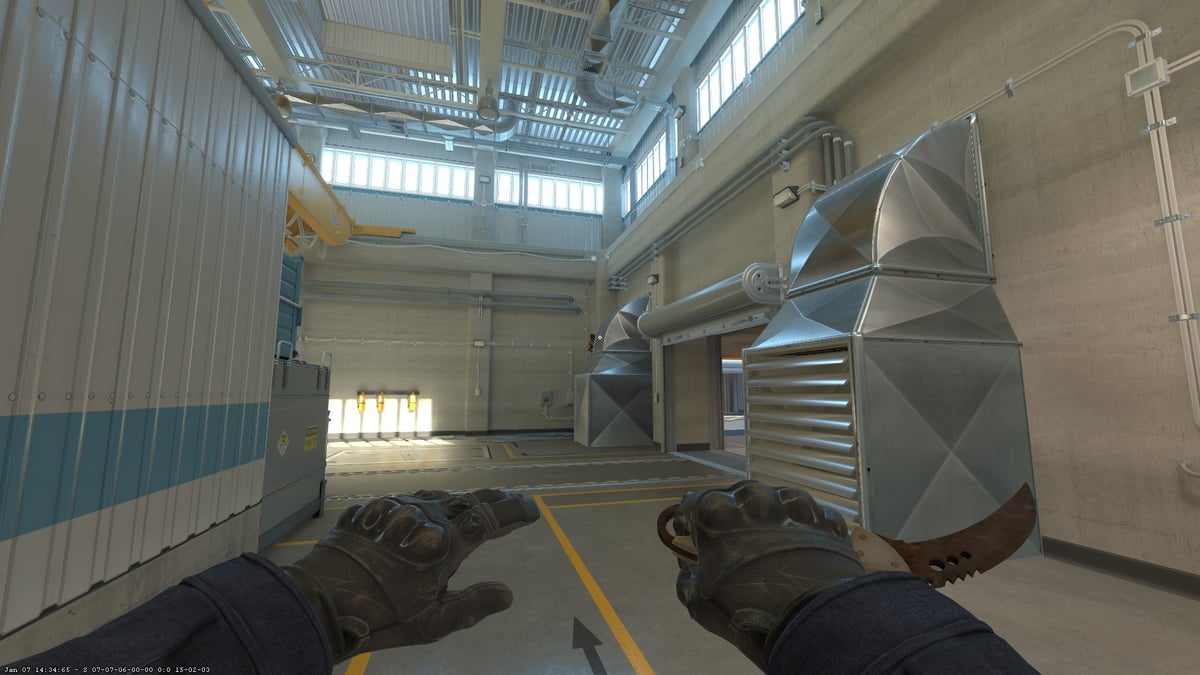
This is the definition of an annoying boost spot. If you practice getting stuck on the pixel walk, you can boost up onto the back side of Fake Vent on A Site. This boost is particularly annoying to deal with as, if your position is mollied, you won’t actually burn. You can play deep to hold the Hut walk, or shallow to hold Squeaky. It is truly one of the most irritating boosts in the game to be killed by, and a very fun way to throw in some spice to your top-site holds.
Ramp
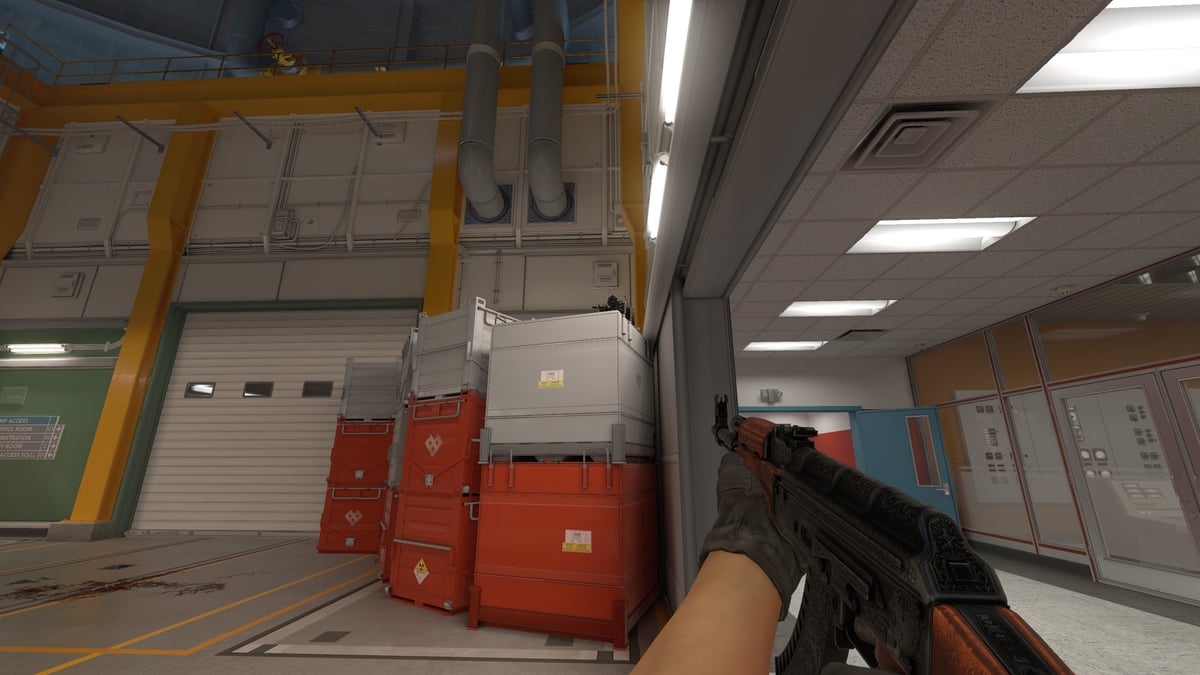
One of the most common boost spots in the entire game, the tall stacked boxes on Ramp are a popular spot for CTs on a low buy. Effective both for stopping fast Ramp rushes, or for picking off a lackadaisical lurker, this spot is so common simply because it’s so effective. Be sure to use Refrag’s Angle Trainer mode to get comfortable clearing this spot effectively, otherwise you’re in for some serious pain in your Nuke pugs.
Dust II
Cat (Looking At Lower Tunnels)

Now that it’s possible to get up to Cat easily as a solo player, this boost is really useful in the opening few seconds of the round. Two players run up Cat, and erect a boost at the corner of the wall next to Cat Stairs, whereupon the boosted player can look straight into Lower Tunnels on a horrible off-angle.
This boost is especially potent if used by an AWPer, and can be used to catch an early pick on an unsuspecting T taking procedural map control. Even if their crosshair is ready for a potential Cat player, the readjustment time should (if you’ve been aim-training properly) give you ample time for the frag.
Window From B
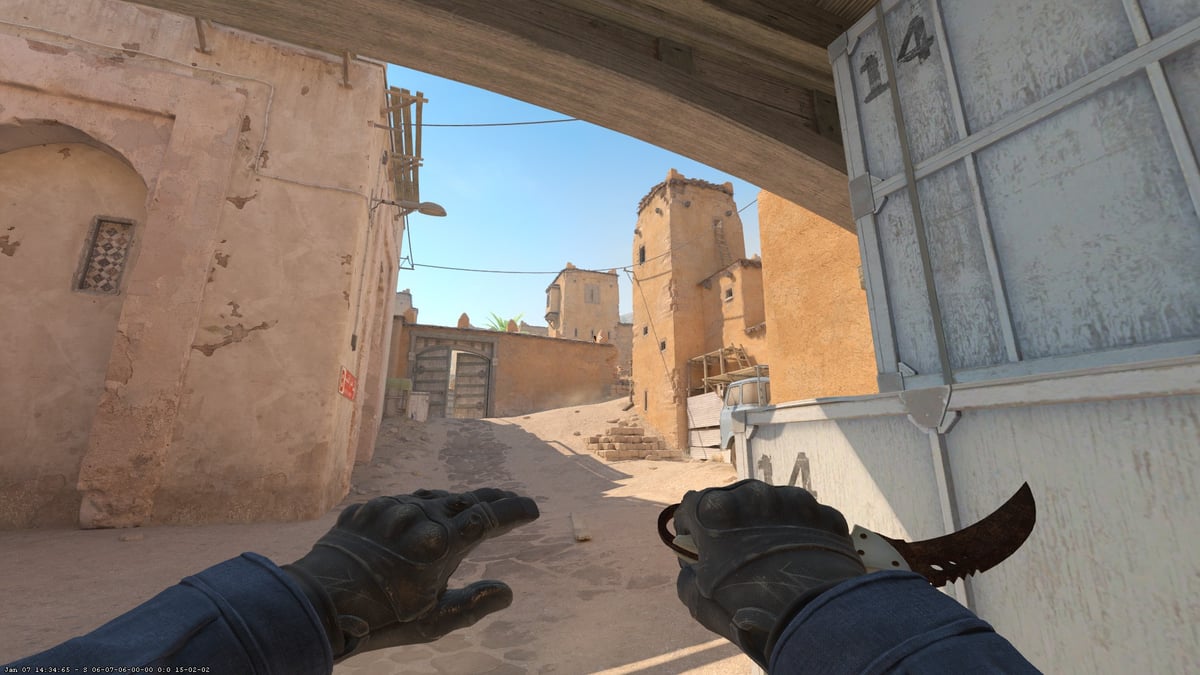
This is another very annoying boost to deal with. Instead of peeking from Window on B Site in a postplant, you can get yourself boosted up on the right-hand side of it. This boost is an absolute nightmare to deal with, as there is a zero-per cent chance the CT’s setting up for a retake will expect your head to be hovering over the wall. As with the last boost, this is best erected if you have an AWP to hand. If you have the big green, and at least one other teammate on site to watch Tunnels, you will be tilting CTs in no time.
Train
Bomb Train
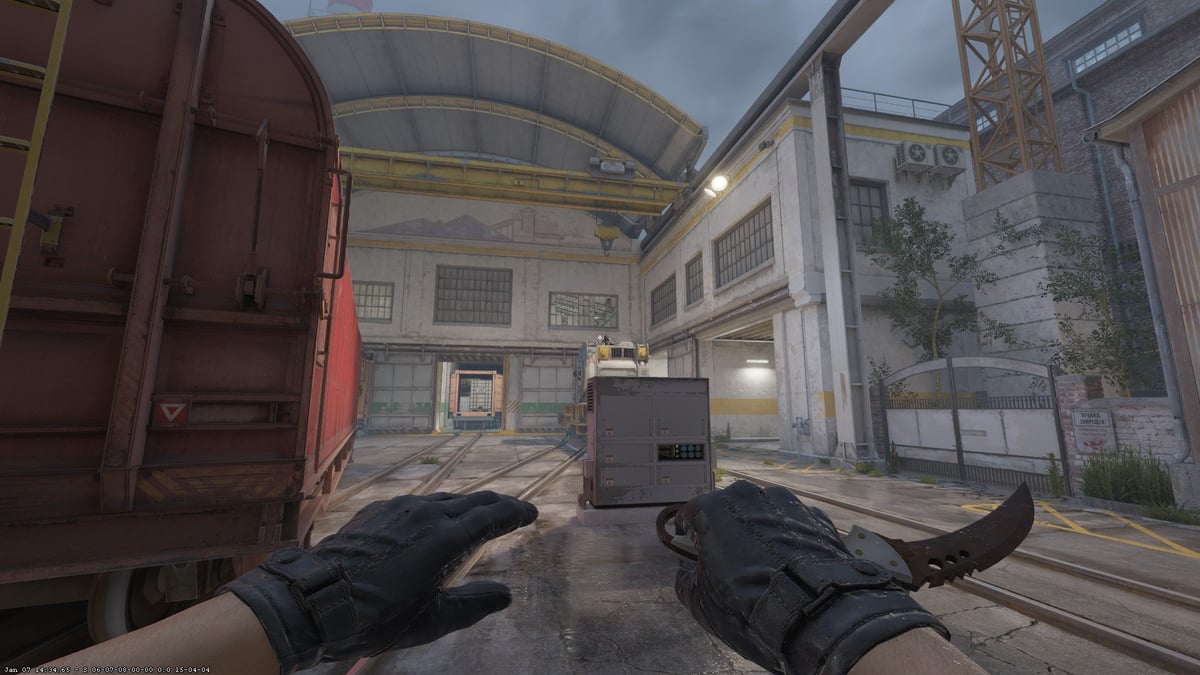
This is a strong situational boost, allowing CTs to catch pushing opponents off-guard. It is risky, as the fallback options are fairly minimal, but if erected at the right time, it can be quite impactful. This is one of those boosts which you’ll probably only end up using once per game, as it’s more of a gimmick play than a ‘serious’ boost, but it can certainly be useful to catch an unexpected kill or two.
Popdog
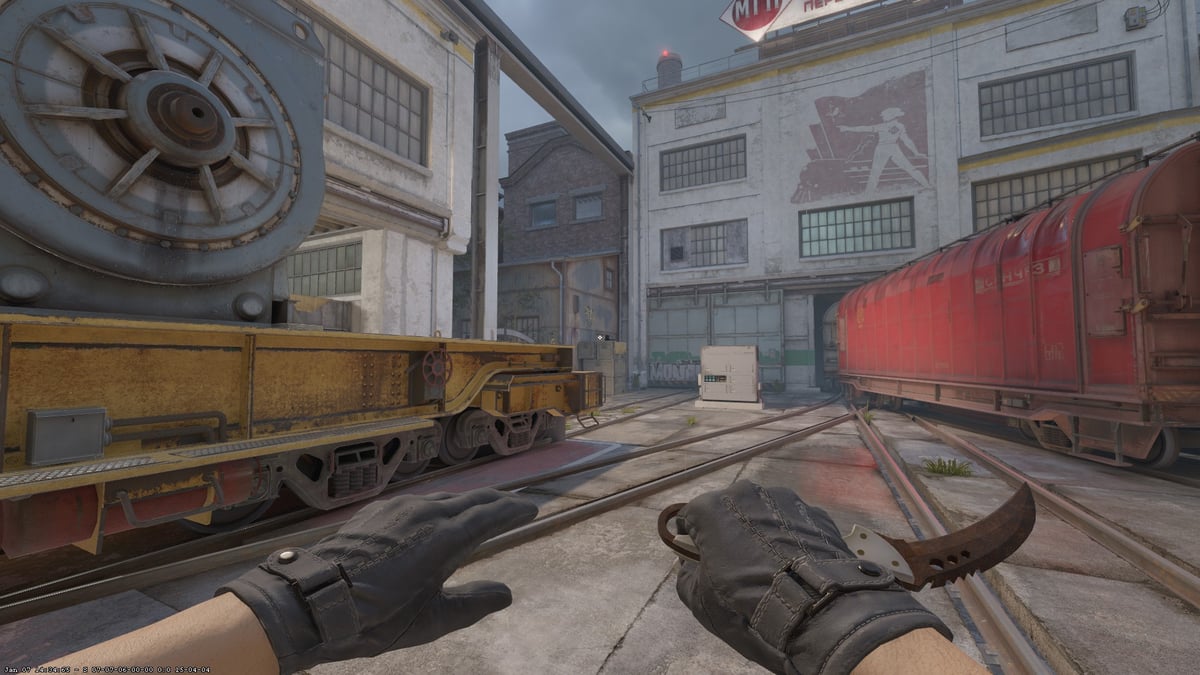
This is a very powerful boost for defaulting Ts, allowing you to scope out the A Site and catch any careless CTs as they move around the site. It is also fairly safe; whilst it does require two people to run it, the fallback plan is fairly safe, providing the T-side has decent map control. This is a sneaky one, and should be used with a great sense of timing, as it can really make a difference in a swing round.
Finding Your Own Boosts Is Easy
If you want to test out these boosts or even find some new ones of your own, Refrag makes it simpler than ever. Jump into a NADR server and use .botboost and .bot commands to start cooking up your own nefarious spots. Until next time – GLHF!
